(Un)Archiving Nuke Scripts
Best practices for (un)archiving Nuke scripts or packaging them up for sending to another vendor…

Best practices for (un)archiving Nuke scripts or packaging them up for sending to another vendor…
Wrapping Up
If you are working with another vendor on the same shot, or are archiving a project after it has wrapped up, you'll have to package up the relevant Nuke scripts and their associated elements.
Depending on the amount of nodes in your scripts and how you’ve organised them, this can be quite a time consuming process. Finding all the Read nodes and other referenced files in the scripts, opening up each of their properties, and copy/pasting the individual file paths will normally require a lot of manual, repetitive work.
Your scripts may also carry a ton of dead weight in the form of old render versions and node setups which are no longer used in the final composite. Packaging all that up to avoid script errors is a waste of resources.
Let’s look at how we can make this process as easy, efficient, and economical as possible.
Preparing The Nuke Script
First, let's optimise the Nuke script for sending and/or storing it:
1. Clean Up The Script
After days or weeks of developing your composite, you'll often have made multiple versions of various parts of your script, with different node setups and settings.
By going through all the testing required to find the best solutions for your shot, and addressing creative and technical notes along the way, you'll likely have accumulated some 'rubbish' in your script, i.e. nodes which are no longer needed in the final composite.
Start off the preparations by cleaning up your script: delete any idle or unused, disconnected, and/or disabled nodes in the script. There is usually no need to keep this excess baggage weighing down your script, and it can potentially cause confusion for the next person who picks it up.
Next, version up any older versions of renders, cameras, or other referenced files in the script – IF you don't specifically need the older versions anymore.
That way, you avoid having to send or store multiple versions of the same image sequence unnecessarily, for example. Instead, all the relevant Read nodes will point to a single image sequence, saving bandwidth and disk space.
Already in this first step, you'll likely have removed and consolidated a fair amount of nodes, leaving you a lean script which only contains the exact nodes it needs to construct the final composite.
2. Organise The Script
With a trimmed script, the next port of call is to make sure it’s neat and organised.
Tidy up and label your script to make it easy for the other vendor, your future self, or your colleagues to pick up the script and understand what's going on:
Untangle messy and criss-crossing pipes. Use Dot nodes generously and try to keep the majority of the pipes exclusively vertical and horizontal for a better read of your script.
Have a clear B-pipe flowing straight down in your script, with each A-section coming in from the left. This makes the flow of your composite easy to read.
Add space between nodes and the different sections of your script, clearly separating each portion. This makes it easier to navigate your script and find the necessary parts quickly.
Add descriptive Backdrops with large fonts to each section or grouping of nodes. At a glance, anyone should be able to tell what's going on, and where, in your script. The rule of thumb here is the more, the merrier.
Crop any redundant overscan from your bounding boxes to keep the script running smoothly and quickly.
Remove any superfluous channels from the stream to avoid unnecessary calculations and slowdown.
Make it clear if you are using a $gui expression anywhere in your script. Put a bright Backdrop or StickyNote with a descriptive label next to the node(s) using the expression. That way, it’ll be quicker to troubleshoot why the end of the composite doesn’t match the final render inside Nuke.
Avoid hiding pipes. Try instead to organise the pipes neatly so that it’s immediately easy to follow the structure of your script.
It can be a good idea to create an element bin at the top of your script: a Backdrop with all the Read nodes, Cameras, and other referenced files used in your script. Then, using a tool such as Stamps, or organising pipes from each file, you can reference each file only once while using it multiple times in the script. This helps to avoid forgetting to update copies of for example Read nodes around your script.
Avoid burying your compositing work within nodes. It’s possible to do patching work inside the Roto node, for example. (By setting the output to rgba, selecting bg as the Source for your roto shape, and then adjusting the transformations in the Clone tab). But that is a convoluted way of working. It’s not immediately obvious what’s happening to someone seeing just a Roto node in the stream. Instead, just use a Transform node, Keymixed by a Roto. It’s much easier to read what’s going on at a glance.
By the end of this second step, your script should almost read as a tutorial script: organised, snappy, and with clear descriptions for each part.
3. Convert Gizmos To Groups
The other vendor may not have all the Gizmos that you are using in your script available to them in their pipeline. Or, they may not have the same versions of your Gizmos available.
To avoid errors caused by missing or incompatible Gizmos, convert all the Gizmos in your script to Groups.
You can do that by going to the Gizmo's properties, and clicking on the Copy to group button in the Node tab.
If you have quite a few Gizmos in your Nuke script, you can use an automated Python script to convert them into Groups.
4. Set Relative File Paths
Normally, any node in your script which is referencing a file on disk will use an absolute file path – which includes unique things like for example your username or a specific disk drive in the file path.
When another vendor opens the script on their machines, they won't have the same file paths on their disks, and the nodes will error out in Nuke.
We'll look at how we can relink the file paths later, but a good practice is to set relative file paths.
That way, you save the other party (or your future self!) time relinking all the files.
5. Repeat For All Relevant Scripts
Repeat steps 1 to 4 for any Precomp scripts or other scripts which your main script is dependent on.
Preparing The Files
Once you have your Nuke script in order, you're ready to collect all the files that are referenced in the script.
Large scripts can often contain dozens, if not hundreds of referenced files, and multiple versions of each.
There are usually image sequences (e.g. .exr) and video files (e.g. .mov or .mp4), that are referencing files on disk such as:
Scans: Foreground, background, clean plate, reference plates, crowd or set elements, etc.
FX elements: Smoke, steam, fire, dust hits, fog, muzzle flashes, rain, blood spurts, explosions, debris, etc.
CG renders: Often multiple renders and render passes (which are also sometimes separated into individual renders), and sometimes including Deep renders.
Matte paintings: Set top ups, landscape extensions, texture enhancements, etc. Often with multiple layers.
Roto & Prep: Motion blurred and non-motion blurred roto, often multiple renders with different layers split by channels: Characters, set pieces, hair separation, etc.
References: Concept art, look references, stock footage, set photography, edit reference, look development renders, etc.
Precomps: Nuke scripts and image sequences. This could be sections of your main script separated into their own scripts, or files precomped from your main script such as Smart Vectors.
Accompanying the scans and other image files, there may be files such as:
LUTs: I.e. Lookup Tables. These offset the pixel values of the image, transforming one colour to another. You can for example use them to go from one colour space to another. They are often used overall on the show for all shots.
CDLs: I.e. Colour Decision Lists. They are essentially simplified LUTs, often applied on a shot-by-shot basis to get the right grade for each scan so it fits in with the sequence.
Then there are matchmove data files, such as:
Cameras: Matchmove cameras for each scan, and sometimes a stitched or animated camera for shots where the camera move will be altered.
Lidar geometry: High resolution laser scans of the set or set pieces. Usually quite heavy (lots of polygons) and normally only used as positioning reference for placing Cards, Cameras, or other geometry.
Tracking cones: Matchmove pins located at the tracking points in the scan. Useful for positioning Cards or extracting 2D tracking data.
Projection geometry: Simplified geometry which is used instead of the Lidar for projections.
Lens distortion data: ST Maps or other lens distortion data used for applying or removing lens distortion to or from your scans.
And sometimes, you may be using other custom files, such as:
Non-standard fonts. You may be using a Text node for a HUD or other graphic element which has a custom font.
Specific files. Custom files generated by Nuke tools/plugins, for example related to machine learning/AI tools.
💡 There may even be other files which I haven't listed above. Comb through your script and find them all.
In order to package up all these files together with the main Nuke script itself, you need to know their file paths.
This can be a tedious process if you have a lot of referenced files in your script, but there are some shortcuts.
For any image sequence or video file that you have imported through a Read node in your script, you can find their file paths by going to File → Comp Info, in the top menu bar:
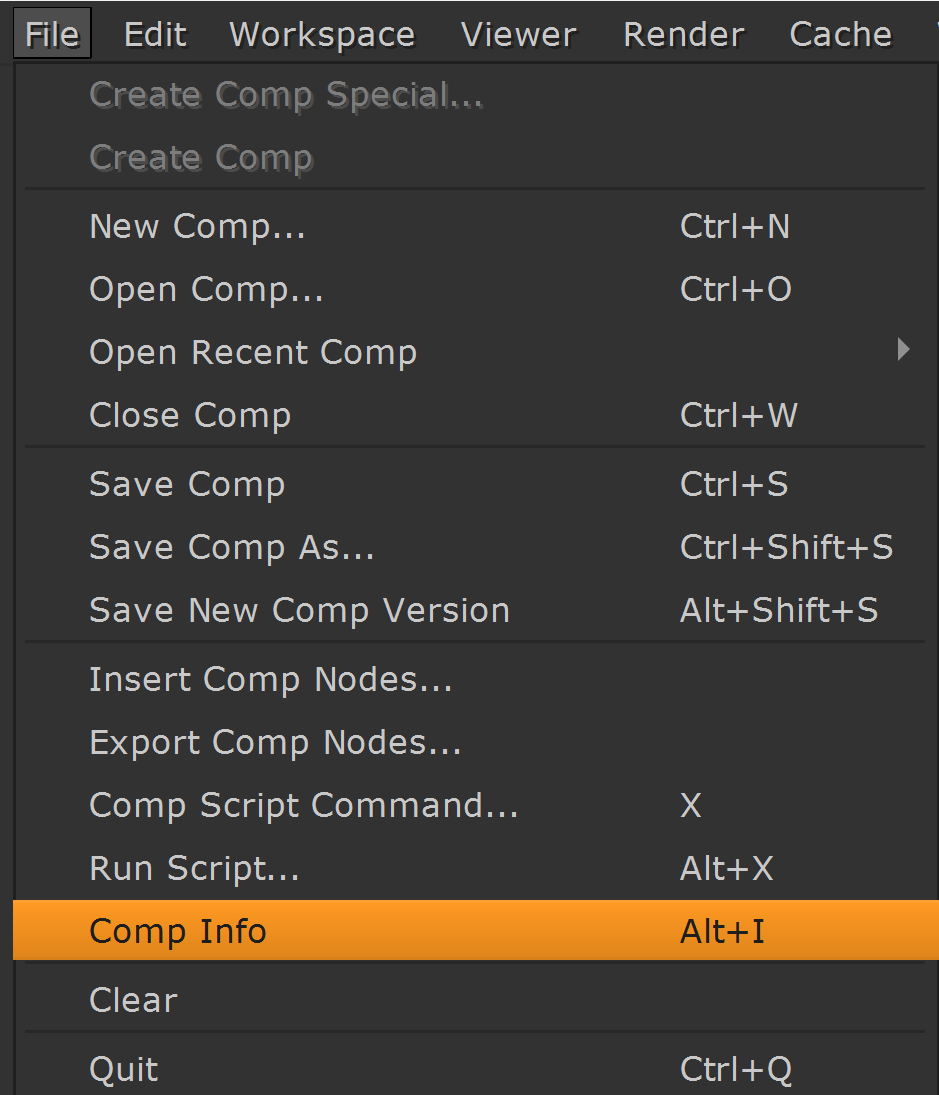
The Comp Info menu in Nuke.
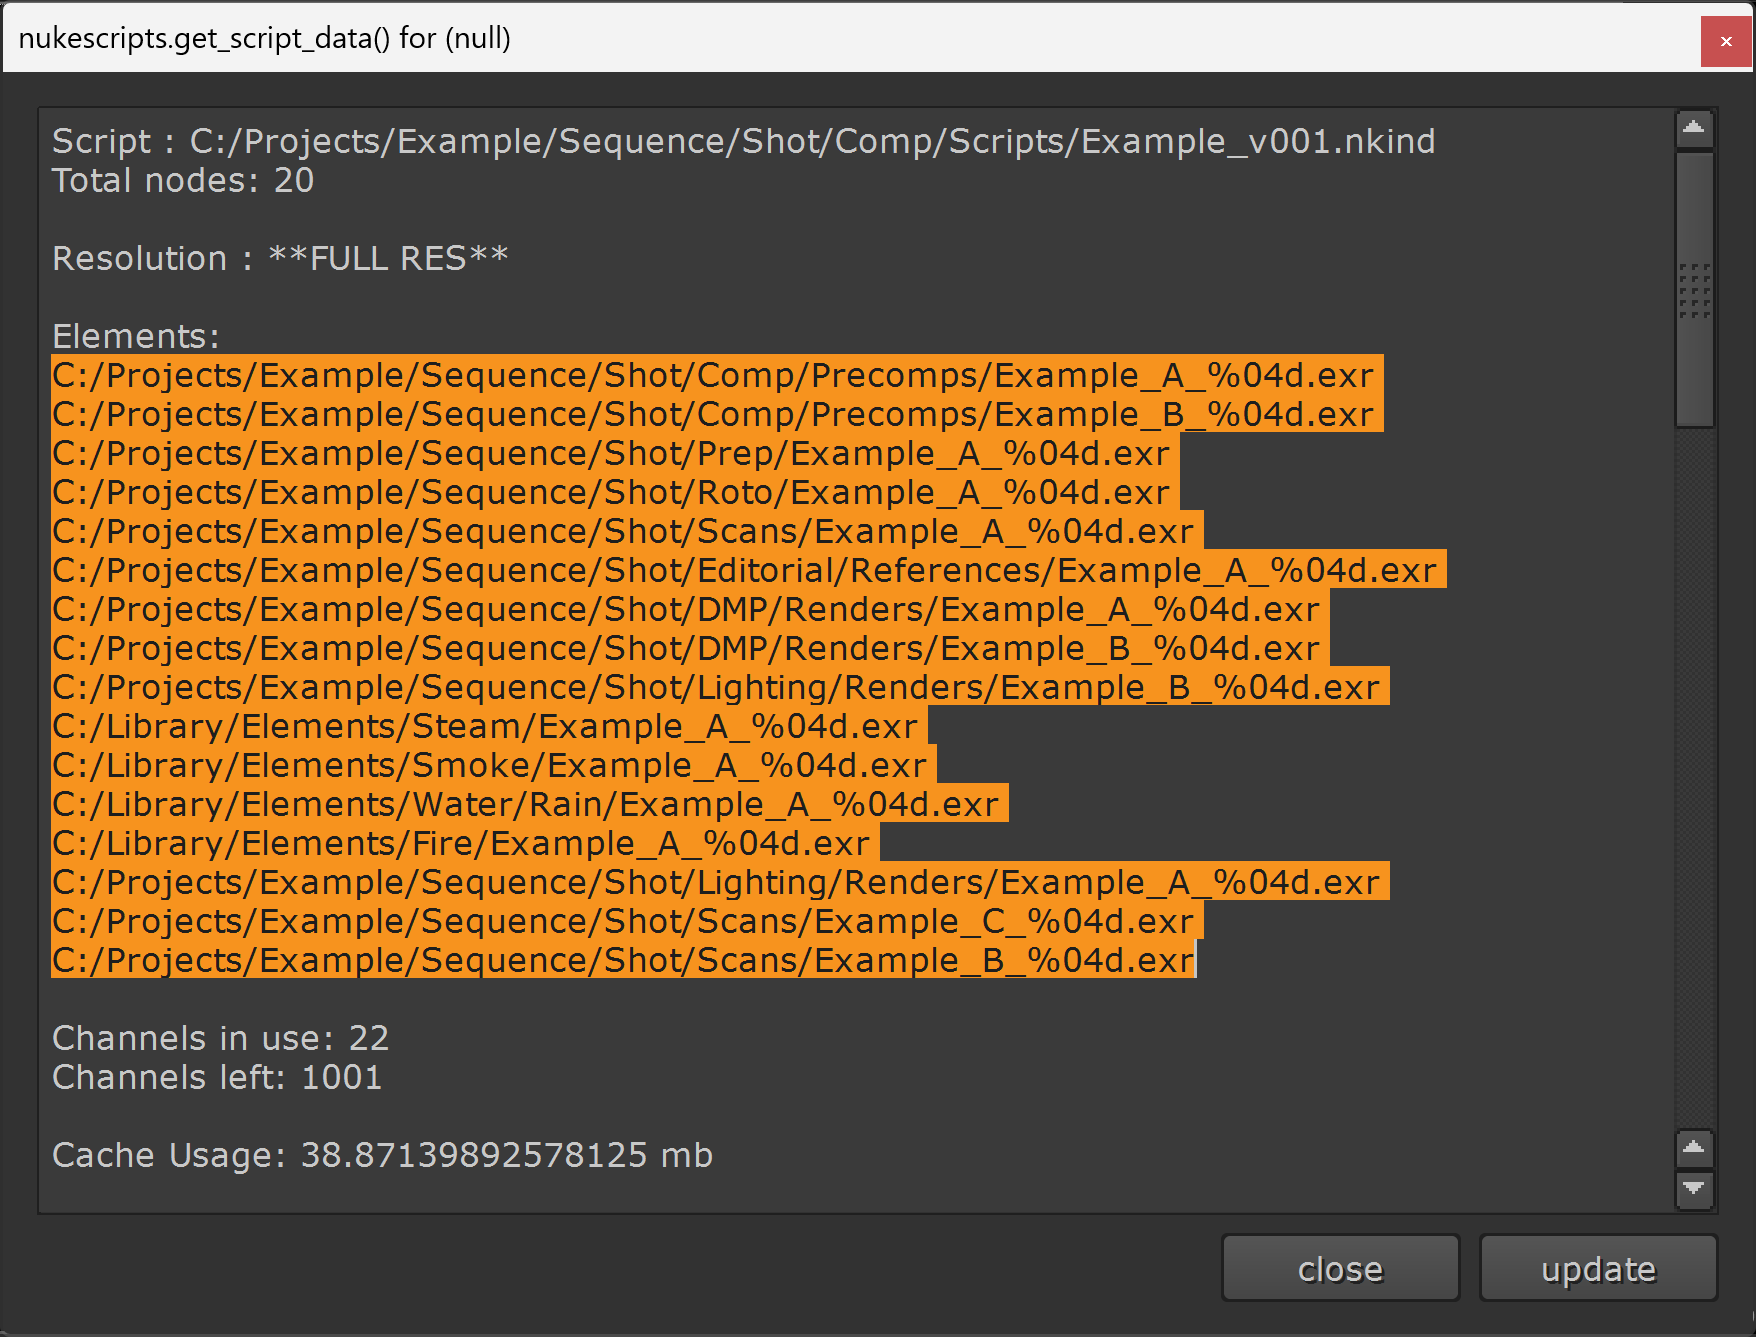
The Comp Info panel.
💡 The file path to the Nuke script will also be located at the top of the Comp Info panel.
You can copy/paste the file paths directly from this panel, saving you the time it would take to open up each Read node and copy its file path.
💡 Keep in mind, this panel will only show the file paths for Read nodes, and not for DeepRead or ReadGeo nodes.
For the other file paths, you'll have to look them up manually. To speed up this process, you can type / and for example ReadGeo to find and select nodes in your script containing that string in their name.
💡 If you continue clicking / and Enter, the Node Graph will re-centre on the next search result in the list.
Repeat for any other node type you have which references external files, such as DeepRead or Text.
For the file paths to the LUTs and CDLs, look inside any colour transformation node in your script such as the OCIOFileTransform or OCIOCDLTransform nodes, or ask your lead or supervisor where you can find the files on disk.
With all the file paths on hand, you can now copy every file needed for the final composite to a location of your choosing.
Automating The Process
There are software tools out there which can automate the archiving process, such as SmartCollect.
💡 There are also several free Python scripts available on Nukepedia (may contain less functionality).
Unarchiving Scripts
When you receive a packaged up shot from another vendor, or are unarchiving an old shot, there is a good chance that the nodes which are referencing external files will error out in Nuke (i.e. relative paths were not set).
If so, you'll have to relink the file paths. You can do this either manually or by using an automated Python script such as Find Path.
I hope you found this tutorial useful. For more Nuke tips & tricks, see Nuke.


