Breaking Up Edges And Surfaces In Nuke
Make your composite more photorealistic by taking the curse off ‘perfect’ CG renders…

Make your composite more photorealistic by taking the curse off ‘perfect’ CG renders…
Real Life Is Imperfect
CG renders – and especially the specular highlights component of them – are often too ‘perfect’.
Perfectly straight, perfectly smooth, perfectly even, perfectly shiny. They're mathematically perfect, which doesn't really happen much in real life.

Example of a render that looks too ‘CG’ – it’s missing the realistic qualities of real life imperfections.
– And so we have to break up the ‘clean’ edges and the ‘flat’ surfaces a little bit, and introduce some imperfections, in order to make them look more photorealistic.
On the surfaces of objects in the real world, you'll commonly find:
- Small scratches.
- Dust and dirt.
- Chips in the paint.
- Cracks or damage.
- Sun-faded colours.
- Water spots.
- Stains.
- Residue.
- Fingerprints.
- Creases or folds.
- Small dents or surface warping.
- Slight misalignments between edges.
- Sharp edges having been worn down and bevelled.
- Wear and tear from the object being worn or used.
That means, when light hits objects in real life it naturally gets diffused/broken up by these small variations in the surfaces – making the objects less perfectly shiny, and/or shiny in places where they normally wouldn’t be.
Take a look at the picture below, for instance:
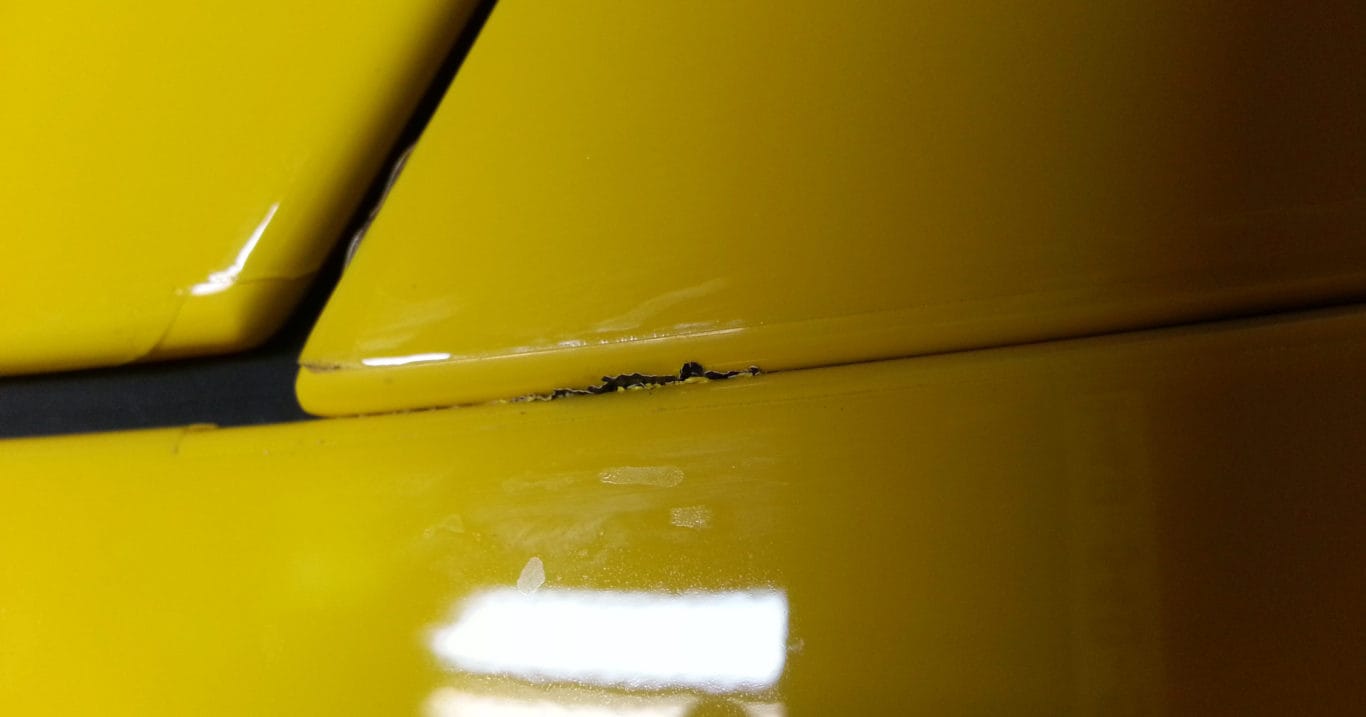
Surface imperfections, cracks, and smudges on the exterior of a car.
Up close, we can see that there are a whole lot of irregularities in what from a distance would just appear to be smooth exterior surfaces of a car.
Or take the image below, for example. In the right light and from the right angle you might see something like this on a phone screen or a similar surface:
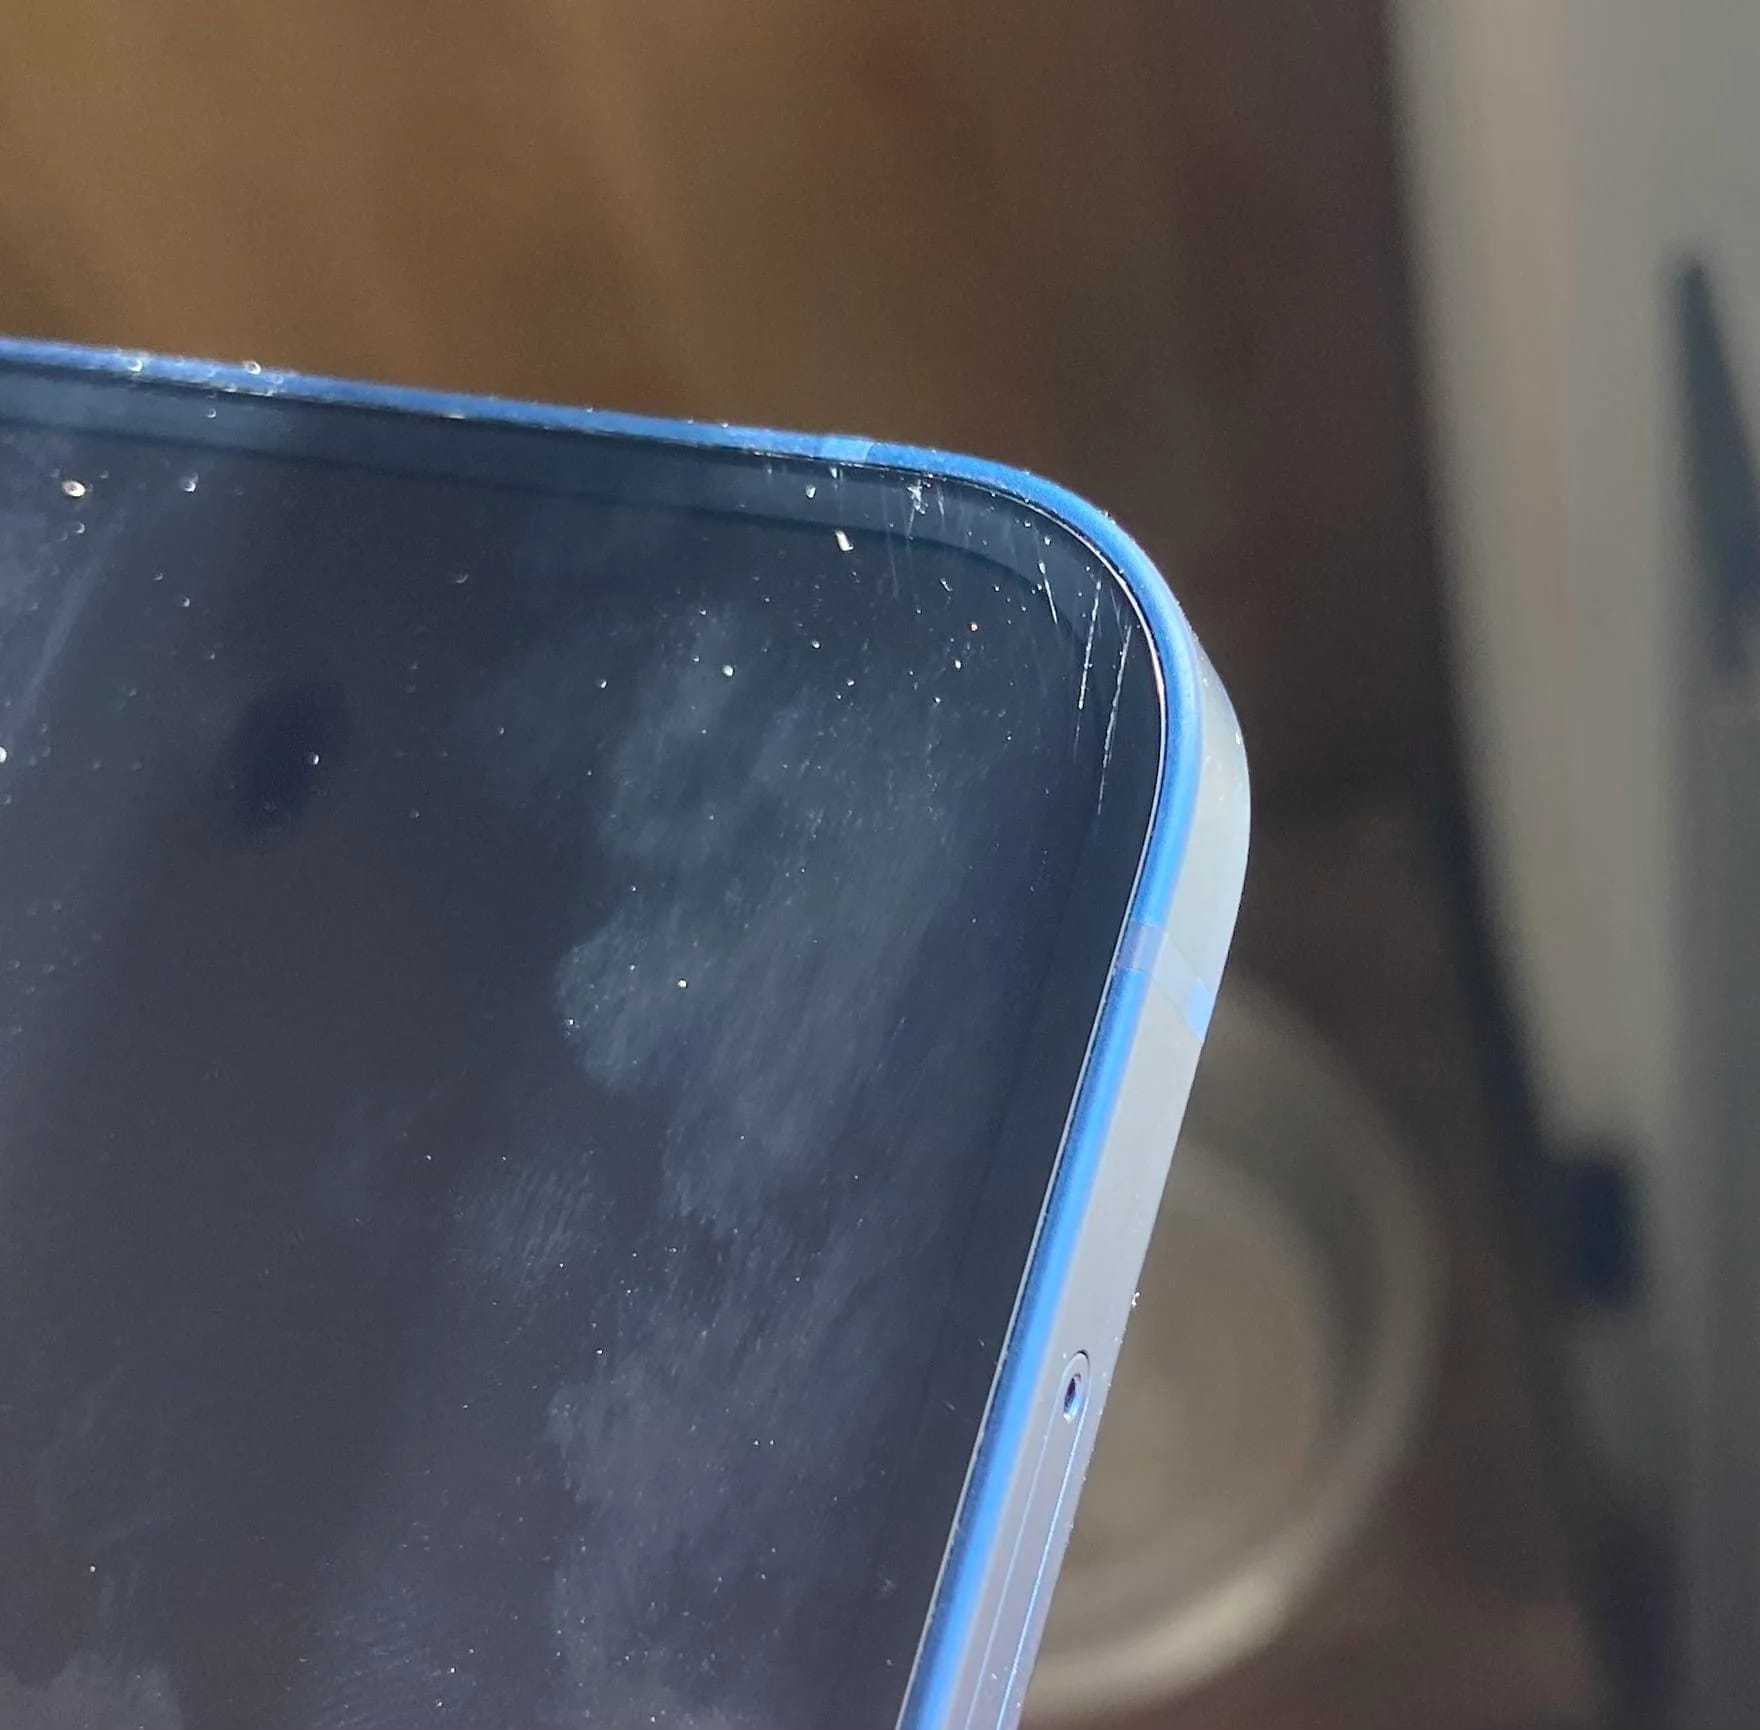
Scratches and dirt on a phone screen.
And, as shown in the example below, you’ll often find that sharp edges aren’t as sharp as you might think:
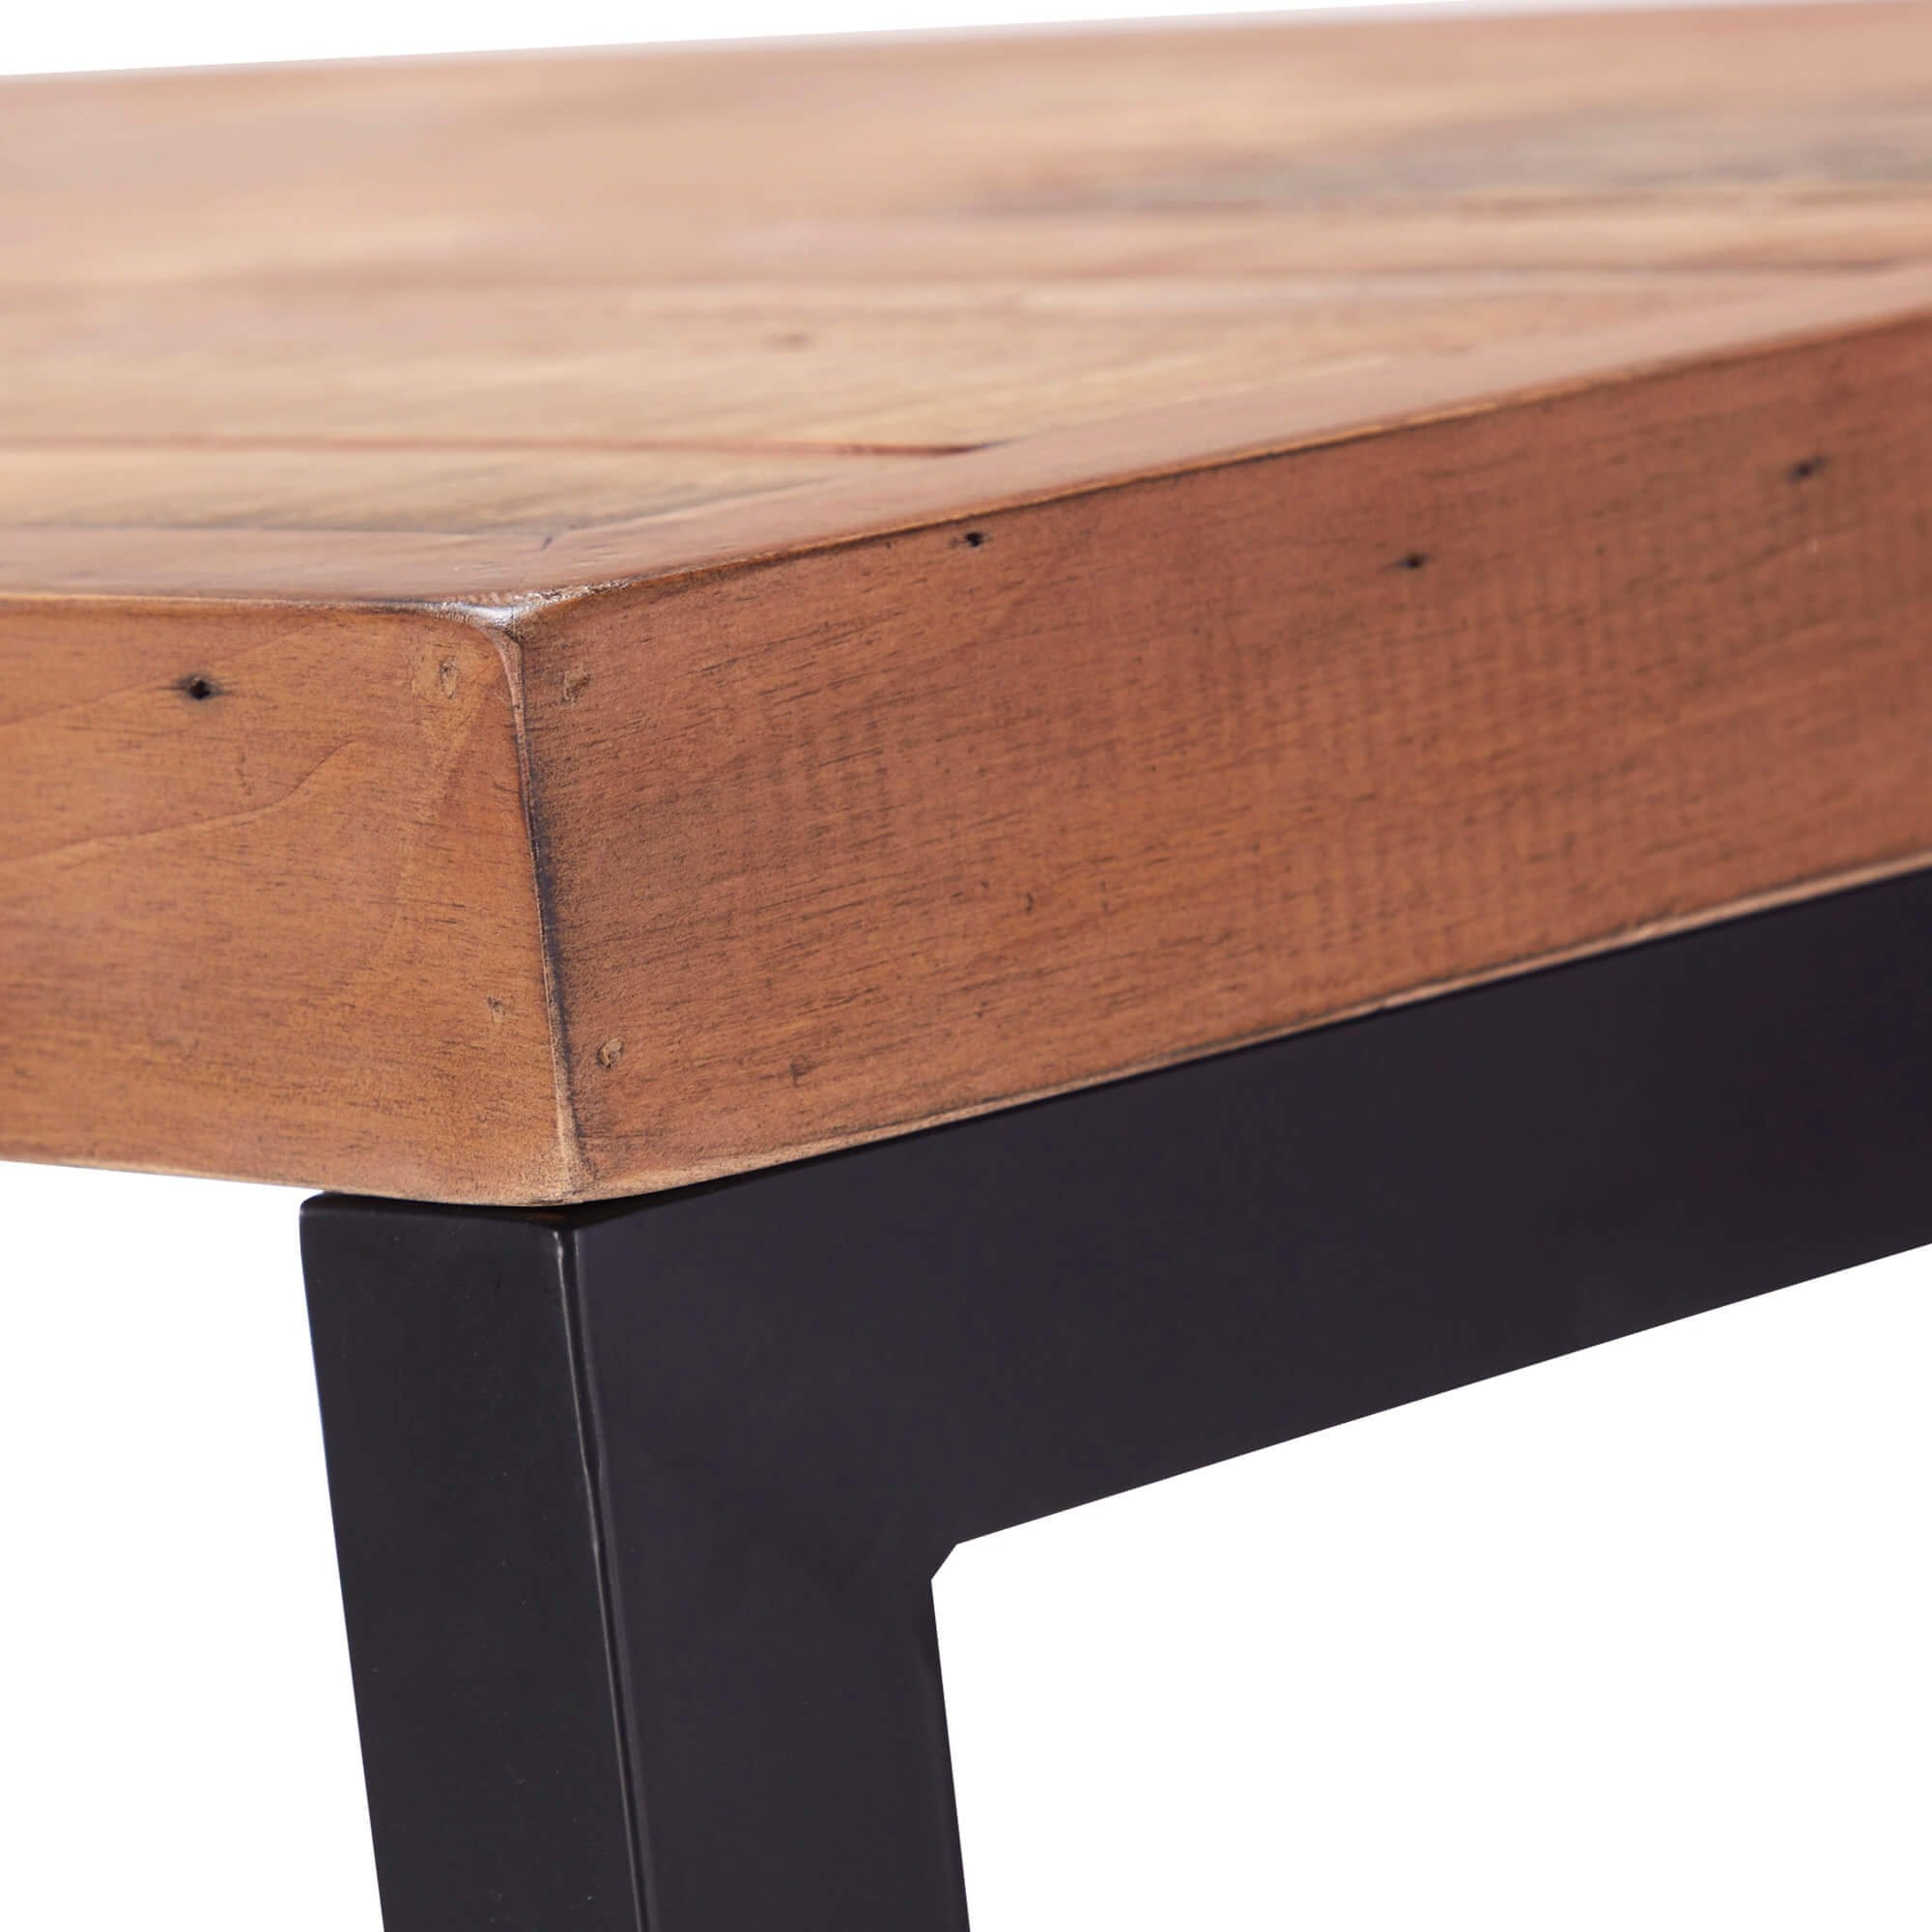
Worn down/rounded off edges of a table top.
Look at pretty much any object in real life, and there will be some variations in even the smoothest of surfaces/edges that will break up the light that’s hitting them.
– Essentially, some of what would otherwise appear as specular reflections instead become diffuse reflections, and vice versa.
We humans are quite used to seeing these (often small) variations, because we've spent so much time looking at things in our lives. They've become part of our everyday subconscious expectations.
And even if we might not be able to pinpoint exactly what is wrong, we can spot that something is missing, or ‘off’, when the variations are not there in an image.
So it's important to add imperfections to our CG renders to make them look real.
Fixing A Common Noise Matte Problem
A highly effective way of roughening up surfaces and edges that suffer from looking too perfect, is to break them up with a (static) noise texture. (For example using the Noise node in Nuke).
Either by using noise as a matte for a grade to break up the texture and highlights of a surface, or by using noise as a matte for a mask/stencil operation to cut out bits of a straight edge. Or, even by layering the noise texture on top of the object's texture.
In any case, we often want to limit the area where we are applying this treatment. Usually, we shouldn't add a noise texture to the entire CG render – or cut out parts of all of the edges in the render – as that can look unnatural.
Instead, it's better to apply the treatment to a localised problem area, such as an edge or a surface that looks too clean and ‘CG’, by masking the noise by a soft matte of the problem area.
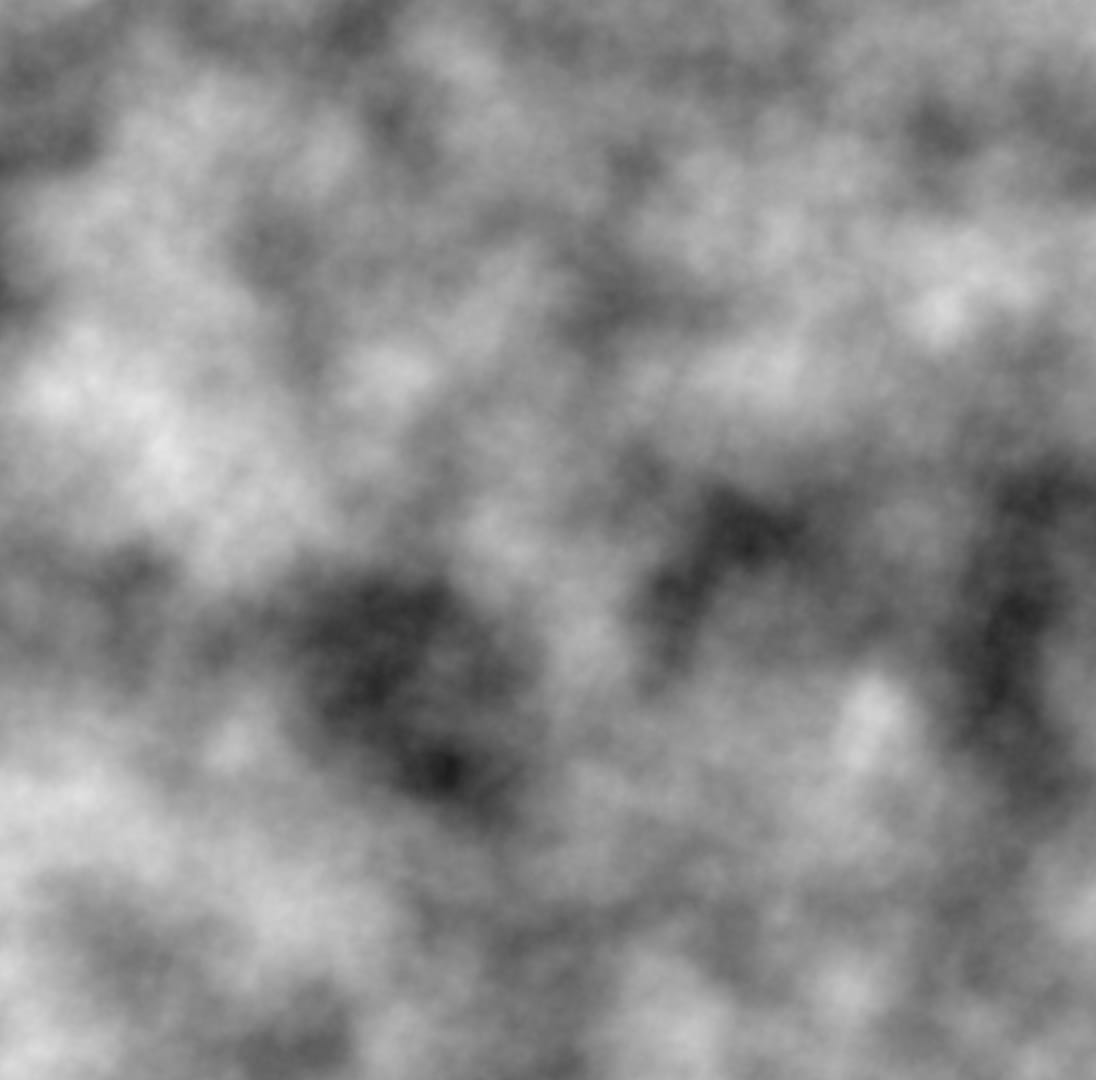

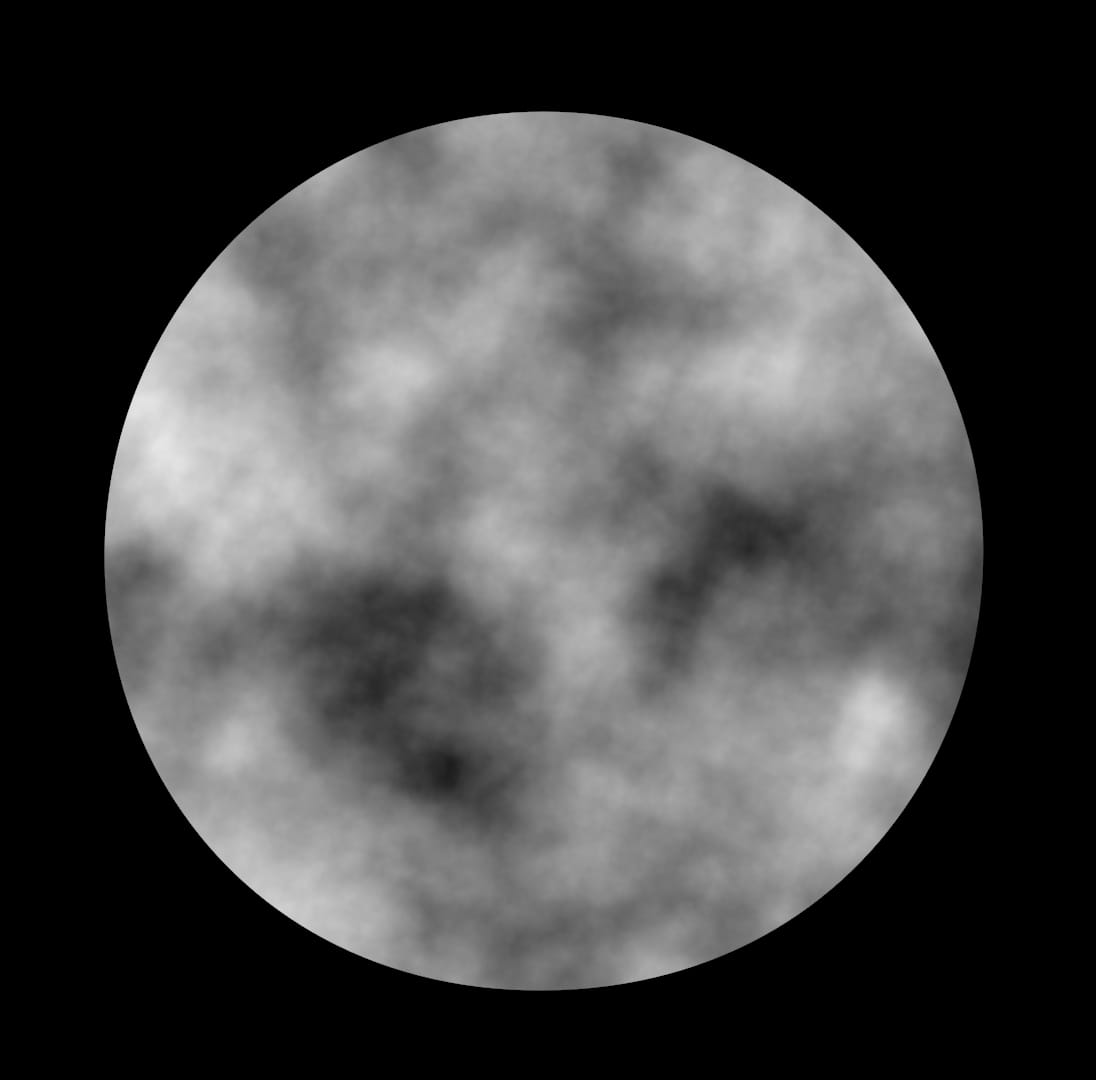
A noise texture and a soft matte.
The issue is, that when we mask the noise texture by a soft matte, we end up only keeping the core of the texture noisy and detailed, but get these plain, soft edges around it.

Noise matte with soft-masked edges. The smooth edges feel out of place when compared to the detail we can see in the core.
Or, if we mask the noise texture by a hard matte, we get unnaturally hard and straight lines along the edges, often a worse result.
Noise matte with hard-masked edges.
To fix these edge problems, instead of using a Merge (mask) or a Merge (multiply) to mask your noise texture by your soft matte, invert the soft matte and subtract it (A) from the noise texture (B) using a Merge (from).
Now, you’ll get defined edge detail in addition to the already detailed core.
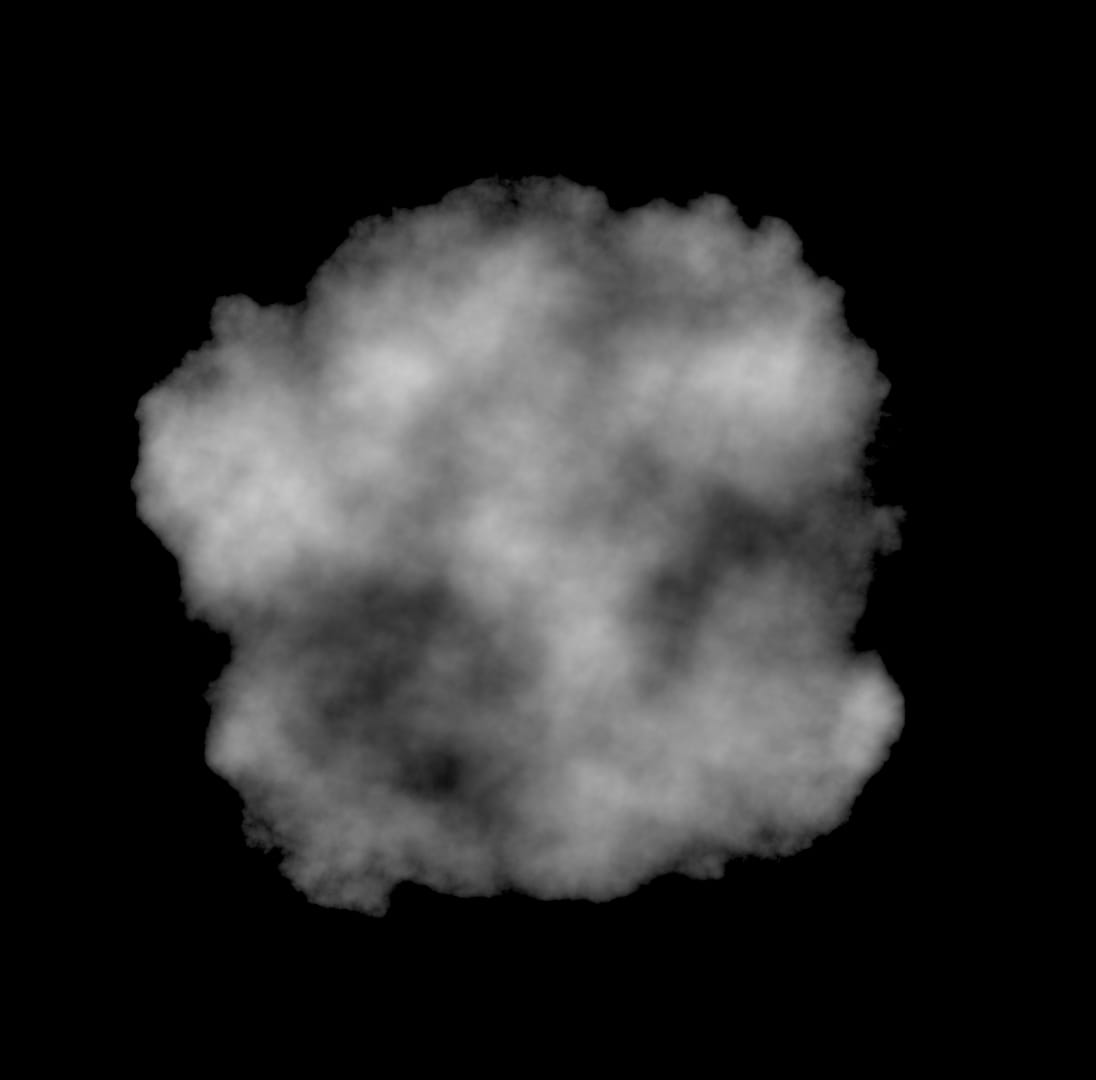
Noise matte with organic detail along the edges, obtained by subtracting the inverted soft matte from the noise texture.
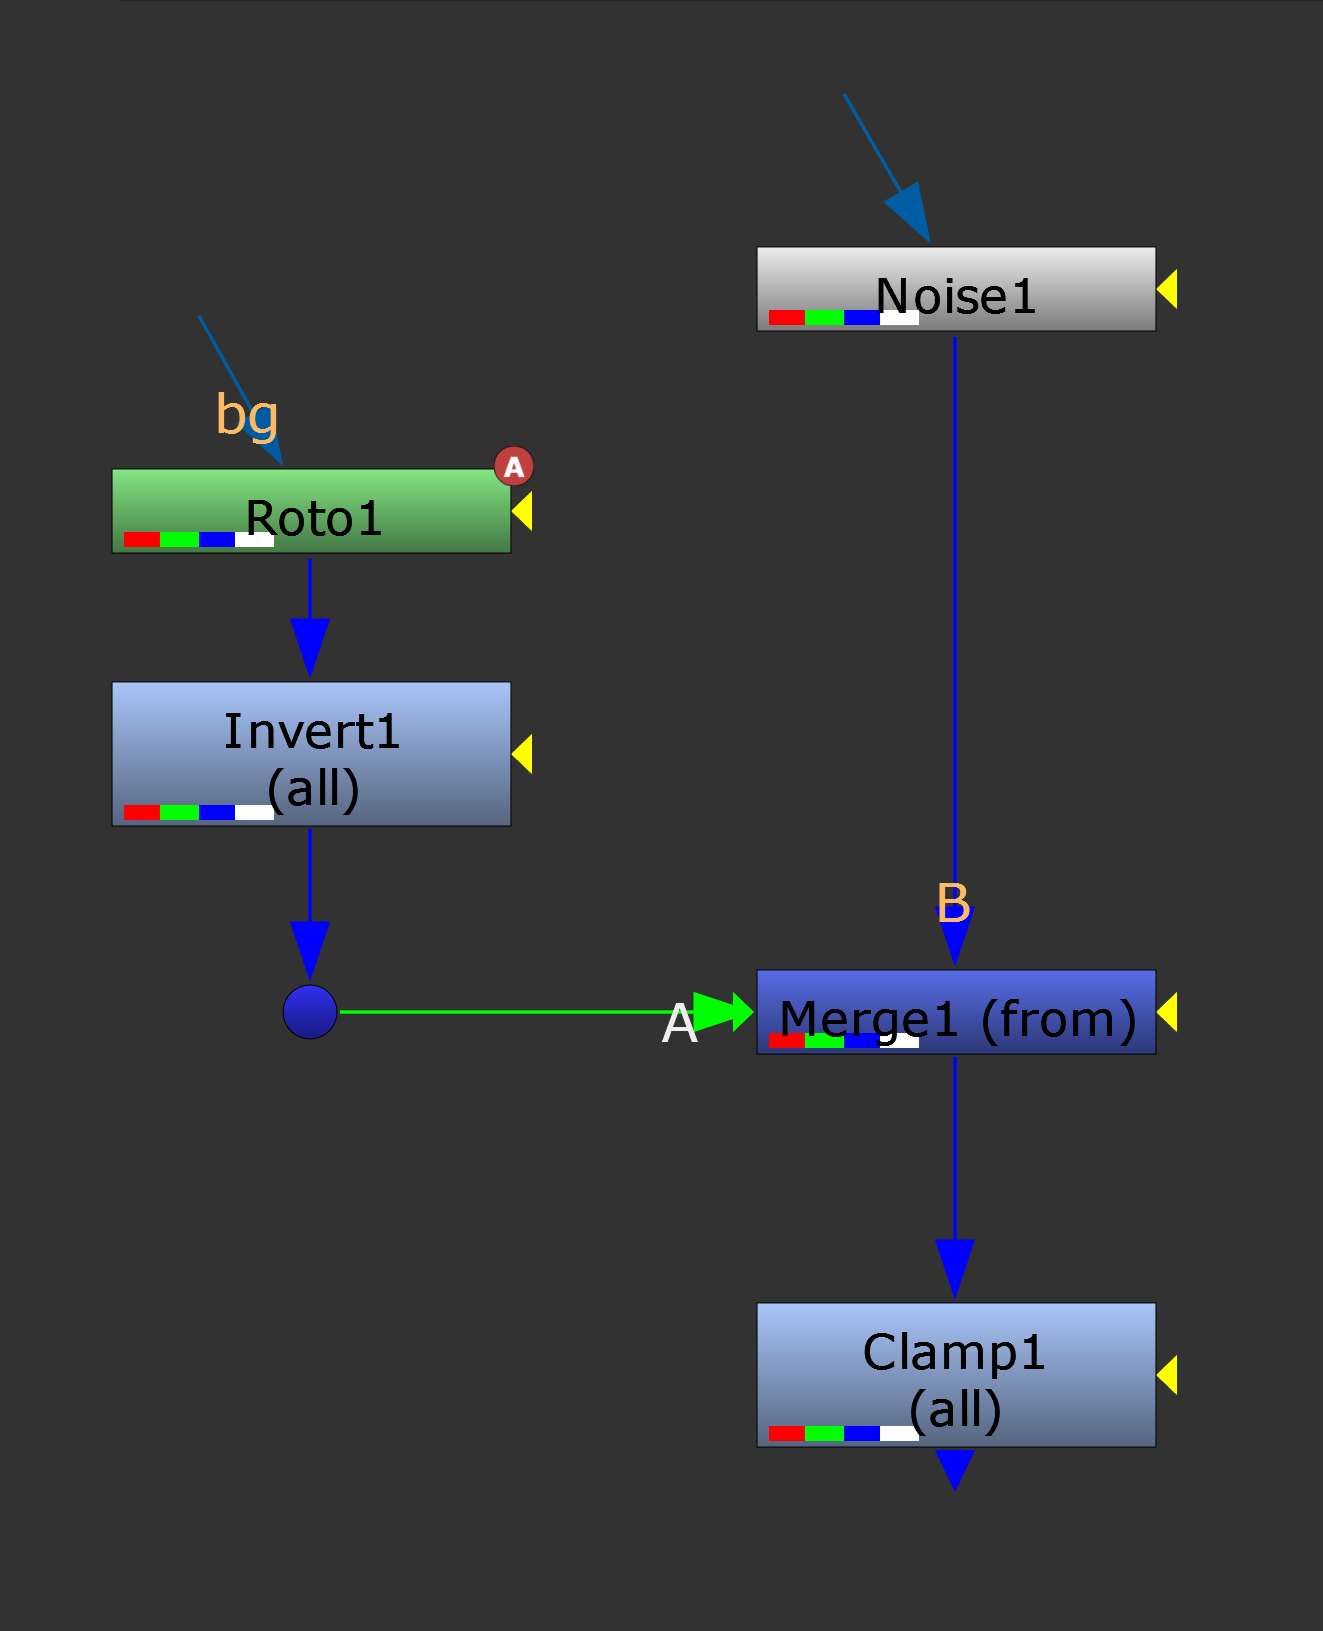
The setup for masking a noise texture by a soft matte, while keeping edge detail.
Making The Setup Procedural
Tracking in or animating a noise texture and a soft matte is manual and time consuming, so let’s instead make the process more procedural.
Rather than using a Noise node and a Roto node for breaking up your CG renders, you can create a position noise and a position matte using a tool like aPMatte.
The setup is essentially the same as before:
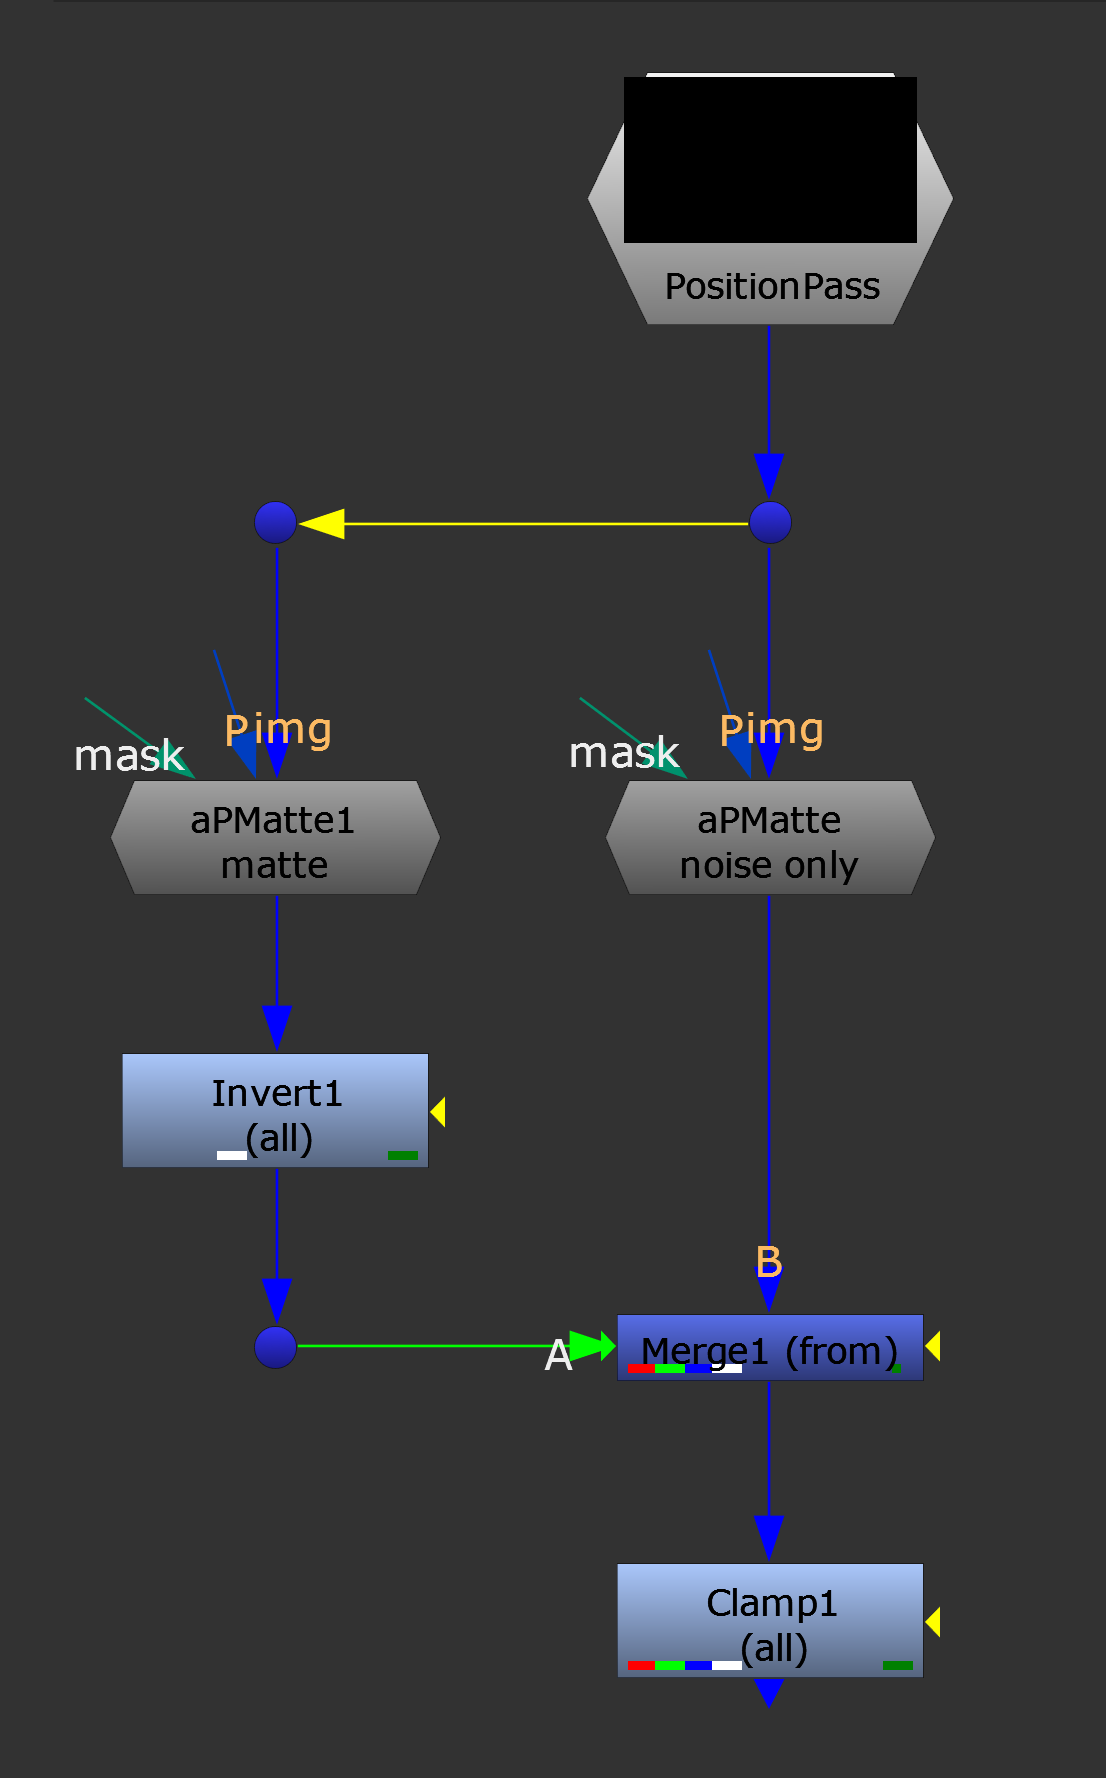
The PNoise/PMatte setup.
Create both a position noise and a position matte for your object, invert the position matte and subtract it (A) from your position noise (B) using a Merge (from).
And, like before, make sure to clamp the result.
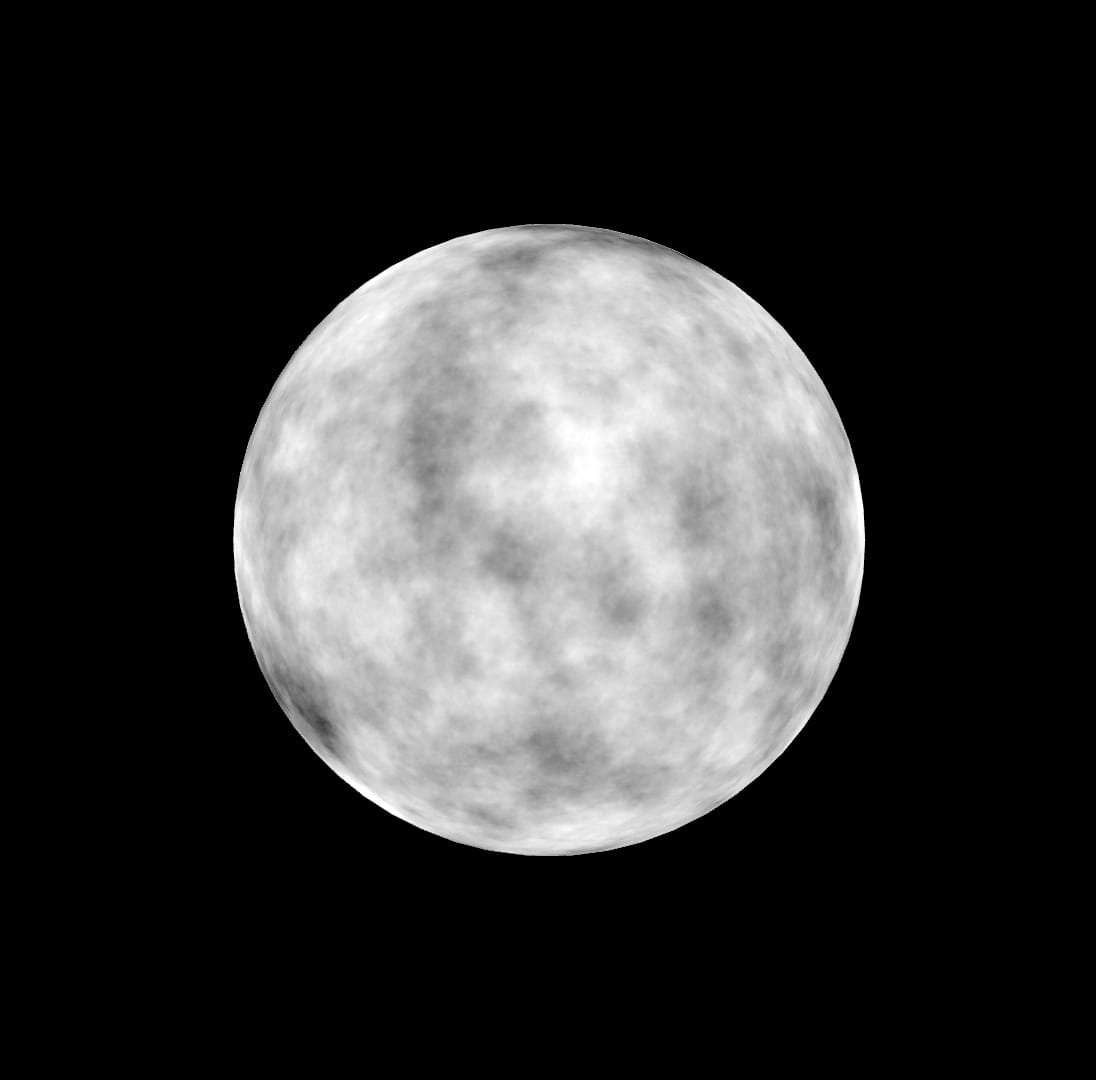
PNoise mapped onto a Sphere.
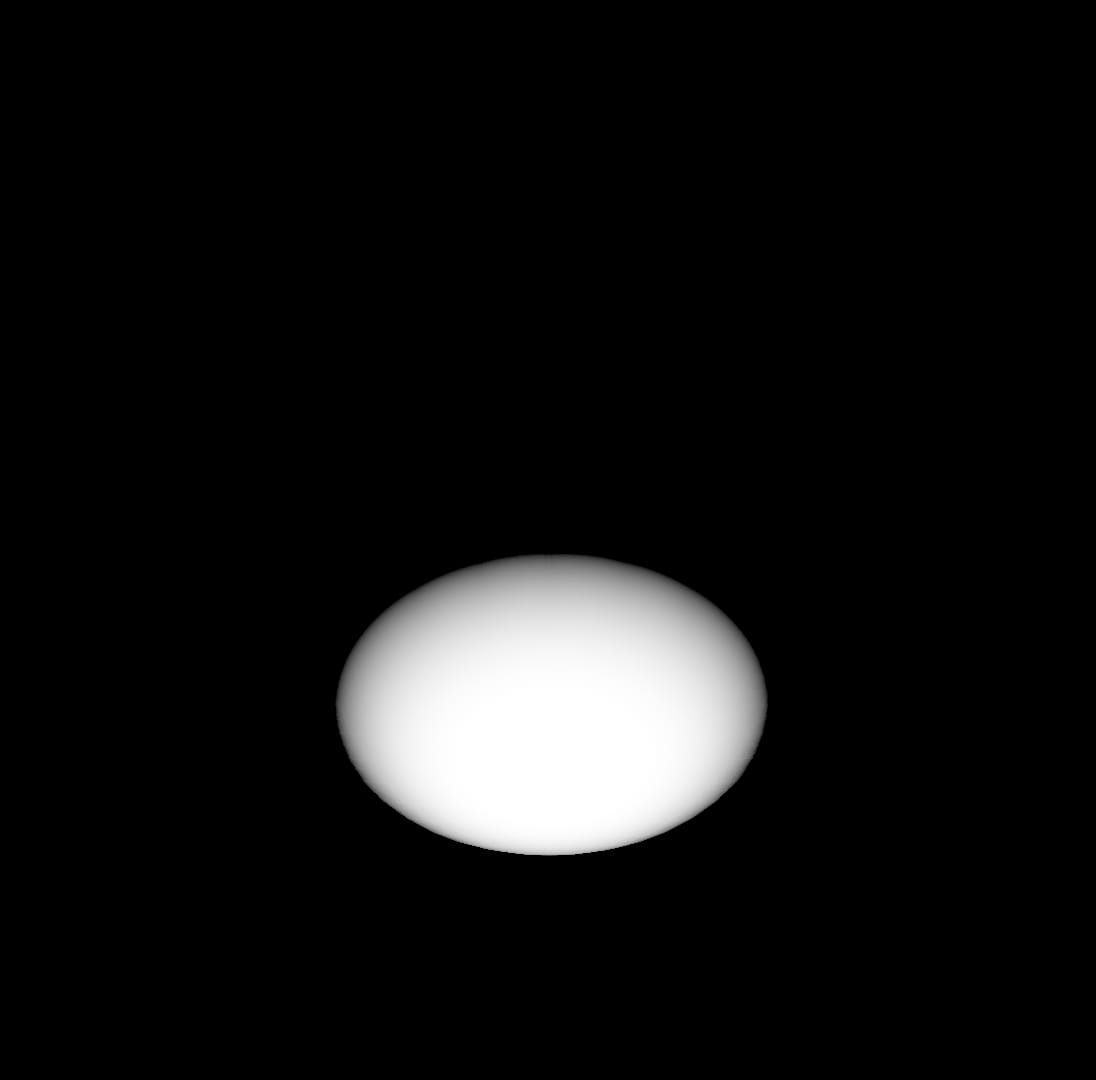
A PMatte for the bottom part of the Sphere.
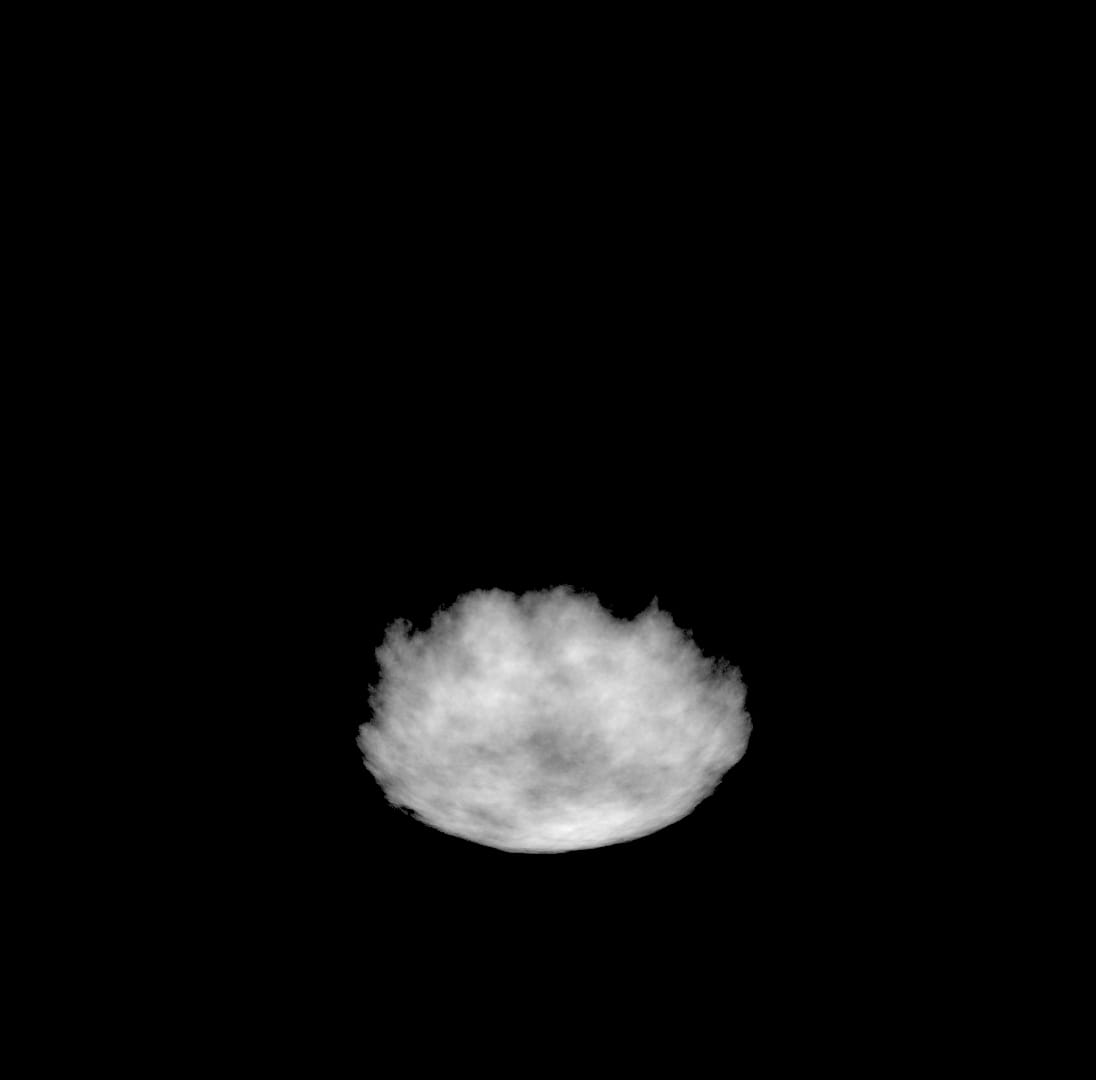
The PNoise ‘masked’ by the PMatte by subtracting the inverted PMatte from the PNoise, resulting in a noise matte with organic edges.
I hope you found this tutorial useful. For more Nuke tips & tricks, see Nuke.


