Compositing Smoke In Nuke
15 tips & tricks for compositing smoke in a realistic way…

15 tips & tricks for compositing smoke in a realistic way…
Particulate Matter
Smoke is a concentration of small particles in the air.
Visible smoke typically consists of soot, tar, oils, and ash – small, unburned particles that are left over when there isn’t enough oxygen to burn the fuel completely.
Each particle on its own is too small to see with the naked eye, but when they come together, we see them as smoke. This concentration of airborne particles interact with light – both catching light and blocking it.
Depending on how densely concentrated the particles are, the smoke will occlude or obscure parts of the background behind it by a varying amount.
Which leads us to the first tip for compositing smoke:
1. Smoke Isn’t Additive
Smoke should not be composited with the background using a Plus or Screen operation.
The smoke particles catch and block light – they don’t cast light on, or brighten up, the background. There may be pockets of light in the smoke, or there may be white smoke that is brighter than what’s behind it, but the smoke itself doesn’t brighten up the background.
Adding smoke to the background is a common mistake, and results in a strange transparency and a brightening of the background which doesn't look realistic.
Instead, use the Over operation when compositing smoke.
Using the Over operation (middle image) is the more physically accurate way of combining smoke with your scene. Using the Plus operation (last image) leads to an unwanted brightening of the BG.
It’s important to keep in mind that smoke is indeed a physical, real, and tangible phenomenon. It follows the laws of physics, and the smoke volume is made up of actual particles of a certain size.
Speaking of size, this leads us to the second tip for compositing smoke:
2. Smoke Has A Familiar Scale
If you scale up a cigarette smoke element to the size of a building, it’s not going to look right.
Neither will scaling down the pyroclastic flow of an erupting volcano to the size of a car exhaust. Small scale smoke looks, moves, and interacts with the surroundings differently to large scale smoke.
So, make sure you get the scale of your smoke right. One of the biggest giveaways is when you scale a smoke element either up or down too far, and it starts looking and behaving in an unrealistic way.
A small smoke element scaled up too far will lack visual texture detail and internal motion, while at the same time moving too fast across the screen. On the other hand, a large smoke element scaled down too far will seem overly detailed and too slow.
Which leads us to the next tip, about speed:
3. Smoke Has A Familiar Speed
Not only does the amount of detail in the smoke play an important part in conveying its scale, the speed of the smoke element also affects its perceived size.
Large scale smoke is usually seen from a distance, and so even if the individual particles would move at the same speed as ones in a small scale smoke element – because of the distance – the large scale smoke would appear to be moving more slowly.
And so if you have to scale a smoke element significantly up or down, you will usually have to compensate by retiming the element. Slow down small scale smoke elements which have been scaled up, and speed up large scale smoke elements which have been scaled down.
💡 Smoke elements are also often shot at a higher frame rate. You may for example have an element shot at 48 FPS or 96 FPS, which will be used in a 24 FPS project. Retime the element and add motion blur to it as needed.
On the topic of speed, let’s move on to tip number 4 about the movement of smoke:
4. Smoke Has A Familiar Motion
Smoke billows, it doesn't fly around neatly as an unchanging, constrained shape.
Animating a smoke element across the screen doesn't look anything like the real thing moving across.
As much as you can, keep the natural movement of the smoke as it is in the element. That's how the smoke actually moved in real life. Too much transformation applied to the element will quickly start to make it look fake. Like an old school video game sprite.
Remember, smoke looks and moves the way it does much because of its volumetric properties:
5. Smoke Isn’t Flat
Smoke is a three dimensional volume of fine particles.
When compositing 2D smoke elements, having several separate layers is usually better than trying to make one single layer work.
Placing layers of smoke on Cards at different depths in 3D space will give you a sense of volume, because you get both parallax and more variation in the smoke density.
Having multiple layers of smoke is very beneficial when there is a larger camera move, where a single layer of smoke would start to break in perspective at certain camera angles.
If you combine using multiple layers of Cards with using the Deep thickness trick, you can really start to embed objects into what feels like a volume of smoke by using a DeepMerge (holdout).
💡 You can for example live-project a rotoscoped person on a Card, and animate the Card’s position in 3D space as the person walks around through the smoke. With the added Deep thickness on the smoke and person, they will look like they are smoothly walking deeper into the smoke. (As opposed to the stepping you get if the Card with the person simply travels through flat smoke Cards only).
So smoke consists of real, three dimensional, airborne particles. And they interact with light:
6. Smoke Is Affected By Surrounding Light
Smoke catches light, and is therefore affected by its surroundings.
When smoke is near a light source it will become illuminated by it, making the smoke look brighter in that local area. The smoke will also be affected by the light’s colour. Shining a red light on white smoke will naturally colour the smoke towards red.
But not only does direct lighting affect the smoke, indirect lighting will also have an impact. Reflected light from the environment will colour the smoke, although this effect can often be quite subtle. A lush, green forest will tint the smoke towards green, but only lightly, for example.
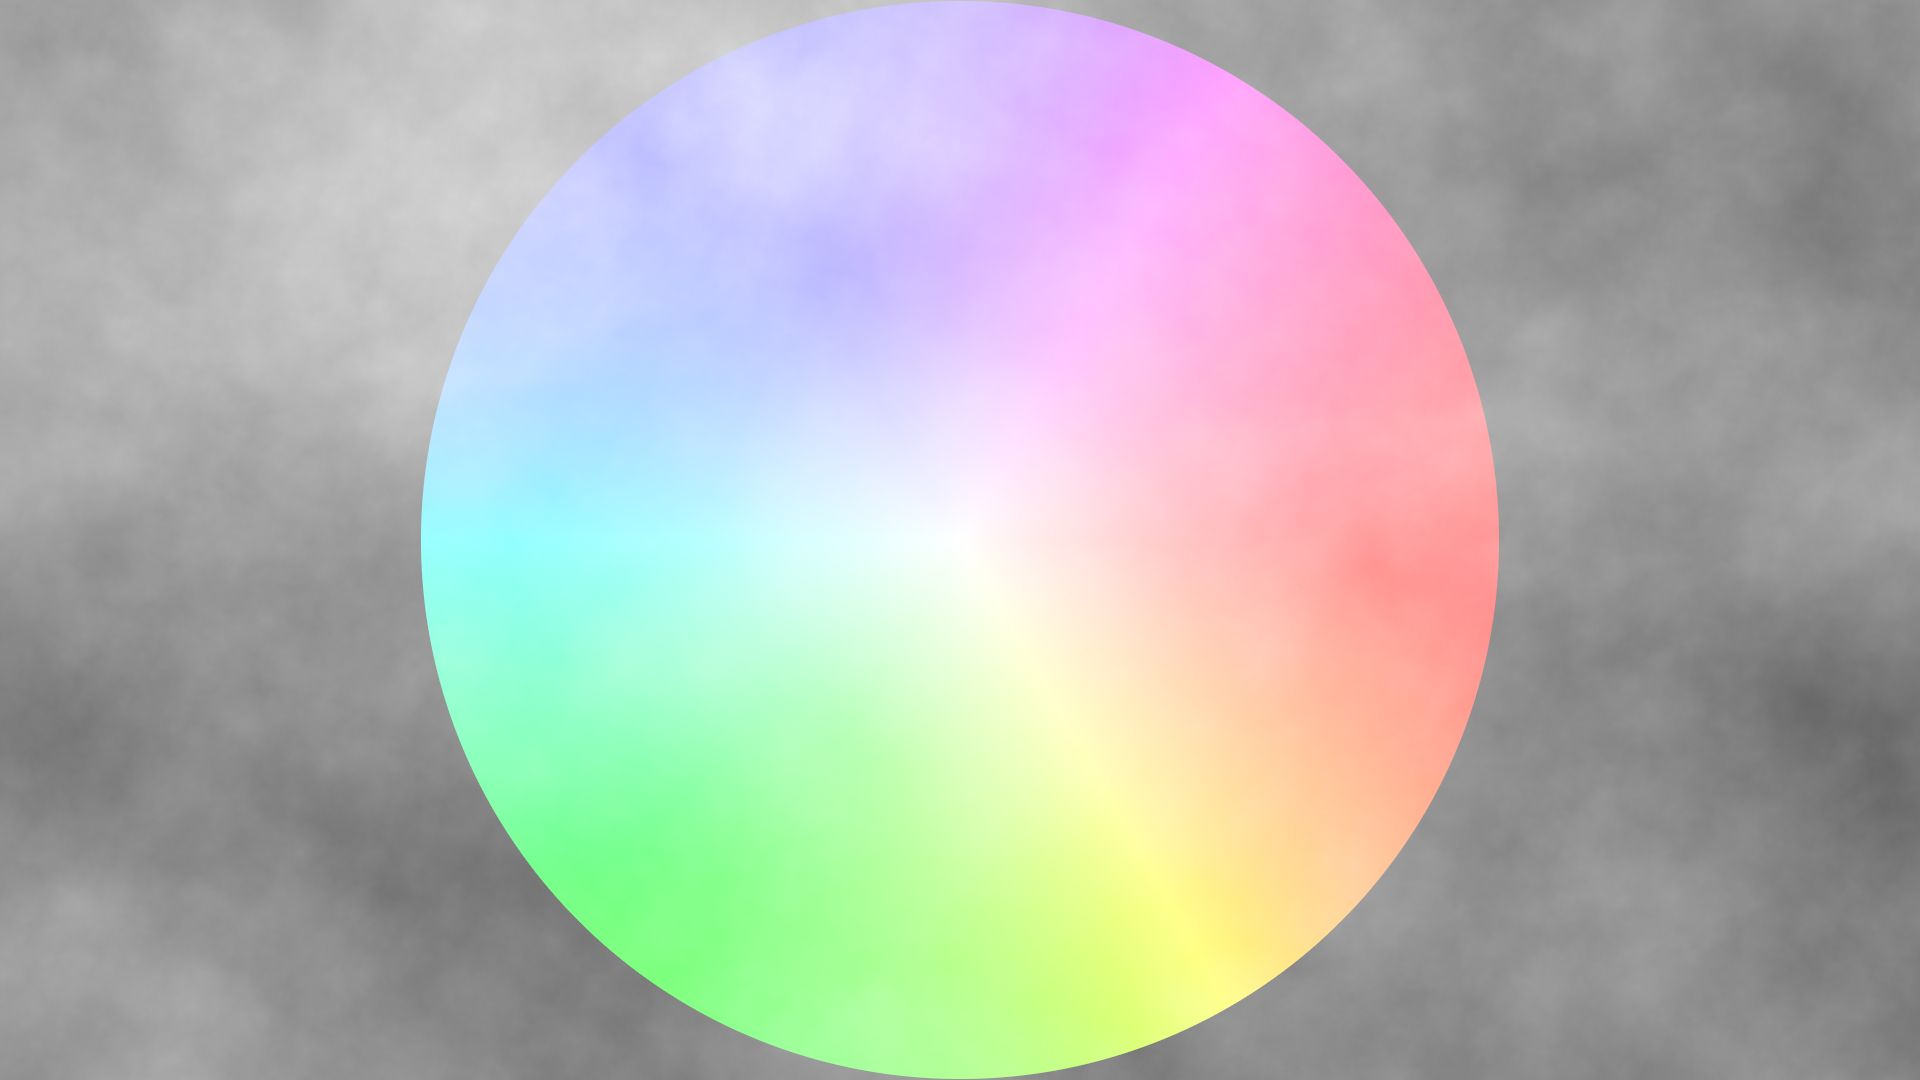
To help get the right smoke colour, you can blur the background and transfer a portion of its chroma values to the smoke:
Transferring chroma values from the background to the smoke.
To do this, first blur the background by a fair amount, for example 200. That’s because you only want to transfer the general colour of the background to the smoke. You don’t want any specific details or patterns showing though, making the smoke look additive.
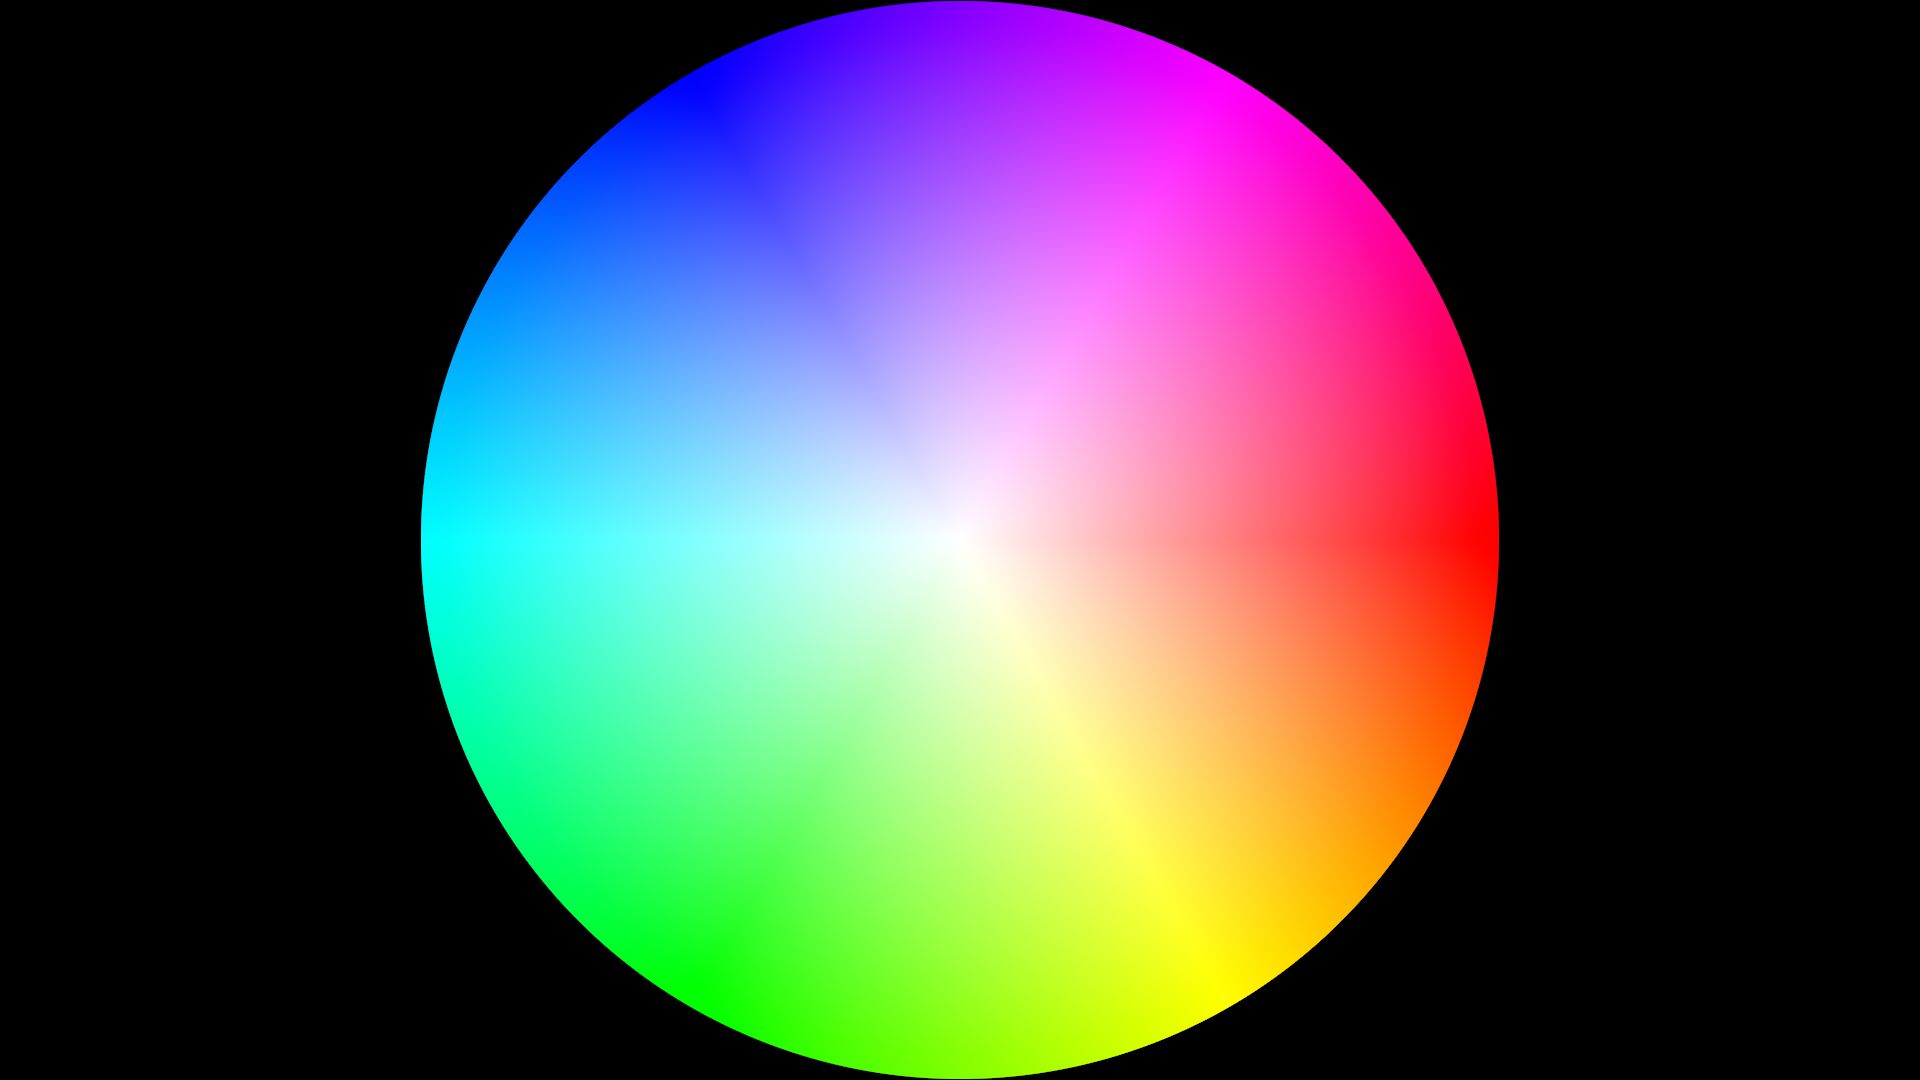
Next, convert the colour space from Linear to a colour space which smoothly separates the chroma from the luminance, such as YCbCr. (I've found using the HSV colour space to be inferior because of the way it separates the colour. Take a ColorWheel node and view it in HSV vs. YCbCr, for example).
In the YCbCr colour space, the luminance (Y) can be found in the first channel (red), while the colours (Cb and Cr) can be found in the last two channels (green and blue).
You’ll be looking to transfer the two colour channels to the smoke, while leaving the luminance of the smoke unchanged:
Unpremultiply the smoke and convert the smoke’s colour space to YCbCr as well. Then, add a Copy node with the A input connected to the first Colorspace node (with the blurred BG), and the B input connected to the second Colorspace node (with the smoke).
Change the Copy node so that it copies green (Cb) to green, and blue (Cr) to blue.
After the Copy node, add another Colorspace node, reversing the colour space back from YCbCr to Linear.
Lastly, premultiply the smoke before merging the result over the composite.
Now you can lower the mix slider in the Copy node as needed, dialling in exactly how much chroma you want to transfer from the background to the smoke. Adjust the Blur node as well, to get as much local colour as you need.
💡 This technique doesn’t replace the need for manual grading/colour correction on the smoke, but it does help sit in the smoke nicely with the scene once a base grade match has been established.
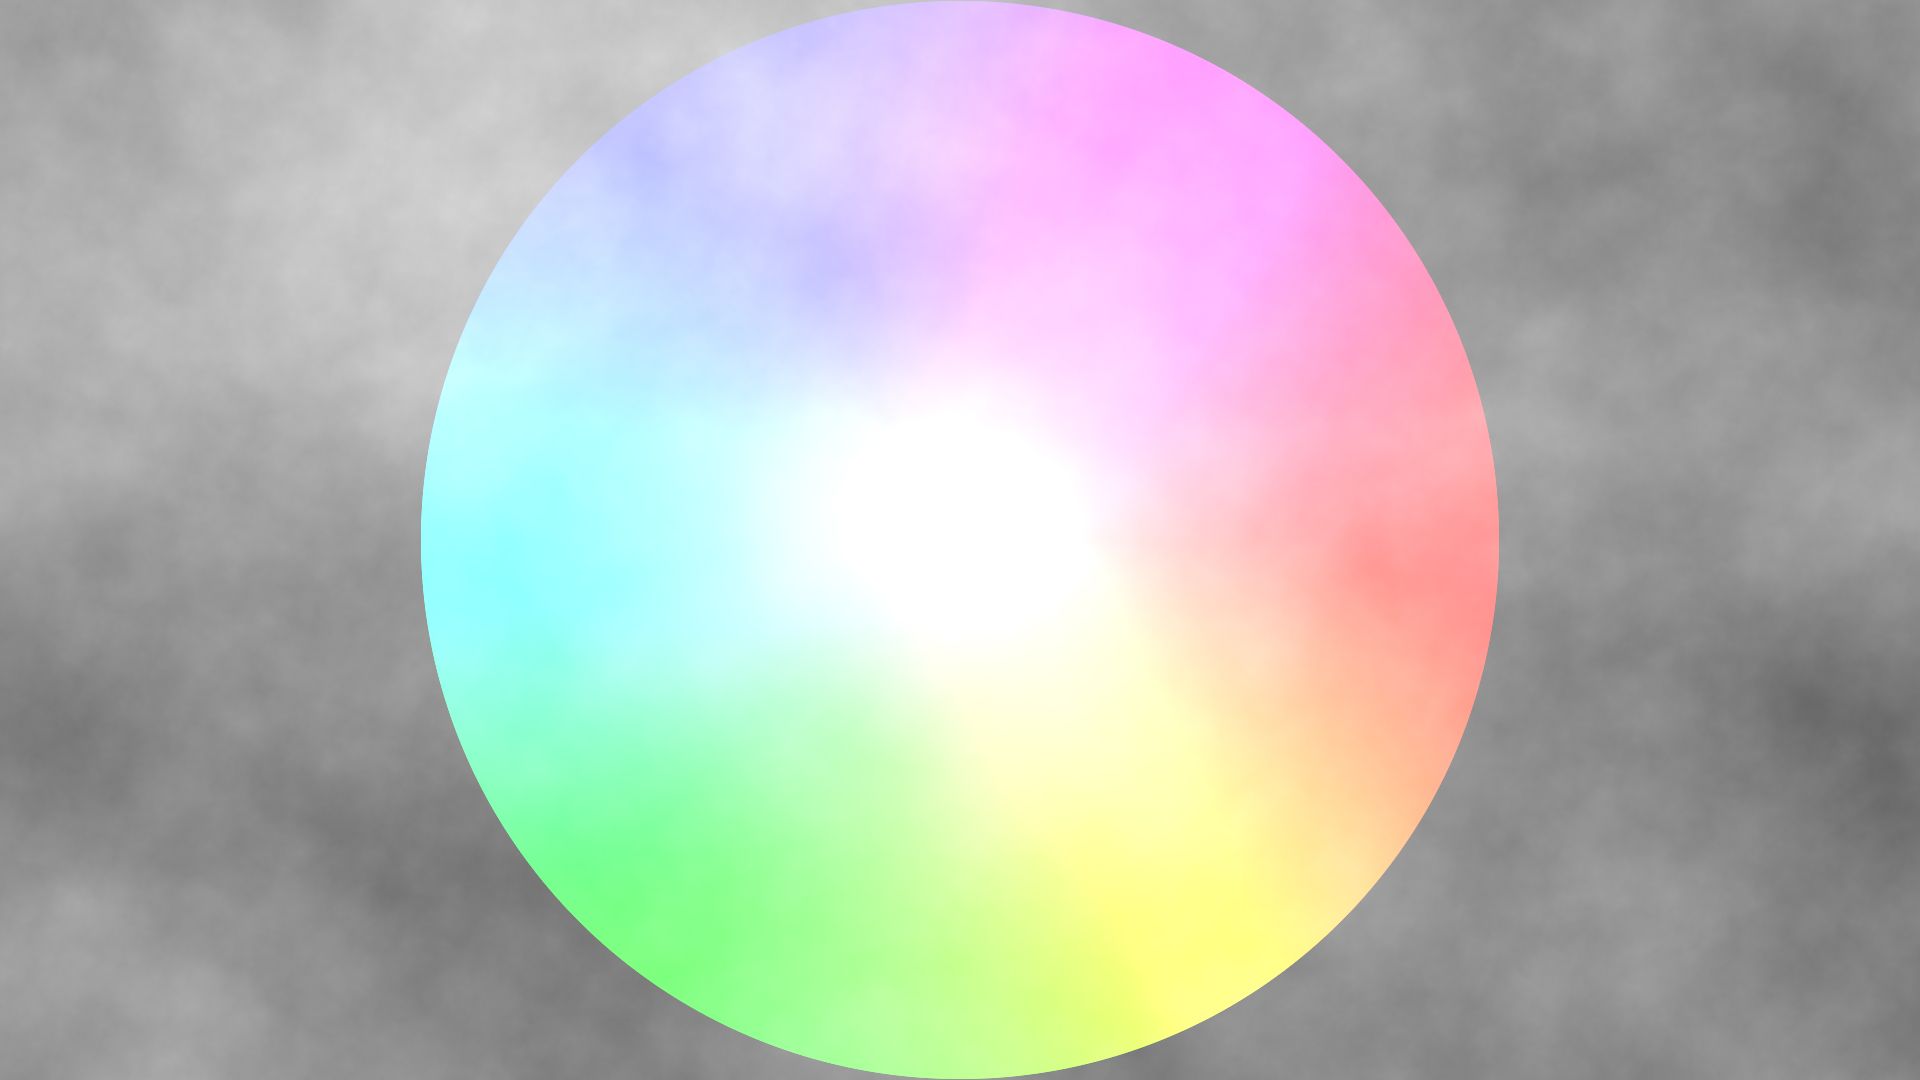
If there is a bright light shining behind the smoke, you can also transfer some of the luminance from the plate to the smoke.
You could do that with a separate Copy node below the first one, copying red (Y) to red, and mixing it back separately. Or, you could Plus the blurred background with the unpremultiplied smoke, copy the smoke alpha back into the stream and premultiply again. Then, adjust the blur as needed until the light source looks correctly obscured.
All right, so we have established that smoke is affected by the surrounding light – but smoke also affects the light itself:
7. Smoke Scatters Light
Smoke scatters the light passing through it.
That happens in large part because of how the light bounces around between the particles inside the volume, but also because where there is smoke, there is usually heat. Hot air is less dense than cold air, and light refracts differently depending on the air density.
When hot air mixes with cold air, the light is bent on its way through, and the background behind the smoke gets distorted.
To replicate this behaviour in your composite, you can connect an iBlur node to the background, mask it by the smoke’s alpha, and mix it back as needed (A mix value of 0.5 is a good start).
Then, layer the smoke on top. The background will now look less clear through the transparent areas of the smoke, just like in real life.
Another consequence of scattering light is that smoke softens the shadows cast by light passing through it. Harsh sunlight going through smoke won’t cast as sharp shadows as it normally would. So make sure to adjust the shadows in the plate accordingly.
Speaking of shadows:
8. Smoke Casts Shadows
Smoke blocks light and therefore it casts shadows.
Remember to add shadows from the smoke onto objects in the scene – if the lighting calls for it. And don't forget to add a contact shadow if the smoke is near the ground.
You can CornerPin the smoke, flip it and use it as a mask to grade shadows onto the environment, or you can project shadows.
You'll be surprised at how important it is to add shadows from the smoke onto the scene, especially with denser smoke. It will really help make the smoke sit nicely with its surroundings.
Moving on, shadows are not the only thing that smoke will cast:
9. Smoke Casts Reflections
Although it can sometimes be dark and mysterious, smoke is not vampiric – it will cast reflections.
If there are reflective surfaces near the smoke, remember to add reflections of the smoke to realistically embed the smoke into the scene.
The following will usually do the trick:
Branch off a new pipe from the smoke.
Scale the smoke to -1 in X or Y (or for example to -0.5, depending on the angle). It’s useful to change the pivot point to the edge of the smoke before scaling.
Reposition the reflection as needed. Remember, the closer the smoke is to the reflective surface, the closer in screen space the reflection will be to the smoke. (Reach your hand out to a mirror and your hand's reflection will be much closer to your hand than your body's reflection is to your body).
Merge the result over the composite, mix it back if needed, and grade it to sit in (reflections are usually a little bit darker).
Okay so smoke isn't vampiric, and it's not magical, either:
10. Smoke Bumps Into Things
Smoke will move around objects and through openings, but it isn't magical – it doesn't pass through solid objects.
If you have a smoke element going up against a wall, for example, make sure to mask it out so that it doesn’t pass through to the other side.
Smoke will get redirected when it hits an object that's solid. That can be tricky to do outside of FX simulations, but it is possible in some cases. Combine multiple elements and/or gently warp them to follow the path the smoke should take.
While smoke doesn’t pass through solid objects, objects can pass through smoke:
11. Smoke Gets Pushed Around
If an object travels through smoke, the smoke gives way.
The moving air around the object pushes the smoke to the side as the object passes through. The more substantial the object, like a fast moving car, the more the smoke gets pushed around.
Make sure to animate the smoke reacting to the movements of other objects. Again, if you don't have an FX simulation, you can combine multiple elements together and/or warp them.
As smoke moves around, there will be pockets of denser smoke and less dense smoke:
12. Smoke Has Varying Densities
Smoke is not uniformly thick or thin.
Some areas of the smoke may contain a denser concentration of particles and be more opaque than others.
Be relatively gentle when keying smoke and/or grading the smoke alpha. If you push it too far you'll start to lose the natural variation in density, and the smoke will look clamped and edgy.
If you're grading the smoke alpha, you can use my Alpha Density tool for a more natural density change. Another trick is to grade the alpha using a ColorLookup node:
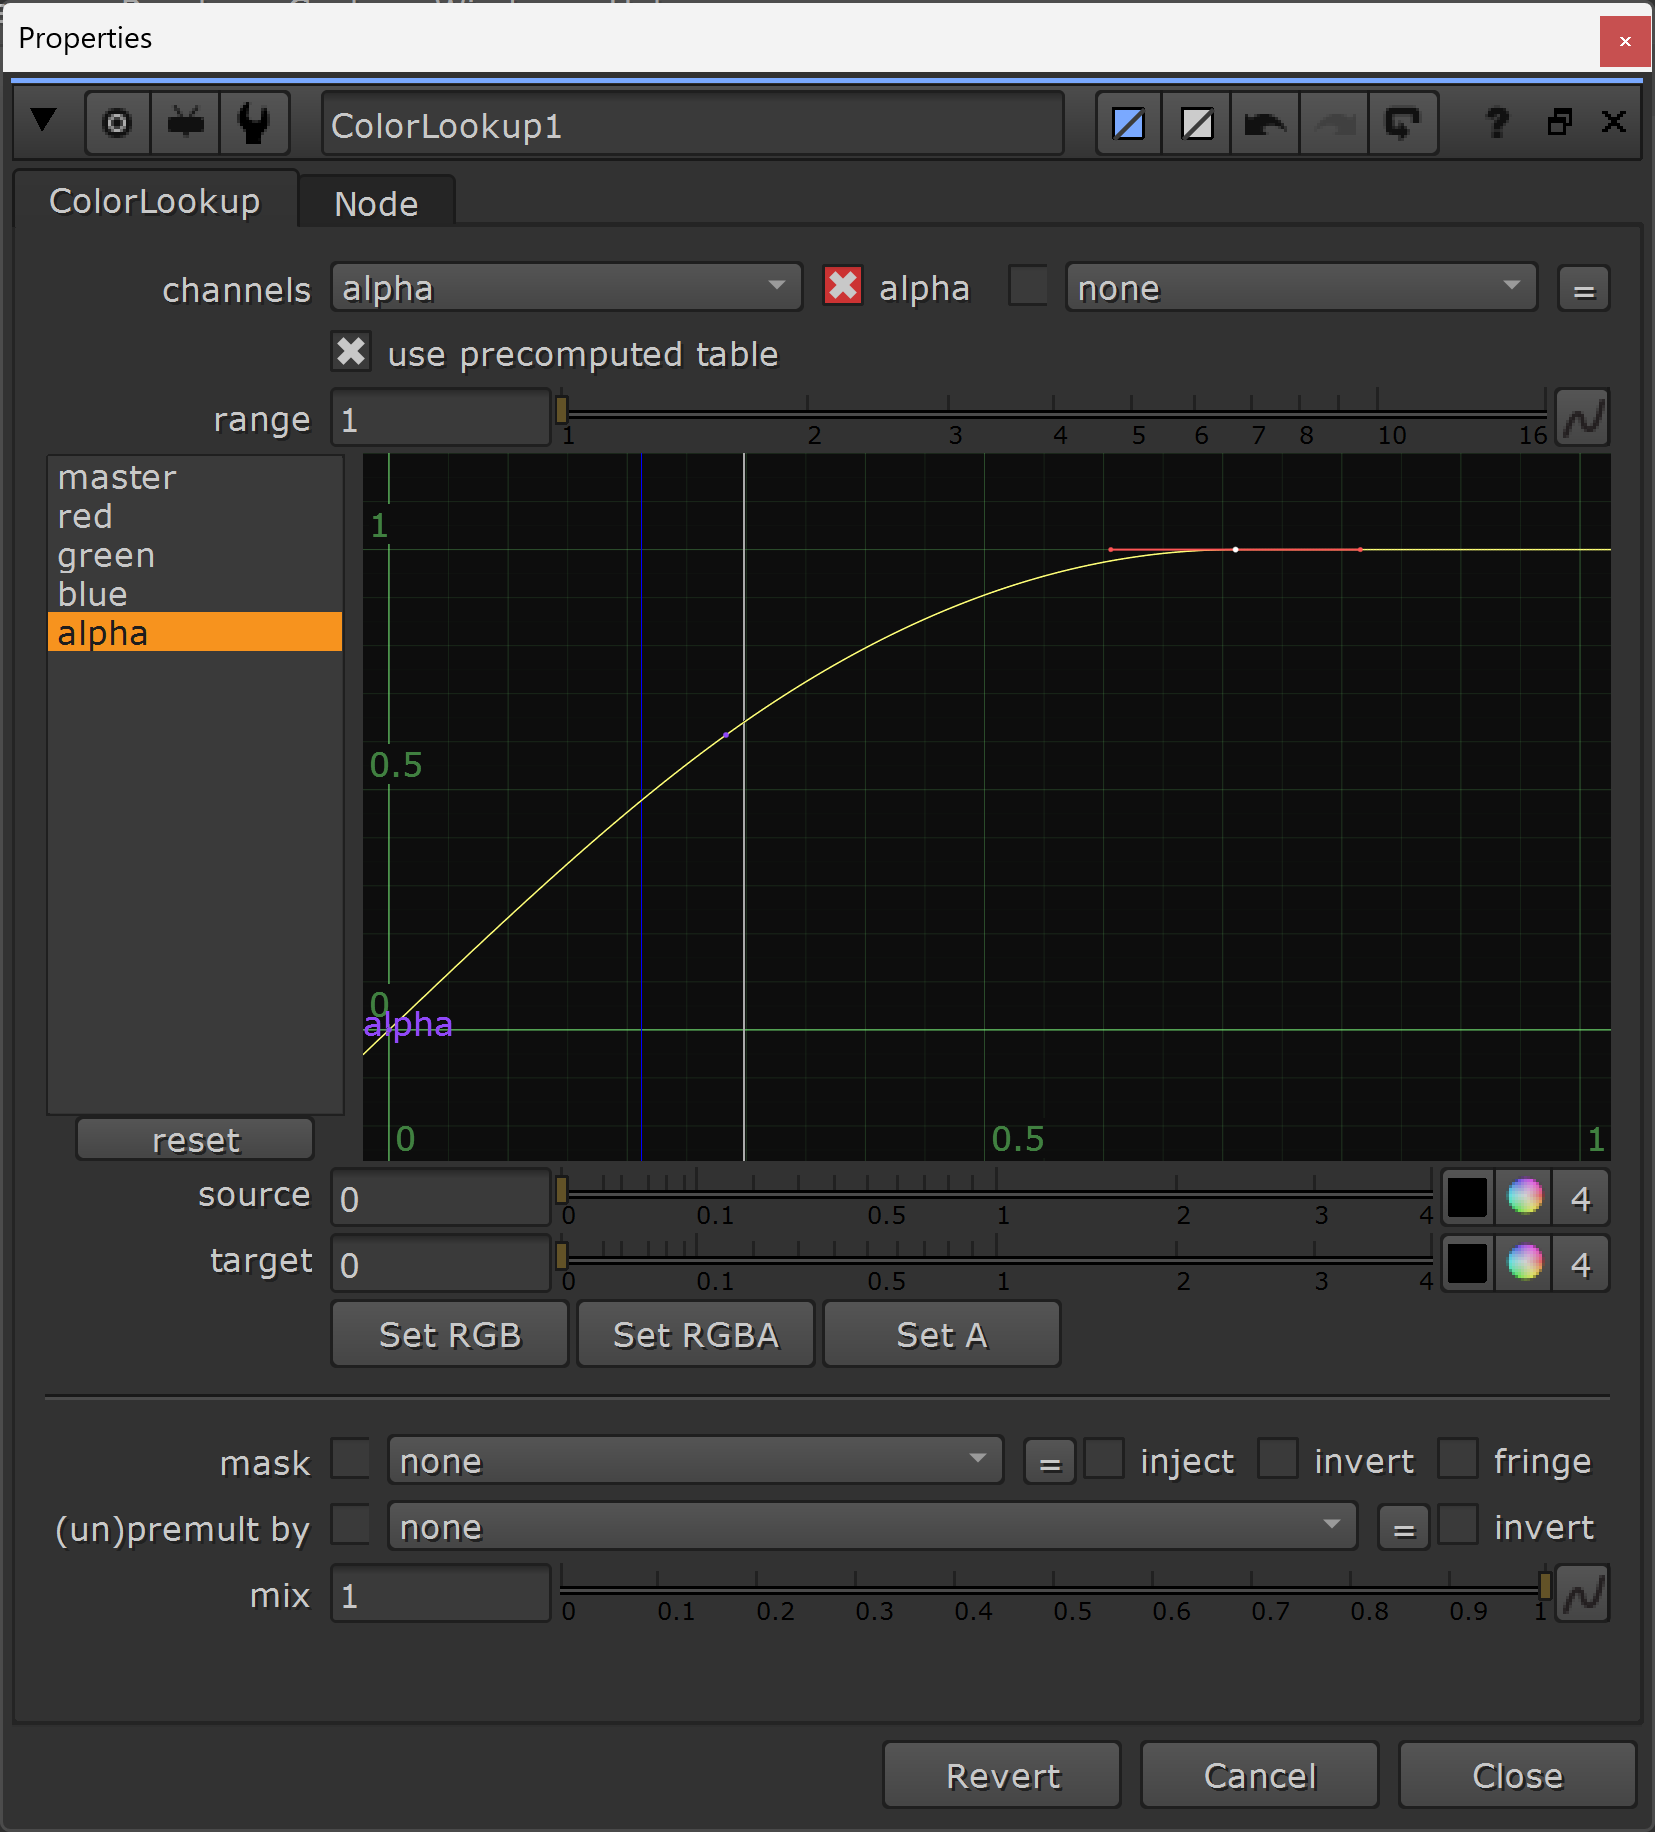
Adjusting the curve of a ColorLookup node.
You can drag the top right point on the curve horizontally to the left (equivalent to gaining up the alpha), and with the point selected press H to smooth the curve out so the transition is less harsh as the alpha values approach 1. You can also Ctrl (Cmd) + Alt + Left click on the middle of the curve to create another point, and move that up or down to adjust the gamma of the alpha.
If your smoke element isn't very dense and doesn't appear strong enough over the composite, you can also just merge it over again. Double or triple it up and see if that gives you a better result. Add a touch more contrast to the alpha of the copies, if needed.
(Almost) no matter the density of the smoke, another thing to keep in mind is that:
13. Smoke Sticks Around
Unless the smoke is extremely thin, and/or the conditions are windy and turbulent, smoke doesn’t disappear quickly.
It takes a long time for smoke to dissipate, and so avoid animating the opacity of the smoke off too quickly.
'Subtle' is often the keyword when it comes to smoke.
14. Study Smoke References From Real Life
The tips above should get you a long way there, but if in doubt, don't guess how smoke should look or behave.
Do the research – find real life references and match your smoke to them. Even magical smoke looks better when rooted in reality.
Whether lingering, forceful, dull, or shimmering, there is value in learning the visual and behavioural traits of different types of smoke.
Depending on what kind of smoke you're compositing, consider the relationship between the colour and the alpha.
For instance, the smoke from a cigarette is fairly bright but not very opaque. It has high RGB values but low alpha values.
On the other hand, an oil fire is dark and very opaque. It has low RGB values but high alpha values.
Somewhere in between the two, you'll for example find smoke from a small signal flare. It may have medium RGB values, tinted a certain colour such as red, and medium alpha values.
Speaking of different types of smoke, there are also many other kinds of airborne particle concentrations:
15. There Are Myriad Particle Concentrations
While smoke is soot and ash based, there are plenty of other types of particles, such as water based, sand based, or dust based.
The tips in this guide also apply to compositing those types of particle volumes.
Feel free to return here for a reminder when compositing things like:
Ash
Atmos
Blood spray
Burnouts
Chimney smoke
Cigarette smoke
Clouds
Cold breath
Confetti
Dust clouds
Dust hits
Dust particles
Exhaust
Explosions
Fires
Flour
Foam
Fog
Glitter
Haze
Incense
Leaves blowing in the wind
Magical smoke
Mist
Muzzle flashes
Oil fires
Powder
Sand storms
Seeds blowing in the wind
Signal flares
Smoke screens
Smoke trails
Snow
Spray
Stardust
Steam
Swarms
Underwater particles
Volcanic eruptions
Waterfalls
Welding fumes
I hope you found this tutorial useful. For more Nuke tips & tricks, see Nuke.


