Erode Dilate Technique In Nuke
The Erode Dilate technique is very versatile and can be used for wire removal, cleaning blue/green screens, removing noise, filling holes in core mattes when keying, and more…
The Erode Dilate technique is very versatile and can be used for wire removal, cleaning blue/green screens, removing noise, filling holes in core mattes when keying, and more.
The Setup
The Erode Dilate technique is quite simple, and only requires two nodes. The idea is to erode in the pixels in the image, and then dilate them back out again by the same amount, and vice versa.
By eroding pixels in and dilating them back out by the same amount you kill bright detail, and by dilating pixels out and eroding them back in by the same amount you kill dark detail. The larger structures in the image will also degrade but typically remain fairly similar to before.
I usually use the Erode (filter) node but you can use any Erode or Dilate node you prefer. Let’s create two Erode (filter) nodes and connect them to each other. Set the channels to rgba in both nodes if you also want to affect the colours and not just the alpha channel.
You will be eroding and dilating by the exact same amount, so in order to only have to adjust one value, you can add this expression in the second Erode (filter) node's size knob:
-parent.FilterErode1.size
(In this case the first Erode (filter) node is called FilterErode1).
The expression above simply takes the size value from the first Erode (filter) node and returns the negative of that value. So a value of 1 becomes -1, and a value of -1 becomes 1.
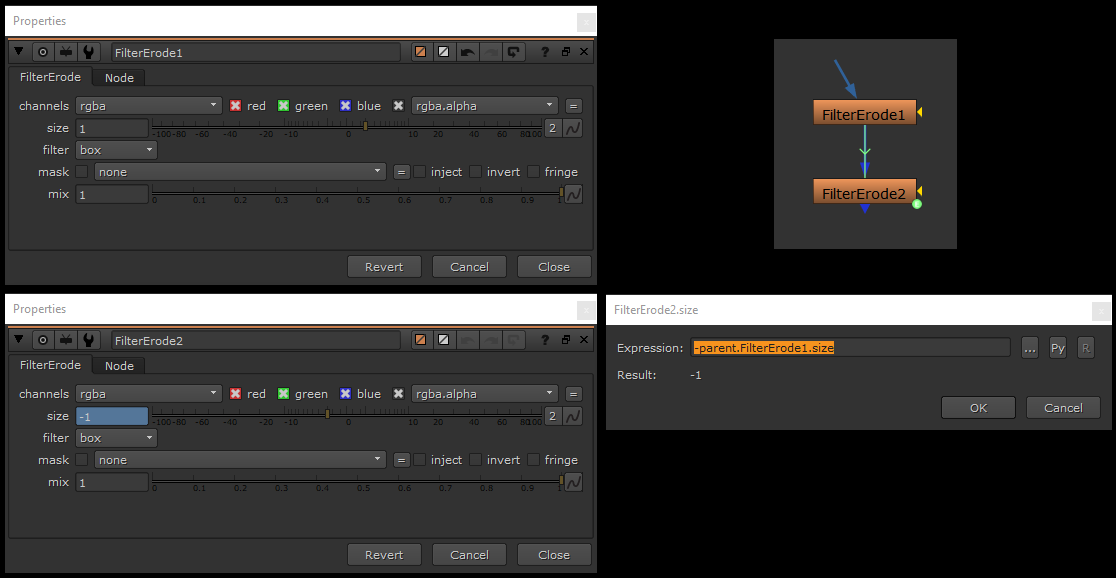
Expression linking the two Erode (filter) nodes.
Removing Wires
Wires tend to be darker than the background, so in this case set the first Erode (filter) node to a negative value so that the pixels are dilated out first, then eroded back in.
The Erode Dilate technique is great for quickly removing wires.
💡 The technique is sensitive to surrounding pixels, so if for example a person moves in front, it will grab values from them. Keymix as needed.
Cleaning Screens
If there is dark dirt or seams on the screen, follow the same procedure as for wire removal above. However, if you want to remove something bright, set the first Erode (filter) node to a positive value so that the pixels are eroded in first, then dilated back out.
The Erode Dilate technique is great for quickly removing small dirt or seams from a green/blue screen.
💡 You can separate the width and height of the erosion/dilation by clicking on the little button with the 2 on it next to the size slider in the Erode (filter) nodes. This can be useful if the wire/seam you want to remove is vertical or horizontal.
Removing Noise
In specific scenarios, the Erode Dilate technique can be used for noise reduction. For example when you have low sampled smoke renders with noise in them:
The Erode Dilate technique is great for removing noise from CG smoke or similar renders where the overall structure in the image can easily survive a slight degradation.
Filling Holes In Core Mattes
One of the more common uses for the Erode Dilate technique is to fill in holes in core mattes when keying:
The Erode Dilate technique is great for filling in holes in core mattes when keying. Note: it will ruin edges and fine detail, so only use the technique for the core matte. Keymix as needed.
Creative Look Development
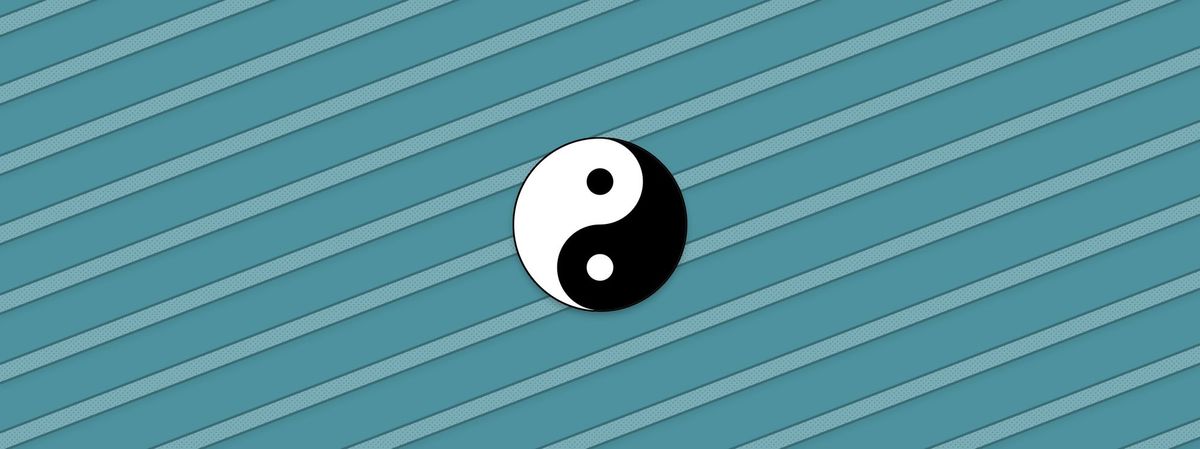
The Erode Dilate technique also has other interesting use cases. For example, you can create particular types of looks or effects, such as this cellular webbing effect:
You can use the Erode Dilate technique to create some interesting visual effects, like the cellular webbing structures in the video above.
Here, I just wrapped the Erode (filter) nodes in two Colorspace nodes, going to the YCbCr colour space and back again, and in the Erode (filter) nodes I changed the channels to red (luminance in YCbCr), and set the filters to gaussian.
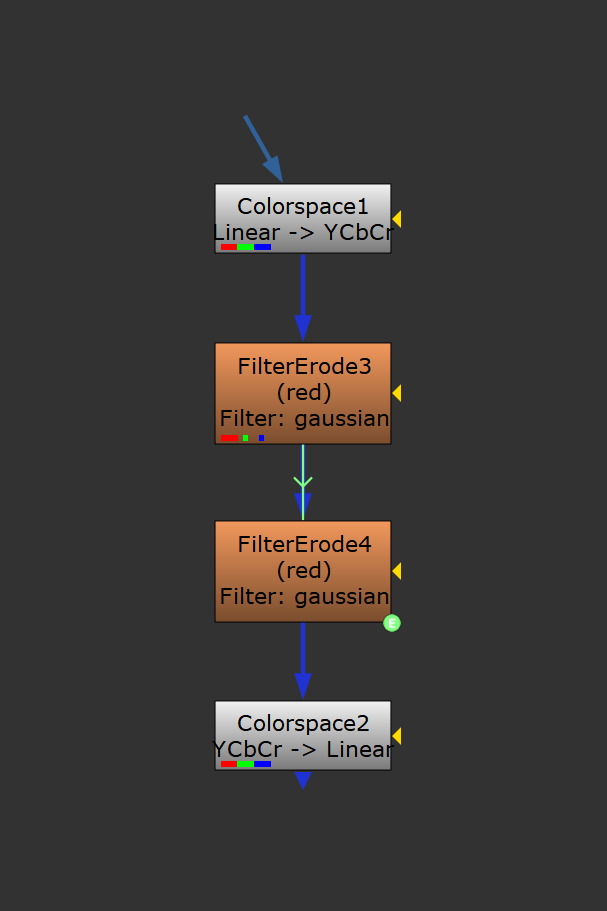
The setup for the webbing effect.
I hope you found this tutorial useful. For more Nuke tips & tricks, see Nuke.


