Creating Custom Particle Effects Using Alphas In Nuke
Spawning particles using alpha masks in order to create bespoke effects…
Spawning particles using alpha masks in order to create bespoke effects…
Controlling The Emission Rate
There is a great feature in the ParticleEmitter node’s settings which many people don’t know about, or use very often.
It’s the rate channel knob, which lets you constrain the emission rate of the particles by using a mask. For example, by using the alpha channel that flows into the emit input of the node.
You can for instance project an alpha mask onto a Card or other geometry, and use that mask to limit the parts of the surface from which the particles will spawn from that geometry.
This can be used to create all sorts of interesting effects.
Most obviously, perhaps, to spawn particles in a specific shape or pattern:
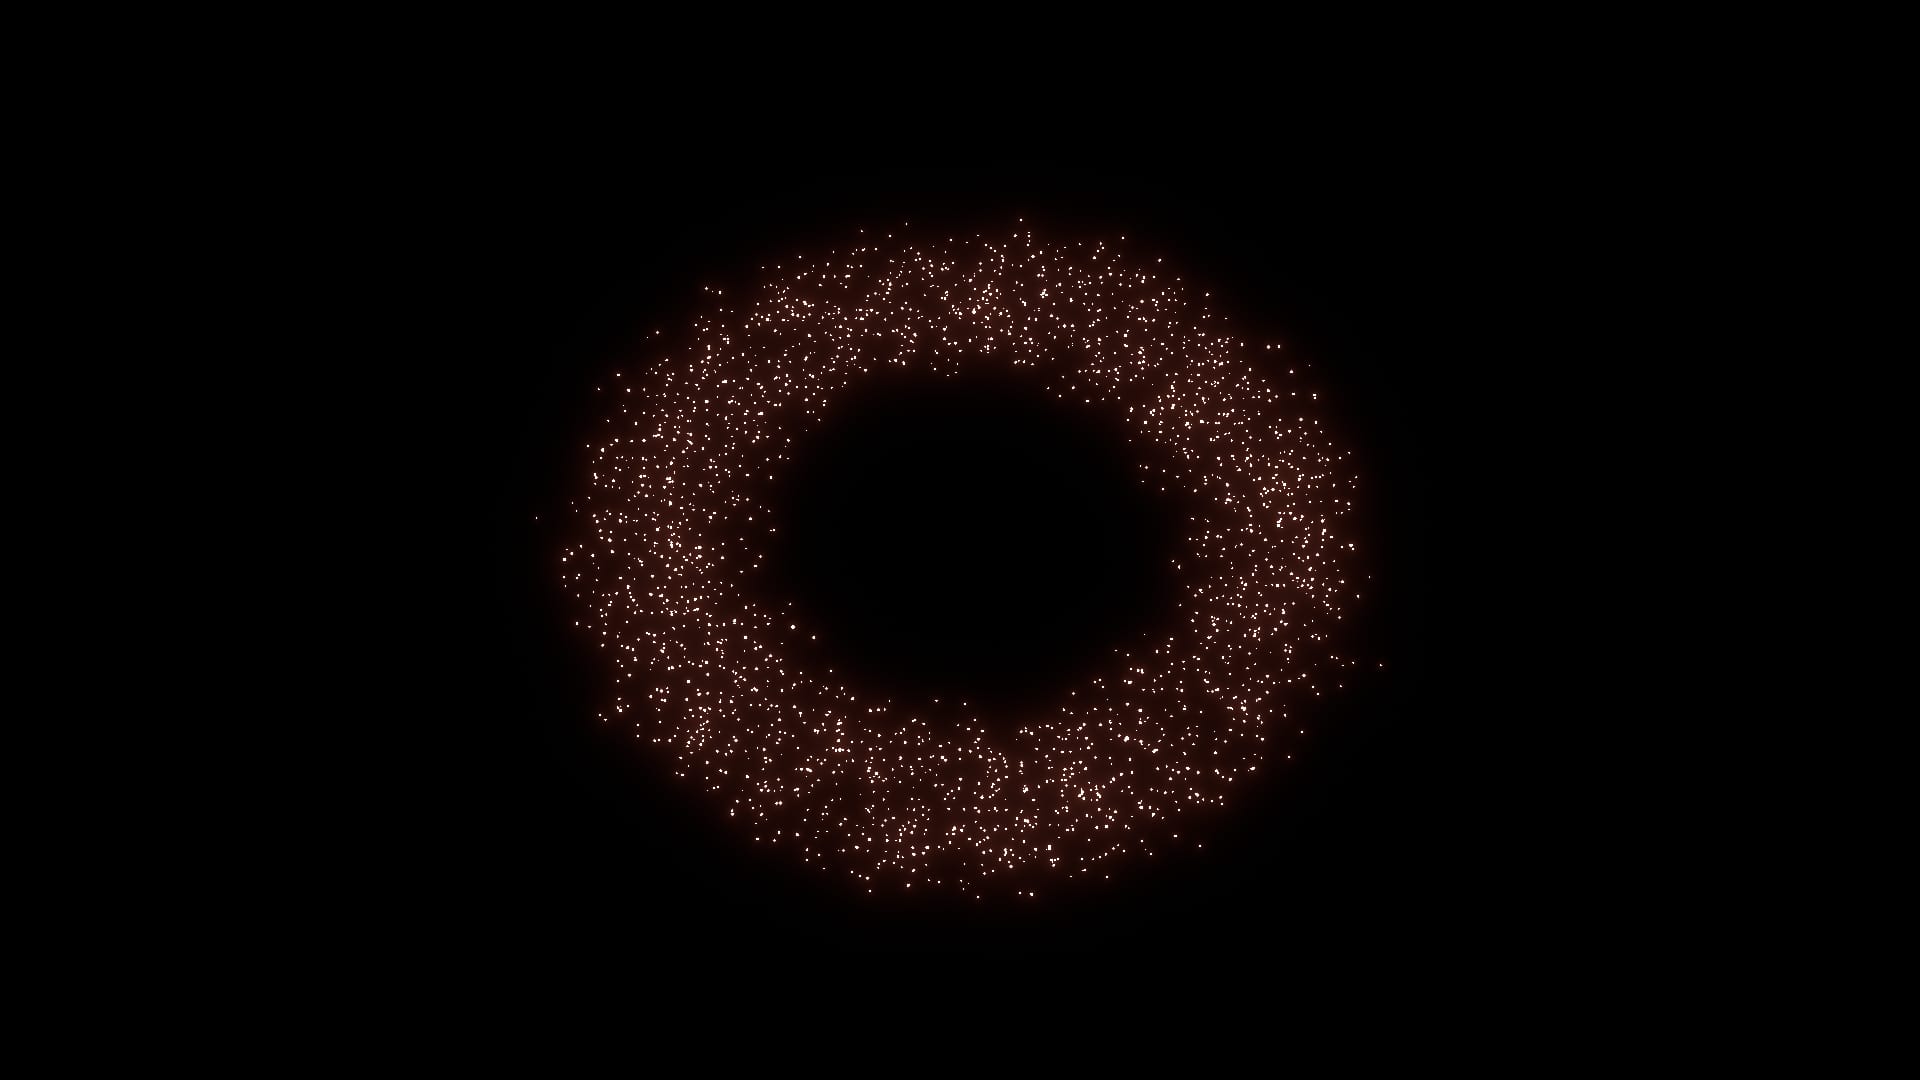
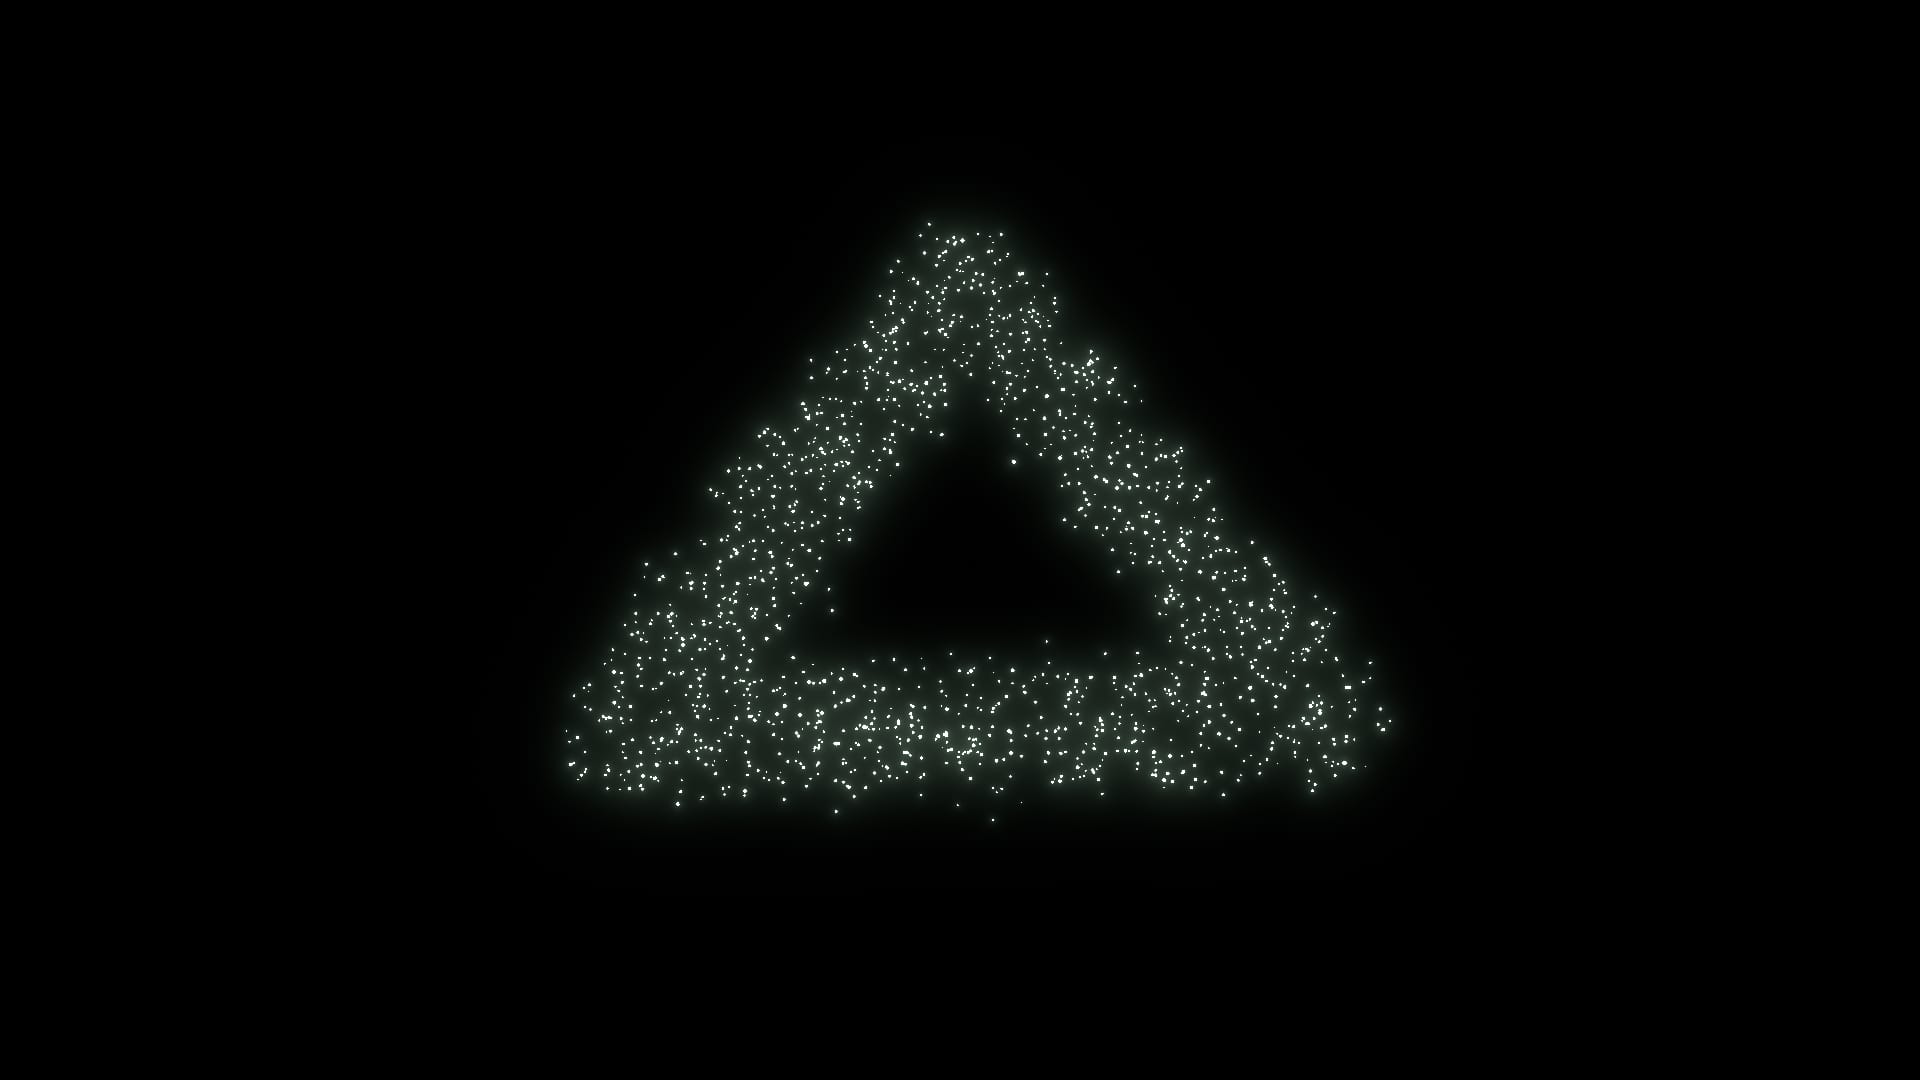
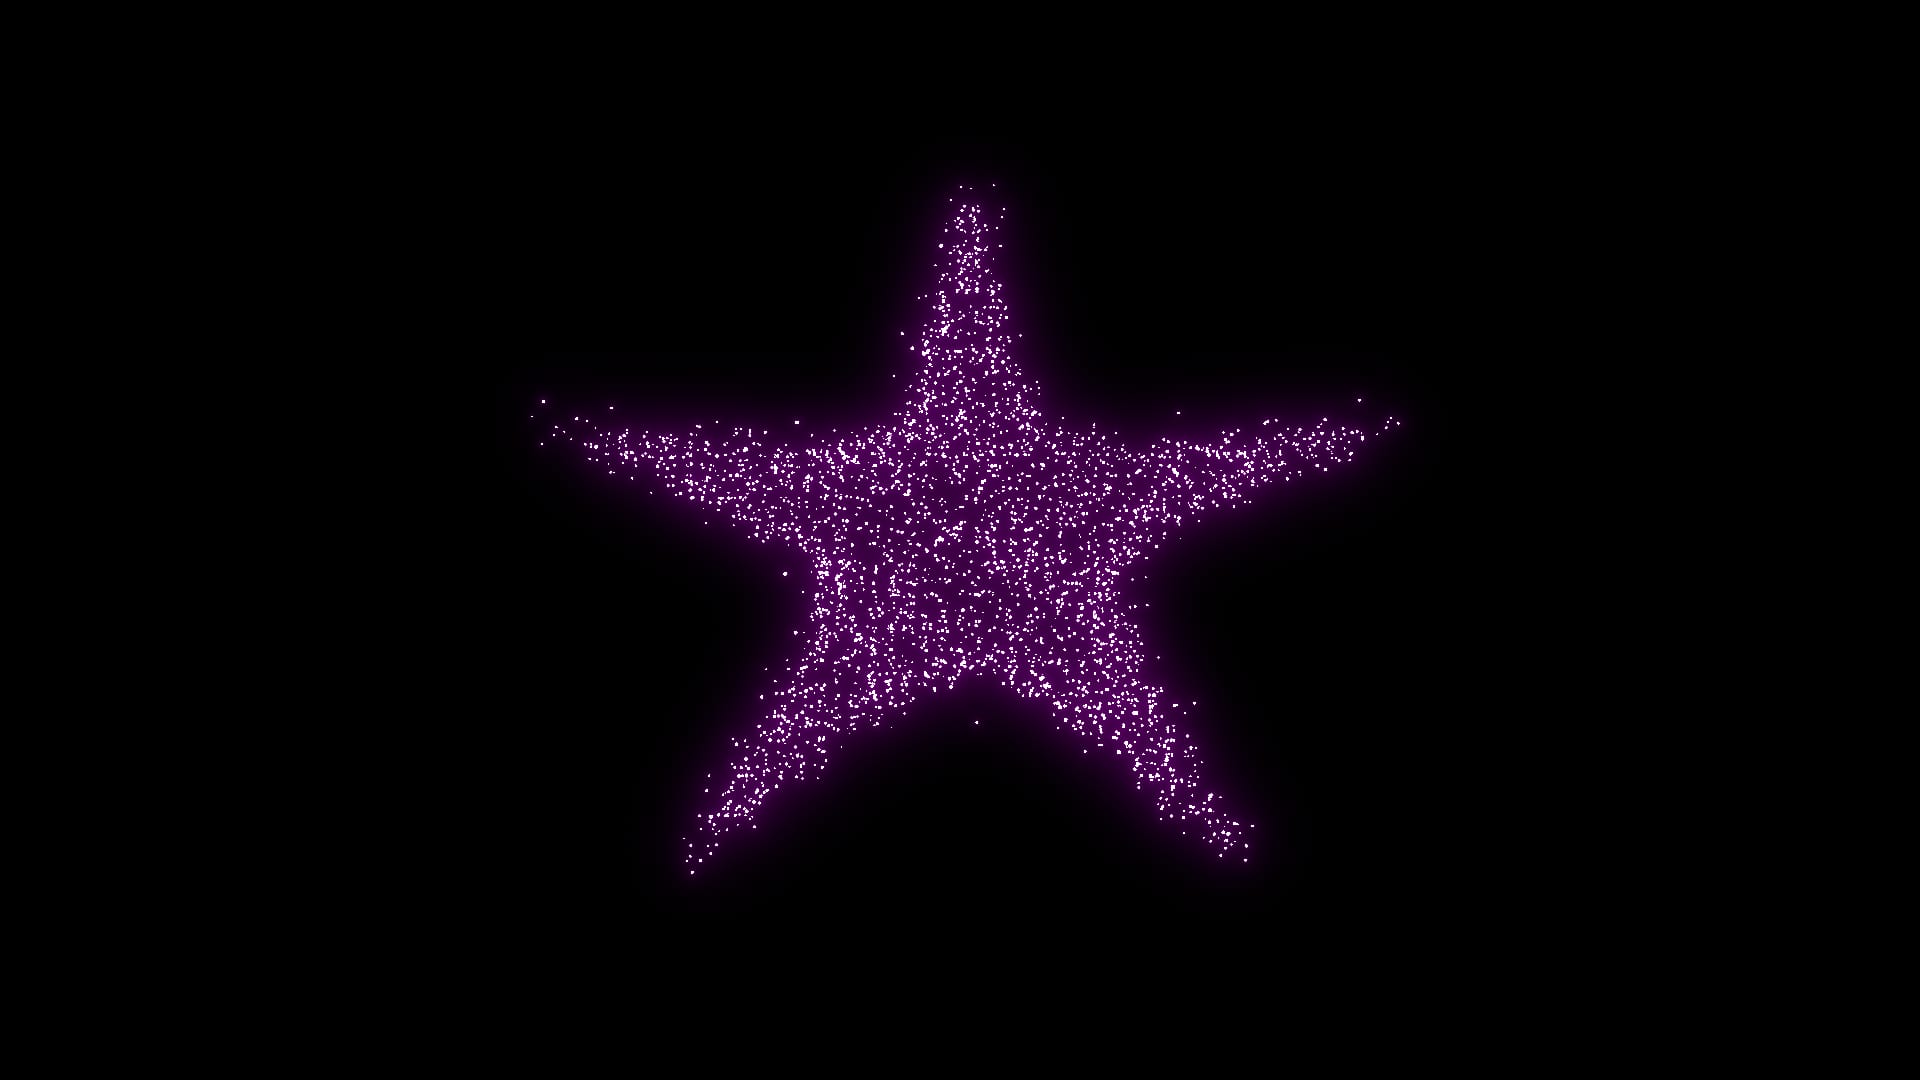

Using input alpha masks to constrain particles to spawn in specific shapes.
This is useful for when you need to constrain the particles so that they only spawn from very specific areas, such as vents, grills, or exhaust pipes.
And, it can be used to shape the flow of the particles into a specific formation. Like a tube of particles shooting towards the camera, for example; emitted from a ring shaped alpha, like in the first example above.
However, the technique becomes even more interesting when you start to animate the alpha mask that’s constraining the particle emission.
Let’s say that you wanted to create a trail of magic dust from a wand being waved, for example.
You could draw the exact path that you want the magic dust to follow using a RotoPaint brush stroke, and then animate the write on start and write on end knobs in the Stroke tab to create an alpha shape that moves along the path, spawning particles.
Here’s a pretty crude example that should give you a good idea:
The effect above was created simply by spawning particles using this alpha mask:
To create the mask, I first drew a spiral shape in a single brush stroke. You don’t have to get it perfect, because as described in the article linked above, you can go in and adjust and/or delete points on the spline of the brush stroke afterwards.
Here, I deleted a bunch of points and smoothed out the rest to get roughly the shape I wanted:
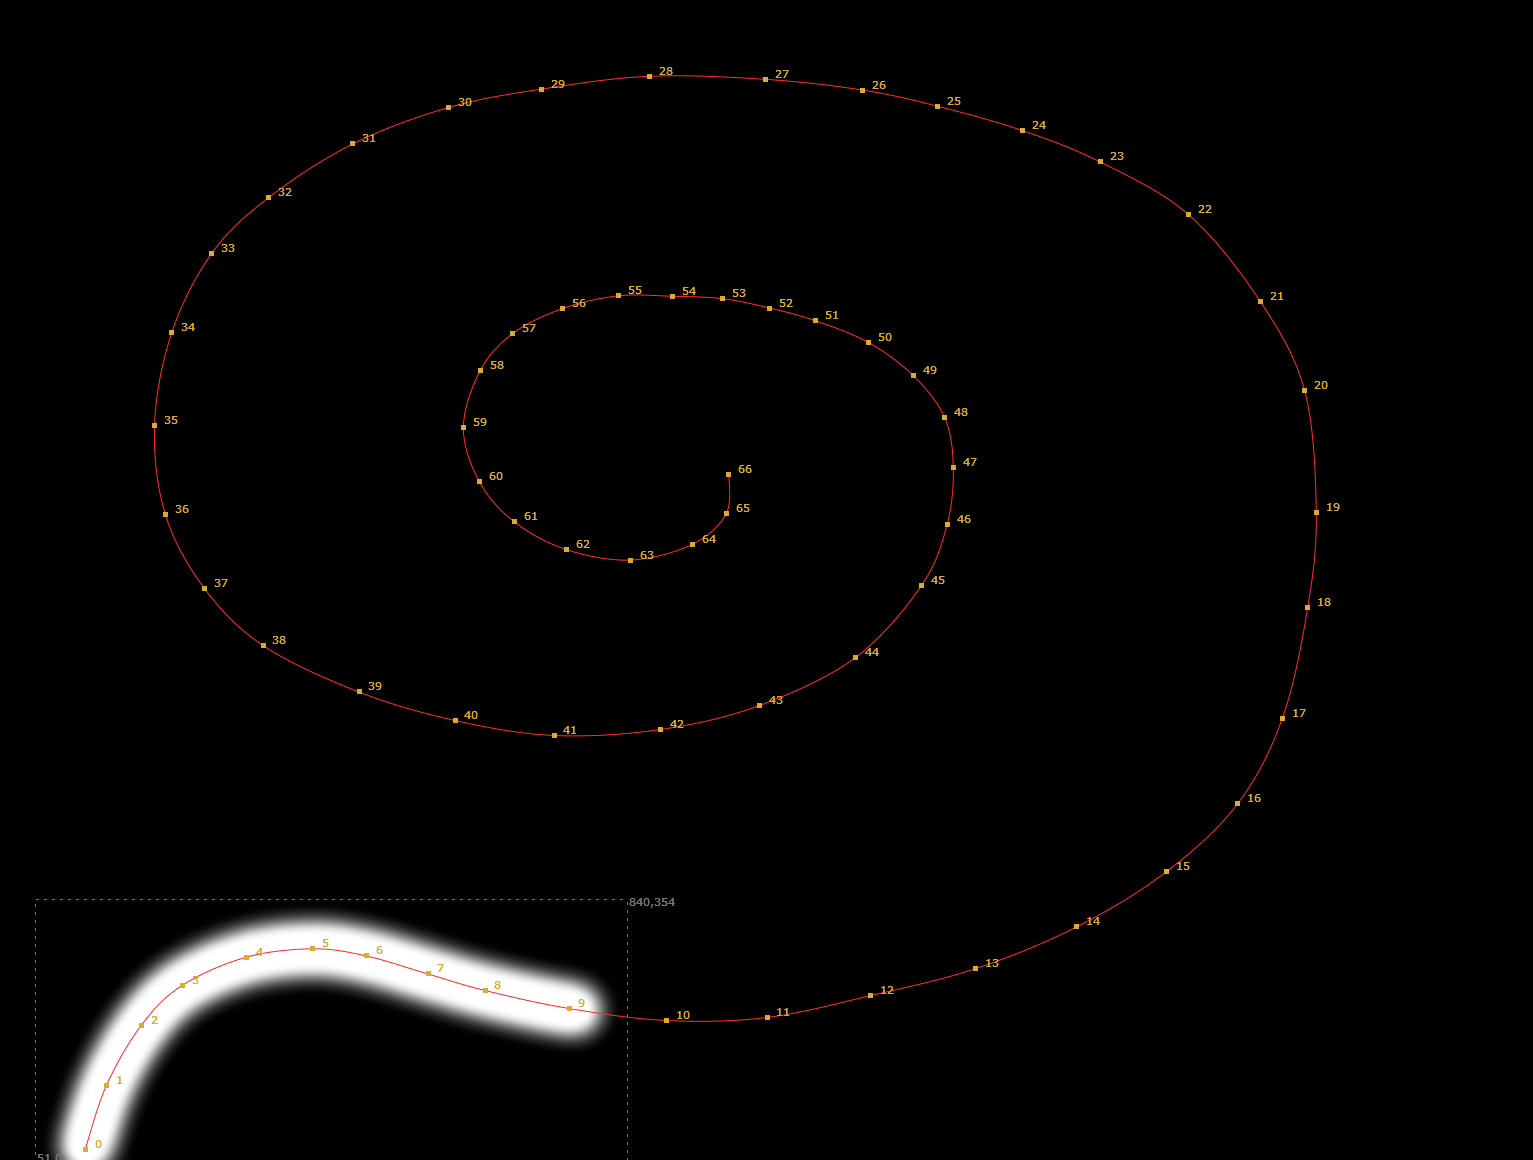
The spline of the spiral brush stroke.
Then, I animated the write on start and write on end knobs from 0 to 1 to get a shape moving along the spline. I also animated the brush size to go from a relatively thin brush at the start to a thicker one at the end – spawning particles in a wider area as the effect progresses.
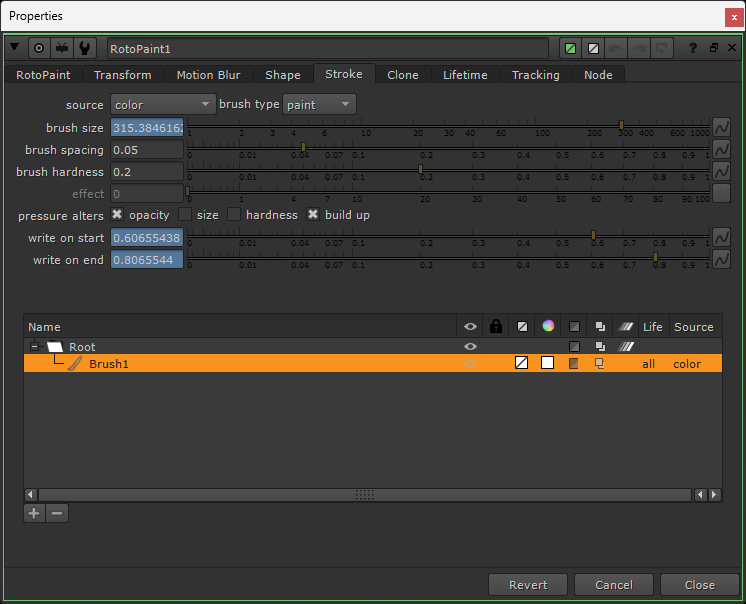
Animating the write on start, write on end, and brush size knobs.
For the write on end knob, I simply animated it from 0 to 1 over the course of the shot.
In order to have the tail follow the head of the animated shape, I used this expression in the write on start knob – which kept it 20% of the stroke length behind the head throughout the shot:
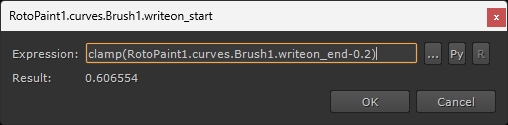
Expression for keeping the tail 20% of the stroke length behind the head.
clamp(RotoPaint1.curves.Brush1.writeon_end-0.2)(You could just manually animate the write on start knob as well).
Then, I put the resulting alpha mask on a Card, and used it to spawn some particles (just basic Spheres):
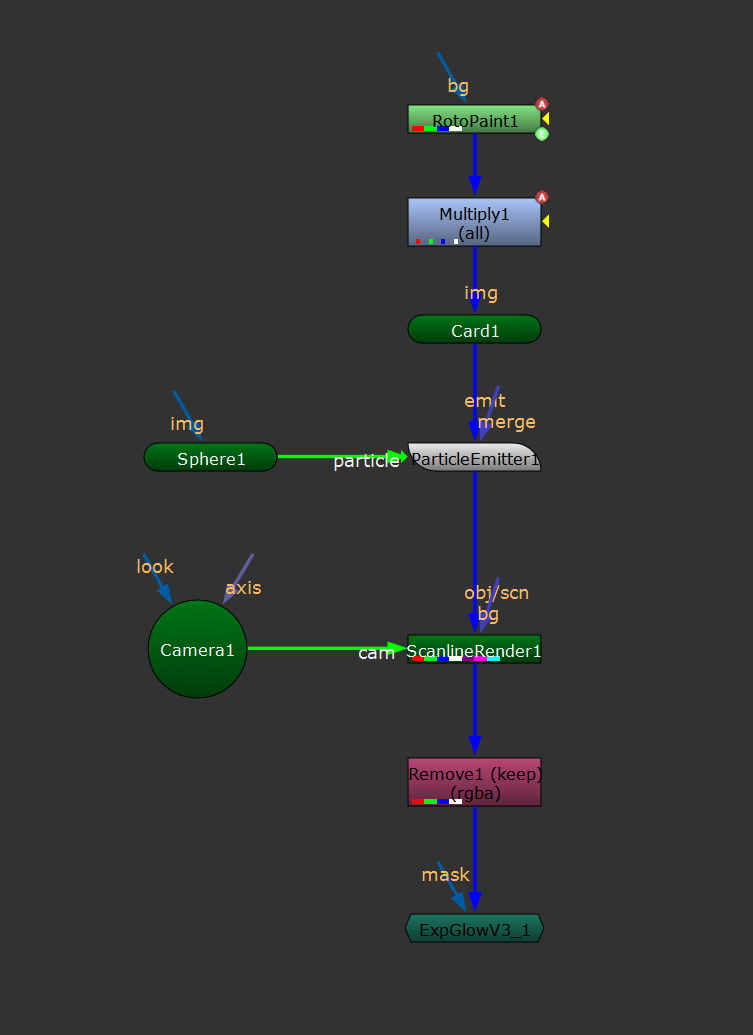
The particle setup.
In the ParticleEmitter settings, notice that the rate channel knob is enabled and set to rgba.alpha:
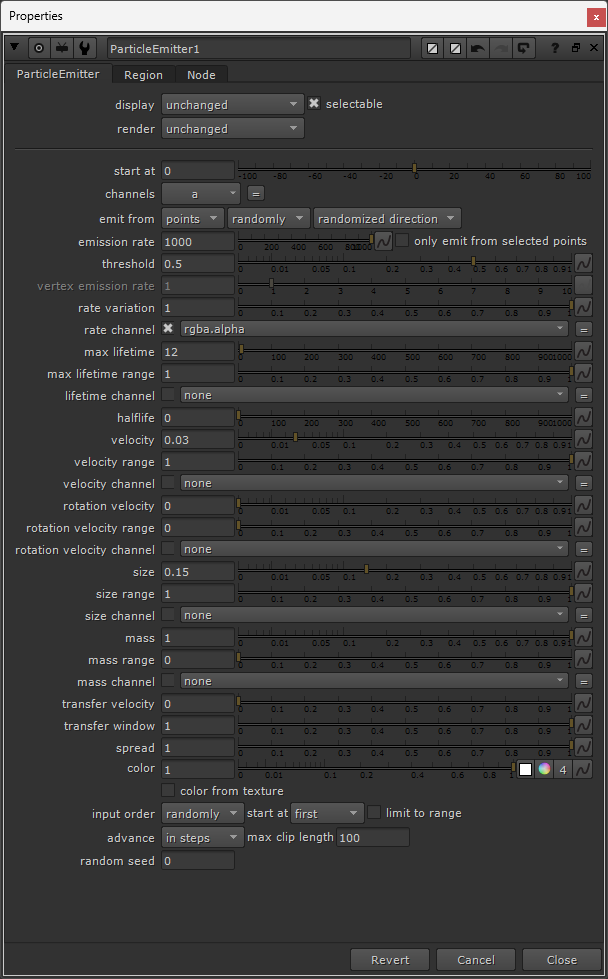
The settings of the ParticleEmitter node.
By animating the alpha channel, you open up a ton of opportunities to create different effects.
Anything from magic, glitter, or fireworks, to rocks or debris shooting up from a fissure (e.g. when a superhero smashes the ground).
– You can control precisely which path the particles should take.
I hope you found this tutorial useful. For more Nuke tips & tricks, see Nuke.