Compositing Screen Inserts In Nuke
15 tips & tricks for compositing screen inserts in a realistic way…
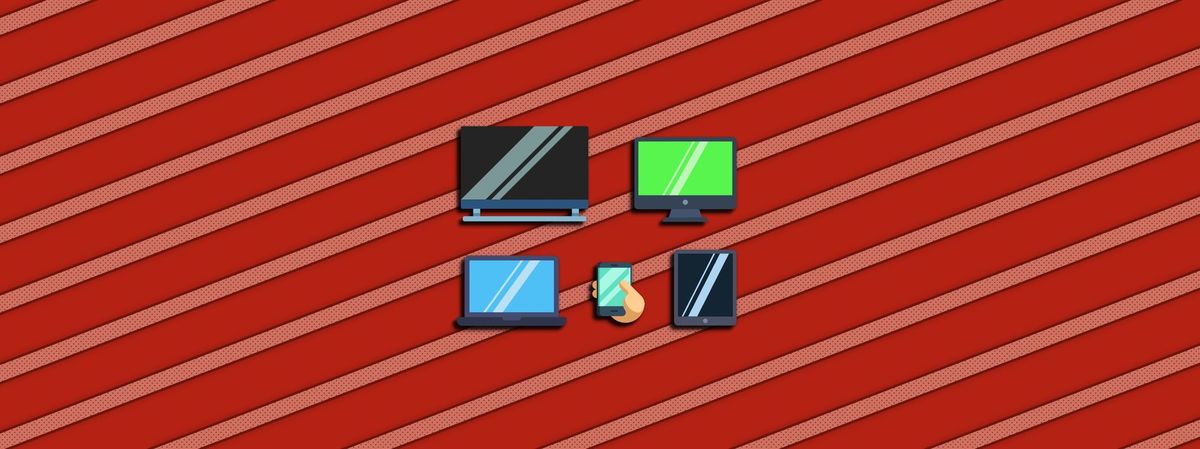
15 tips & tricks for compositing screen inserts in a realistic way…
1. Screens Are Replaced For A Reason
If you have ever taken a picture or captured a video of a screen, you'll probably have noticed odd things happening.
Artefacts that you don't see with the naked eye appear, such as frame rate synchronisation issues and Moiré patterns.
Moiré patterns.
Out-of-sync frame rate.
It’s possible to remove these artefacts, but not always – and sometimes it will take a lot of work to clean it all up. So it’s better to avoid them in the first place.
But even if you sync up the screen and the camera to avoid the artefacts, the content that will be displayed on the screen may not have been made yet.
Often, the screen graphics will be created later on, after the film shoot. Other times, the content that’s displayed on the screen hasn't been approved for final yet, and will need to be replaced.
Because of these restrictions, shooting screens that are black or displaying blue/green or temporary footage, is normal. Compositing screen inserts is therefore a common VFX task.
So, how can a screen be captured on set in order to best help achieve a convincing screen comp?
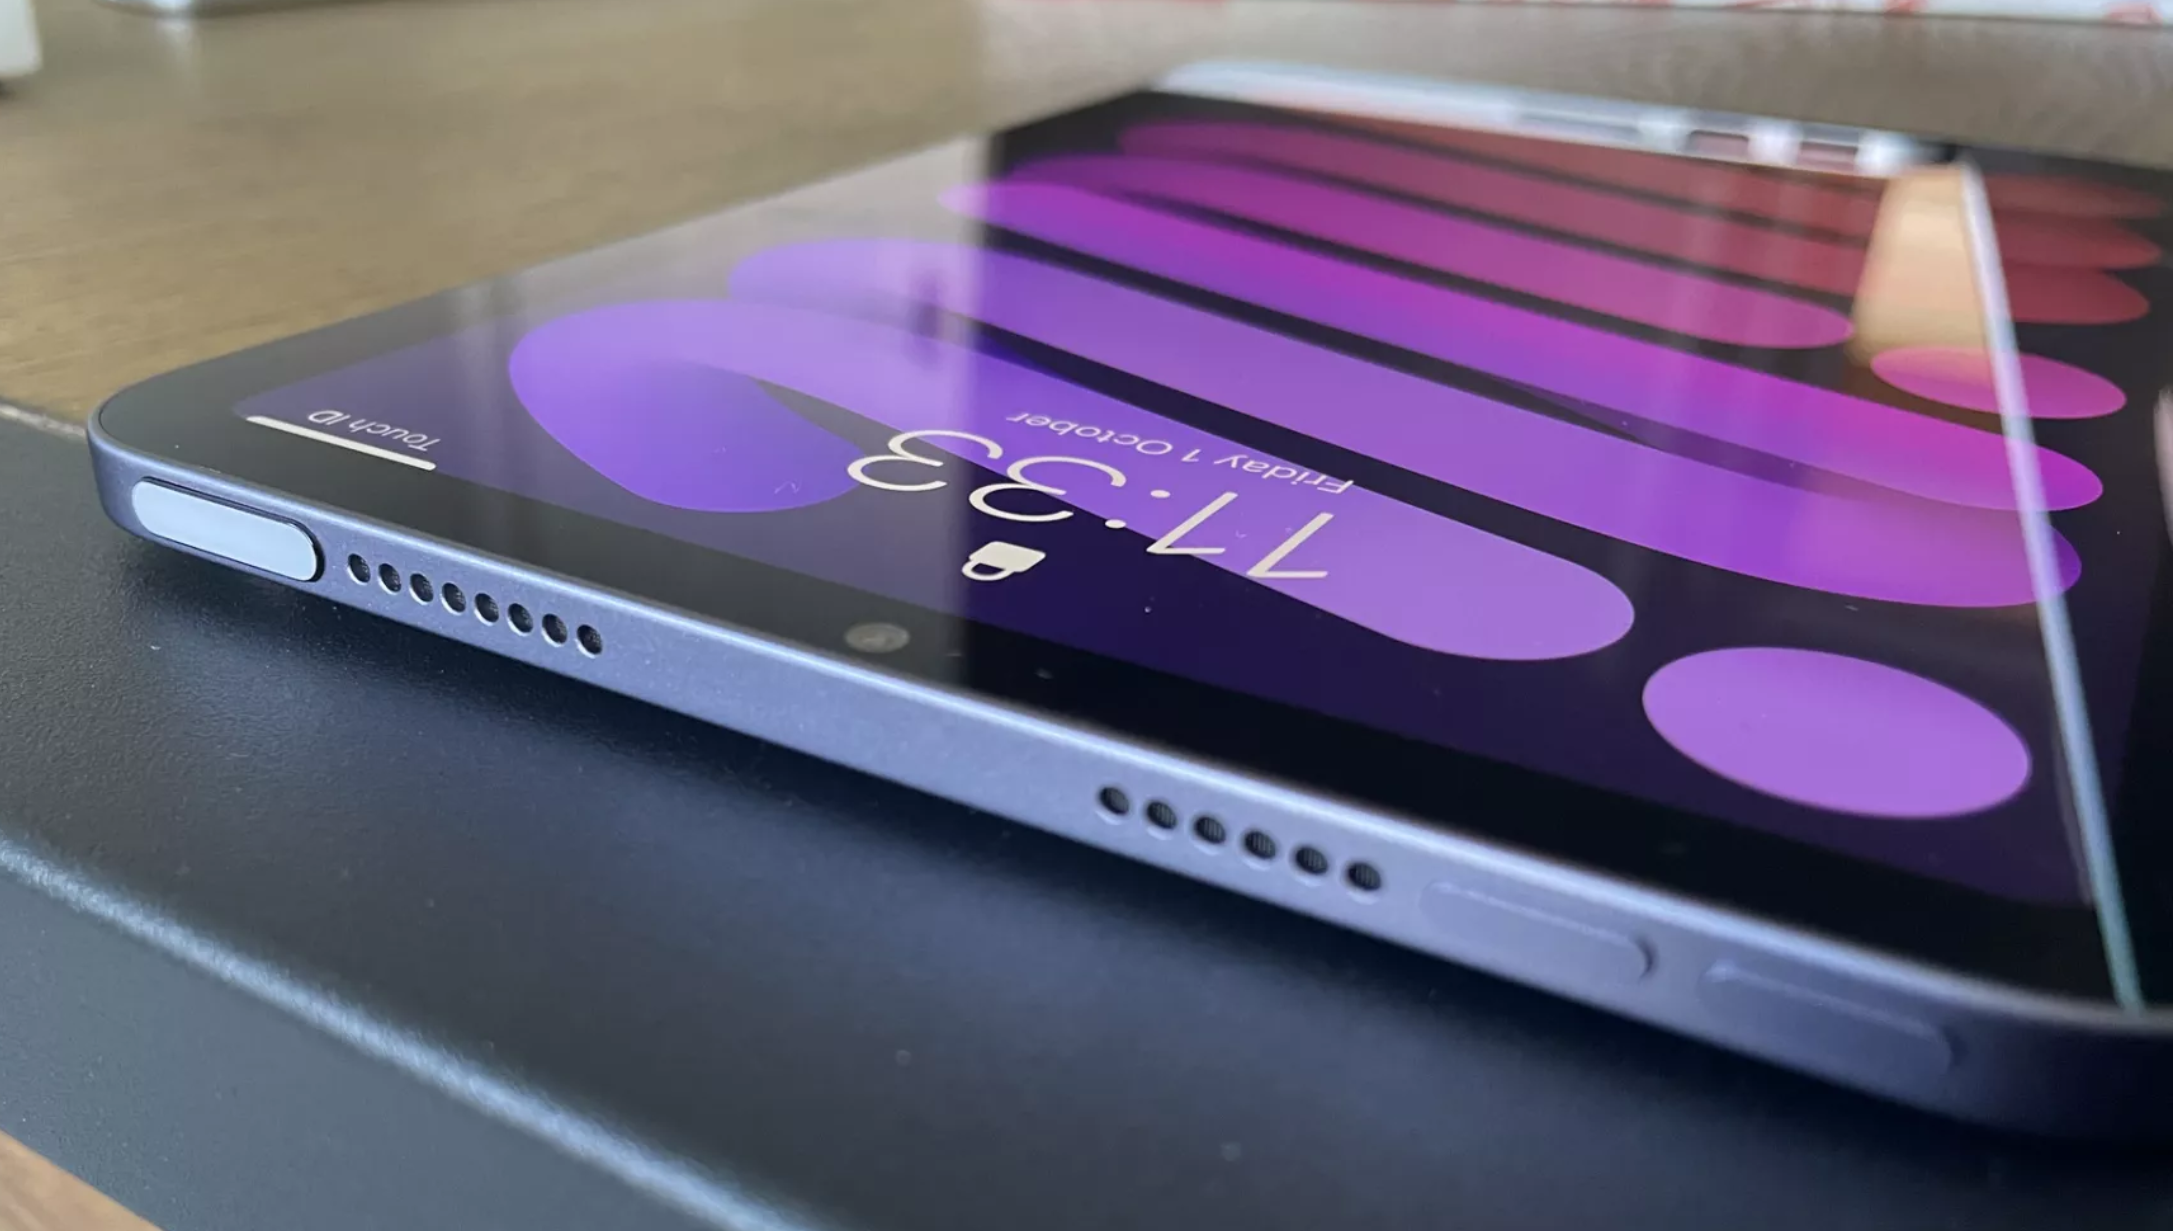
2. Screens Can Often Just Be Switched Off
A lot of times, the screen on set doesn’t actually have to display anything during filming.
Many people assume you need a green screen for anything that will be replaced in comp, but that's not always the case. Especially with screen replacements.
A black screen has several benefits:
- You get pure, uncontaminated reflections and shadows. If you have a pattern or moving images displaying on the screen, extracting the reflections and shadows becomes more of a challenge. You may even have to rebuild them.
- You get the black levels for free. With a black screen, you can just zero out the black levels of the graphics with a grade, and then Merge (plus) that with the scan.
- There is no spill light affecting the surroundings. Without a blue/green image on the screen, blue/green coloured light isn’t cast onto the environment. Which means you don't need to remove any spill.
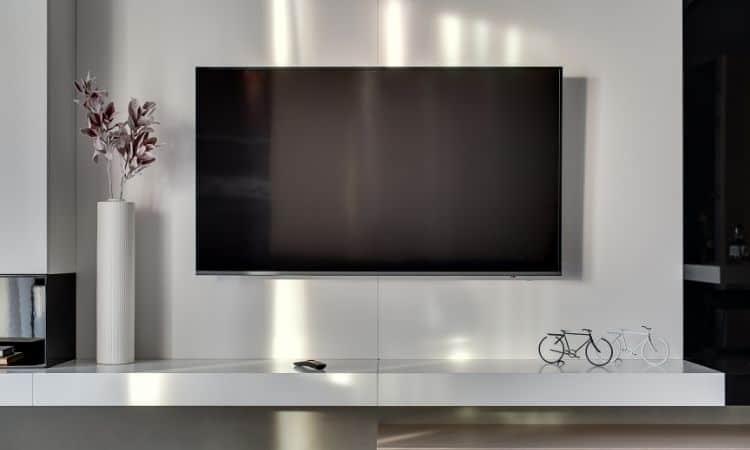
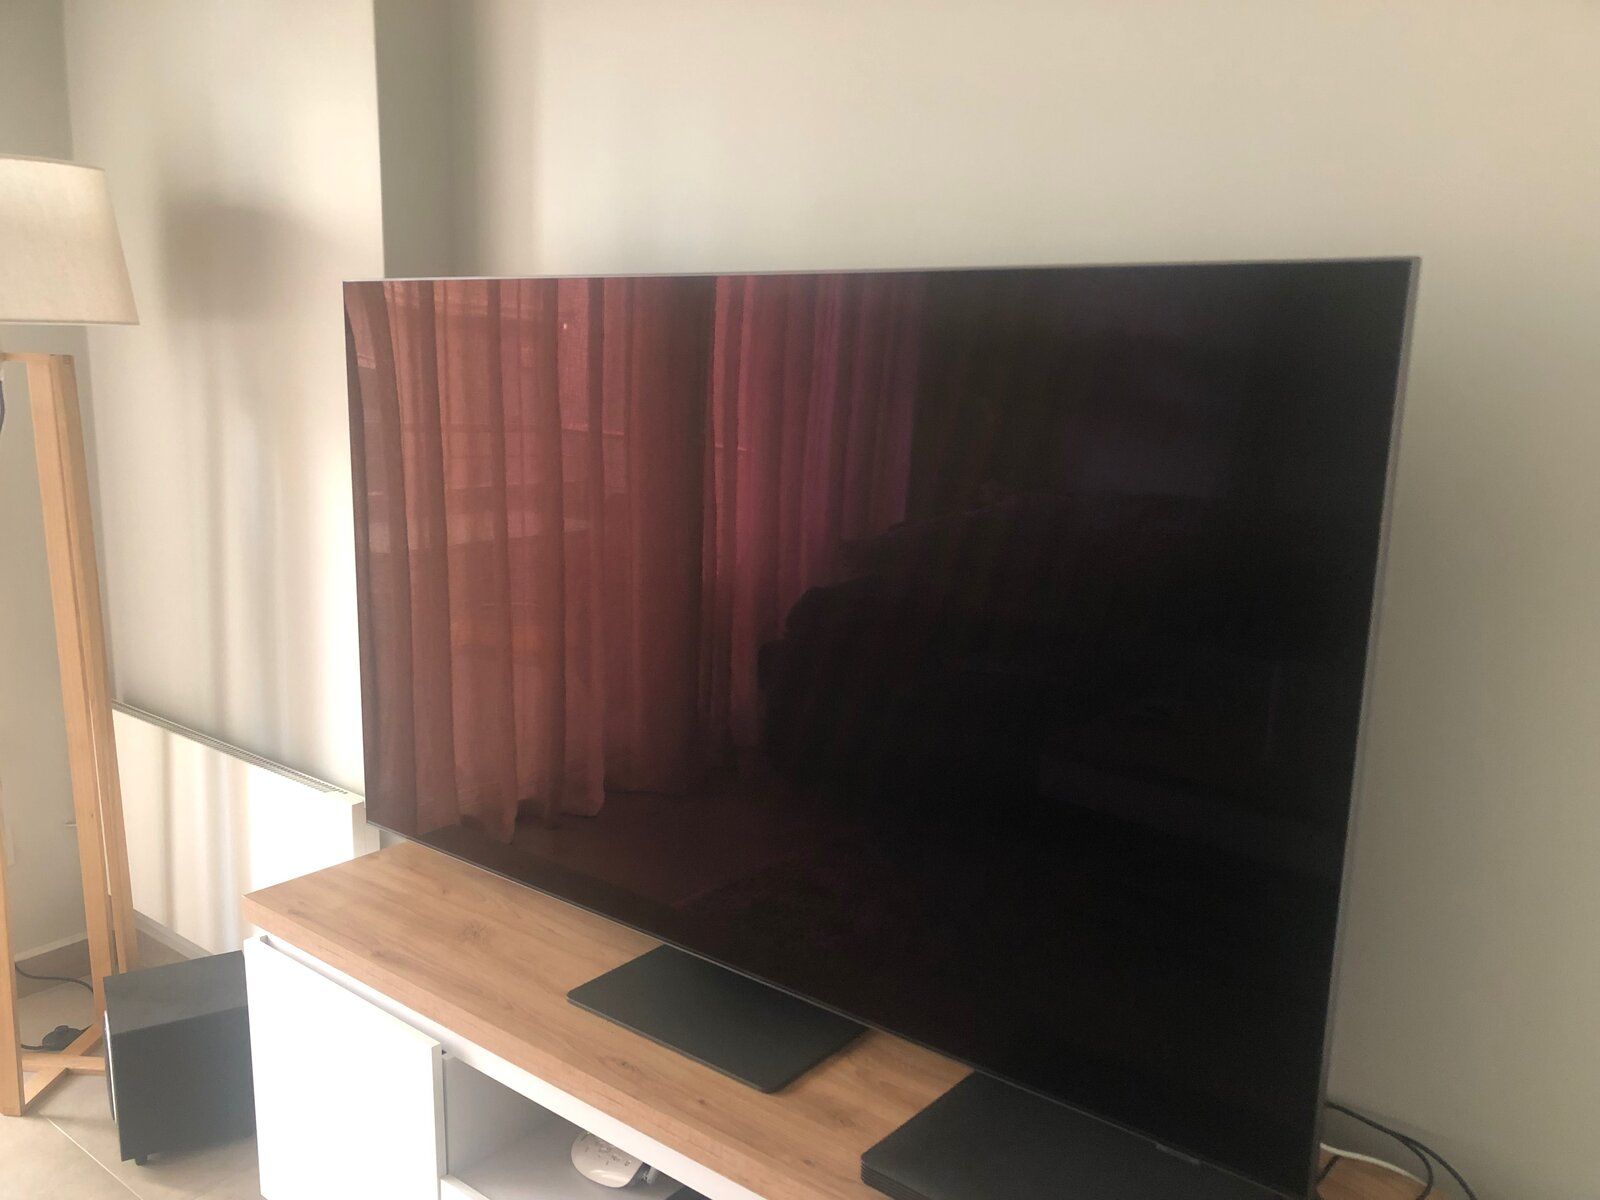
Black screens with clean reflections and shadows.
The downside to using a black screen is that the screen won't light up its surroundings.
However, you can easily add any minor light interaction in comp, for example between a phone screen and the hand that’s holding it.
So my default suggestion would be to use a black screen. However, there are a couple of exceptions:
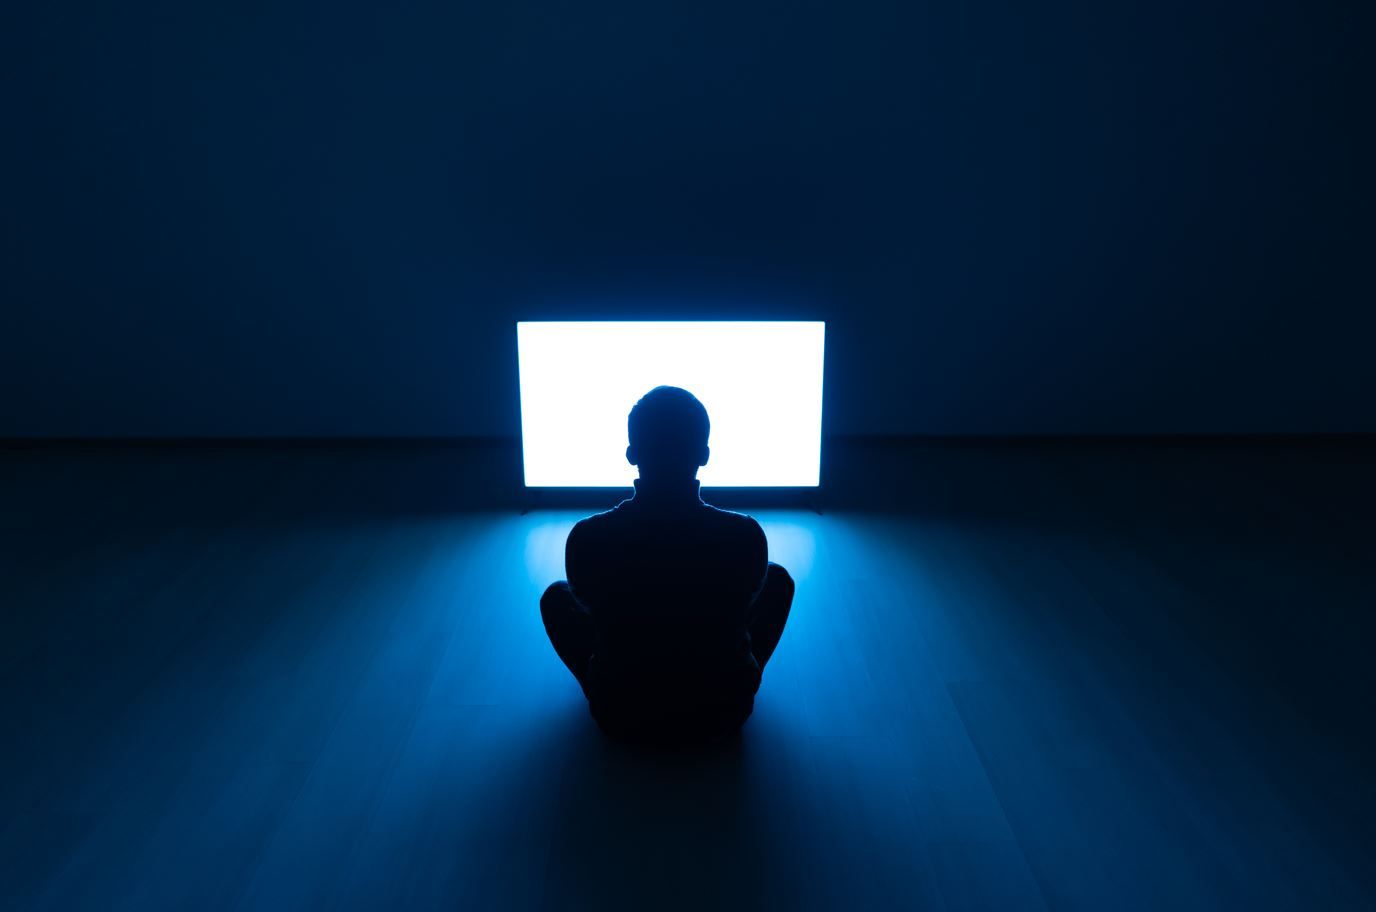
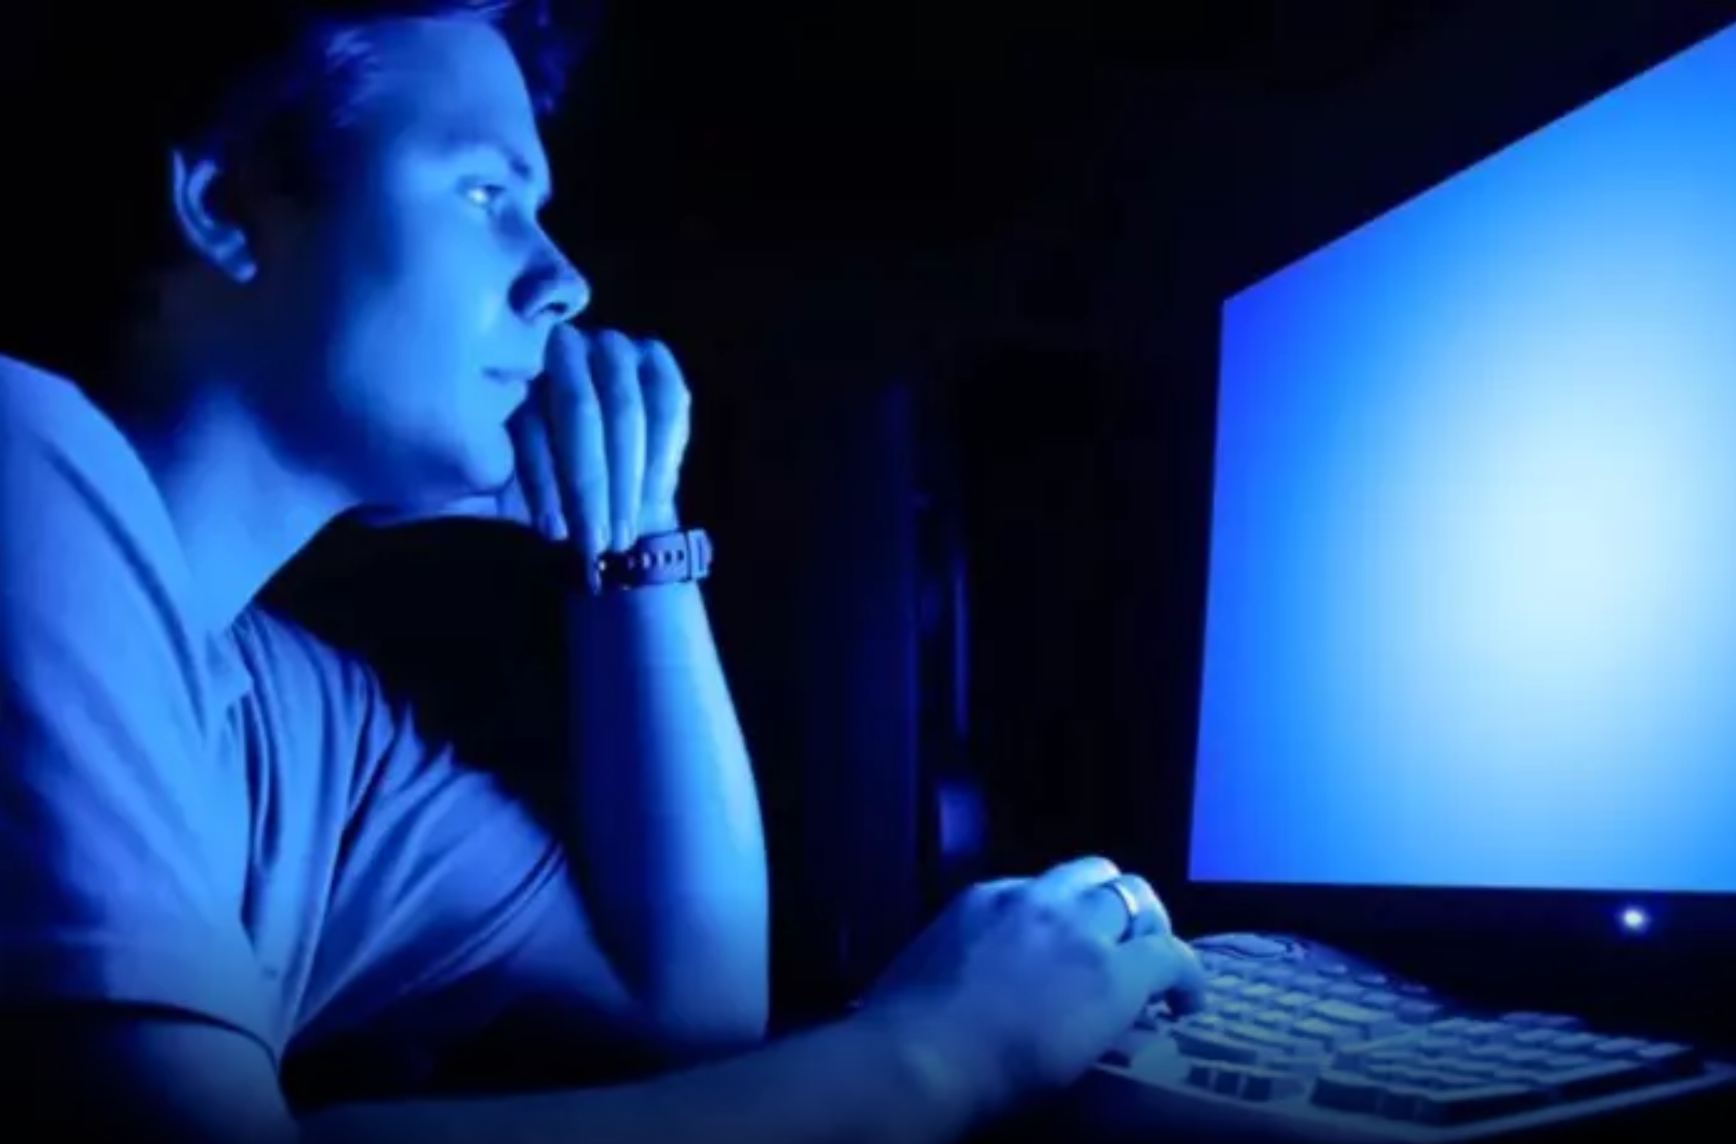
- When the screen is meant to be highly luminous and light up its surroundings (for example a dark room). Then, it's better to have the screen on set emit light and get the proper lighting interactions.
- When something that you don't want to rotoscope will go in front of the screen, like hair or detailed shapes with intricate movement. Then, it's better to display a blue/green colour on the screen for keying.
For point number 2 above, don't use blue/green paper or cloth stuck to the screen, if possible. That would kill the natural reflections. Instead use something like VFX Screenfiller to display an actual blue/green image on the screen.
Green image displayed on the screen to help extract things like hair and detailed motion.
Detailed light interaction that would be tricky to replicate with the display switched off.
To ensure lighting continuity across the sequence, stick to one screen option the for whole shoot.
Whether the screen is on or off, and what’s displayed on it, also has an impact on the next point:
3. Screens Don't Necessarily Need Tracking Markers
If the corners of the screen are well defined and don't get occluded in the shot, there is usually no need for tracking markers on the screen.
For instance, if there is a black screen with a light bezel; the screen is reasonably in focus; and 3-4 corners of the screen are visible in the frame. Then, you can just track the corners of the screen instead of relying on tracking markers, saving yourself some clean up work.
Because you will have to remove any tracking markers to get the best screen comp results.
When you do need to remove markers, and they are for example orange on a blue/green screen, have a look at the Monochrome tool for Nuke. It’s a great tool which uses a clever channel blending technique to make the markers disappear.
Luckily, it doesn't take too long to remove tracking markers in general. And it’s worth it because you can use the real screen to make your insert look more realistic. But peppering the screen with tracking markers when you have a clear view of the corners of the screen just creates unnecessary extra work.
In the shot below, for example, the markers aren’t adding any value since we can clearly see three corners of the screen. In fact, the markers are creating more work because they are black, which means the key won't separate them from the woman. The monochrome technique won’t work either, since her hair and blouse are black. With her hair going over the markers, the clean up work becomes more tedious than it needs to be.
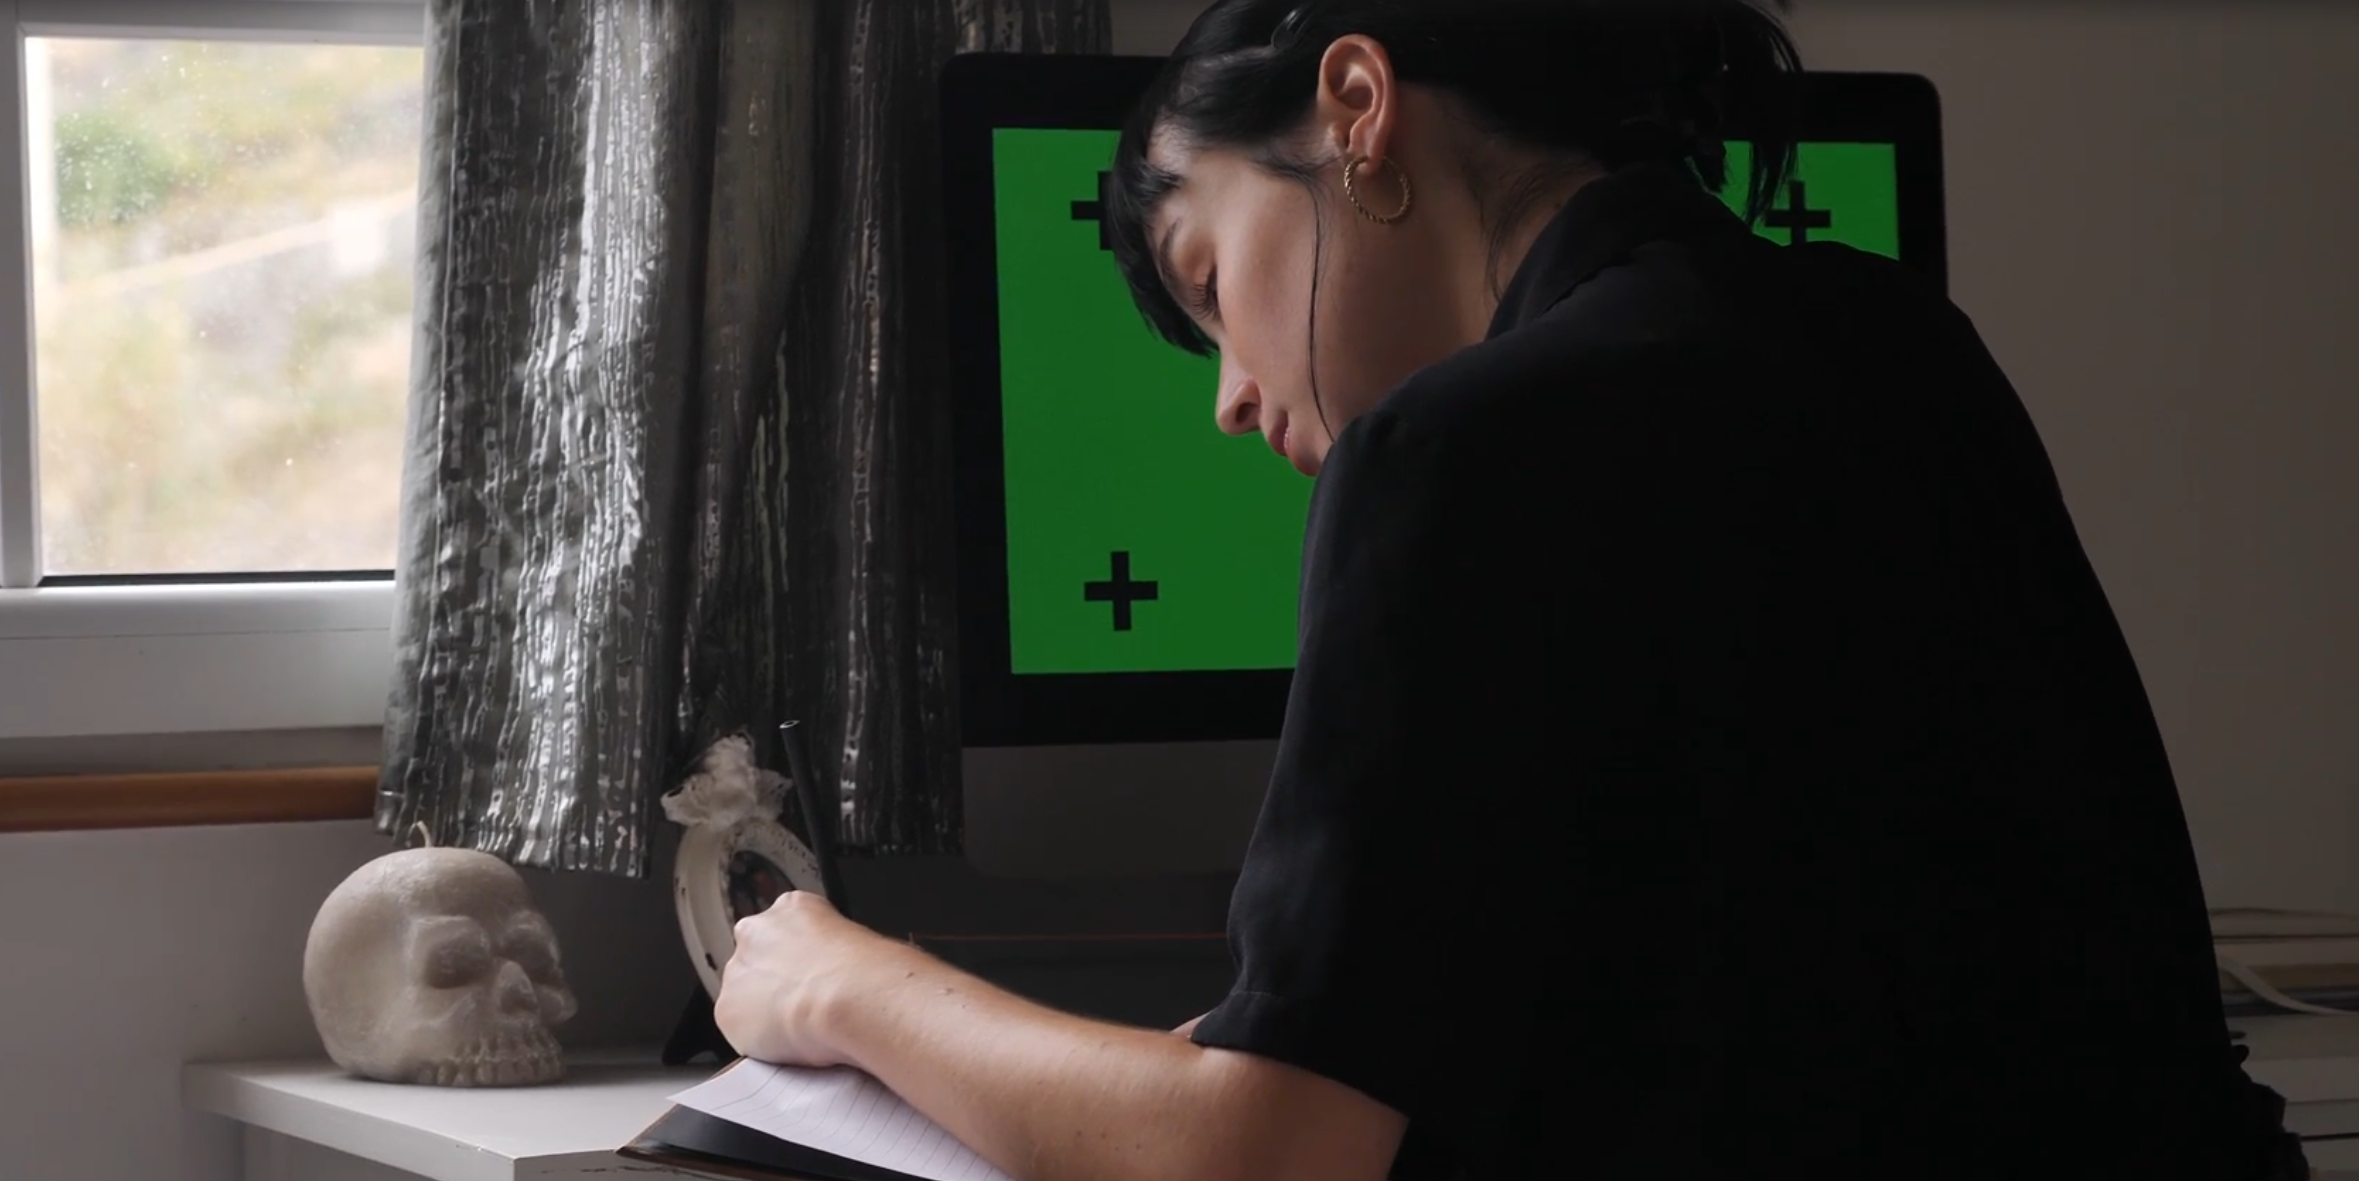
Unnecessary markers create extra work for no benefit.
– All that said, if:
- There potentially will be any action blocking multiple corners of the screen.
- The screen corners are ambiguous.
- There is a complex camera movement to be 3D tracked.
- Changing images will be displayed on the screen on set.
- The screen will go out of frame.
Then, it's better to be safe than sorry and add tracking markers. It's easier to paint out markers than it is to track something with no features.
Speaking of features, another thing to consider is the shape of the screen:
4. Screens Are Flat
Although there are exceptions, a screen is typically a flat surface.
That makes things quite straightforward because you can align your screen insert more easily using a CornerPin or a Card. You generally don't need to bend/warp the edges to fit (as long as you apply the correct lens distortion).
In cases where the screen curves, though, such as in the massive LED screens in Piccadilly Circus or in curved computer monitors, make sure to adjust the insert to correctly follow the perspective.
Since all of a flat screen is on the same plane in 3D space, planar trackers are excellent for tracking screens. Planar tracking software such as Mocha make short work of screen tracks, which is great because:
5. Screen Inserts Need A Tight Track
It's very easy to tell if a screen insert isn't tracking properly with the screen.
Audiences can notice and get distracted by even small bumps and slides in the track. So make sure to spend the time it takes to get a track that sticks.
Sometimes, the Matchmove department will give you geometry or locators (Axis nodes) for the screen, which together with the matchmove camera makes the lineup and track a piece of cake.
You can either manually align a Card to the geometry/point cloud/locators, or you can use the snap feature in the Card’s properties to align it to a vertex selection:
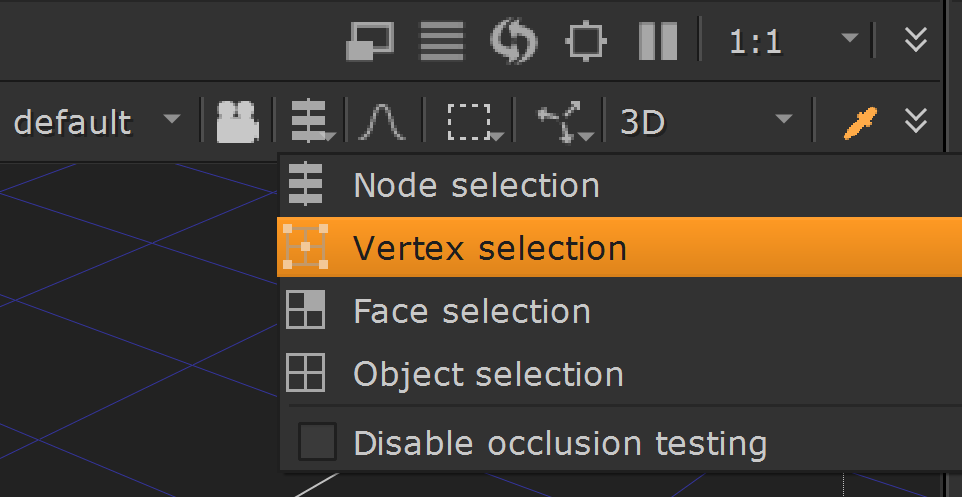
Enable the Vertex selection option in the Viewer (while viewing 3D space).
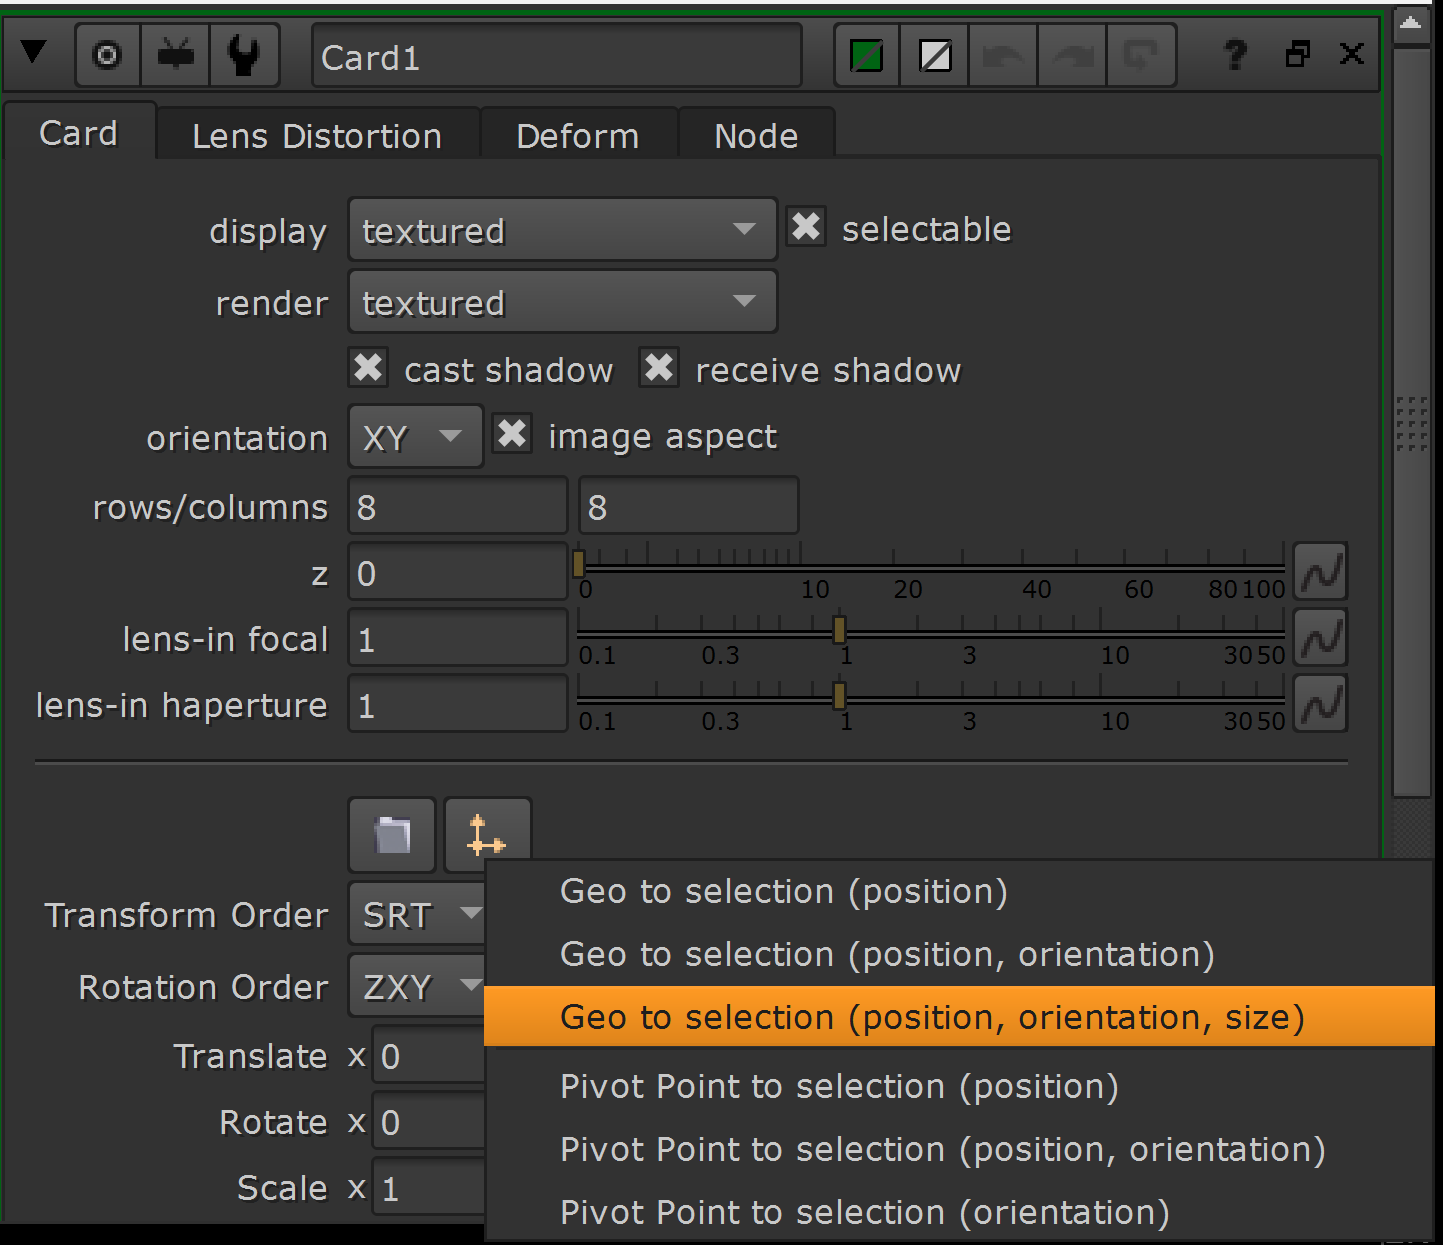
Select the vertices you want to align your Card to in the Viewer, and then in the Card’s properties choose snap geo to selection.
With a Card in the exact 3D position of the screen, you can accurately project your graphics.
Whether 2D or 3D tracking your screen, the track doesn’t always have to be pixel perfect, but it has to be pretty close. The closer you can get to that point, the better – especially with close up shots.
Speaking of pixels:
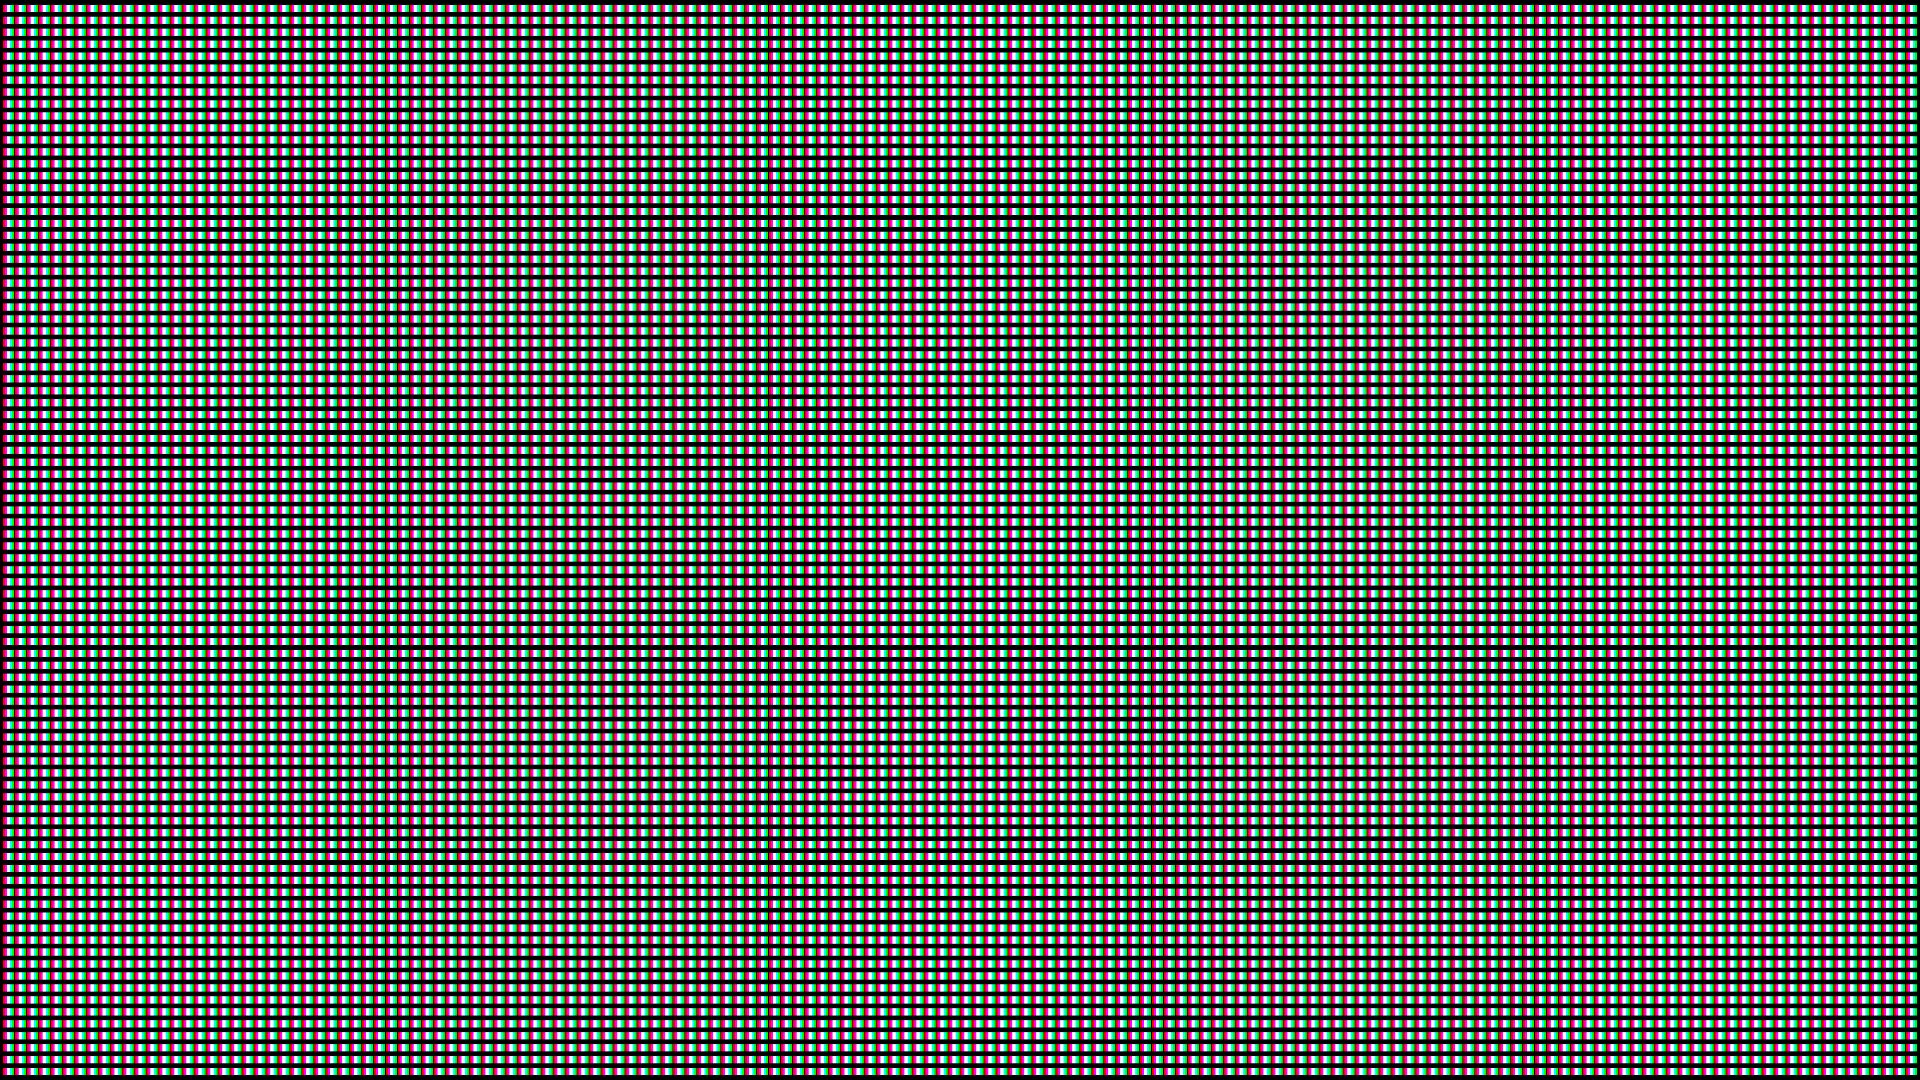
6. Screens Are Made Up Of Pixels
Something you’re already familiar with as a compositor, is that the images we see on modern screens are made up of millions of tiny, elementary groups of red, green, and blue lights.
These picture elements (pictures → pics → pix + elements → els = pixels) are the smallest unit of a digital display, and typically we can’t distinguish between them with the naked eye unless we go up really close to the screen. (On older, standard definition screens with a much lower resolution, you could see them more easily).
However, modern camera sensors also have millions of pixels of resolution, often even more than a typical screen does. And so cameras can see these little dots of light. But because both the screen and the camera’s pixel patterns are so incredibly fine, it’s tricky to align them exactly. And that’s when you get the aforementioned Moiré patterns shimmering across the screen.
Normally, you wouldn’t replicate Moiré patterns in your comp as they’re typically undesirable, but you could definitely do it should you want that type of look in your shot. We’ll also look at how you can extract the original patterns in tip number 13 below.
The bigger the screen and the bigger each pixel is, the easier it is to see the pixels. For example, on stadium screens or LED billboards each pixel is quite large. And so when replacing those kinds of screens, make sure to include the pixel pattern on the screen insert.
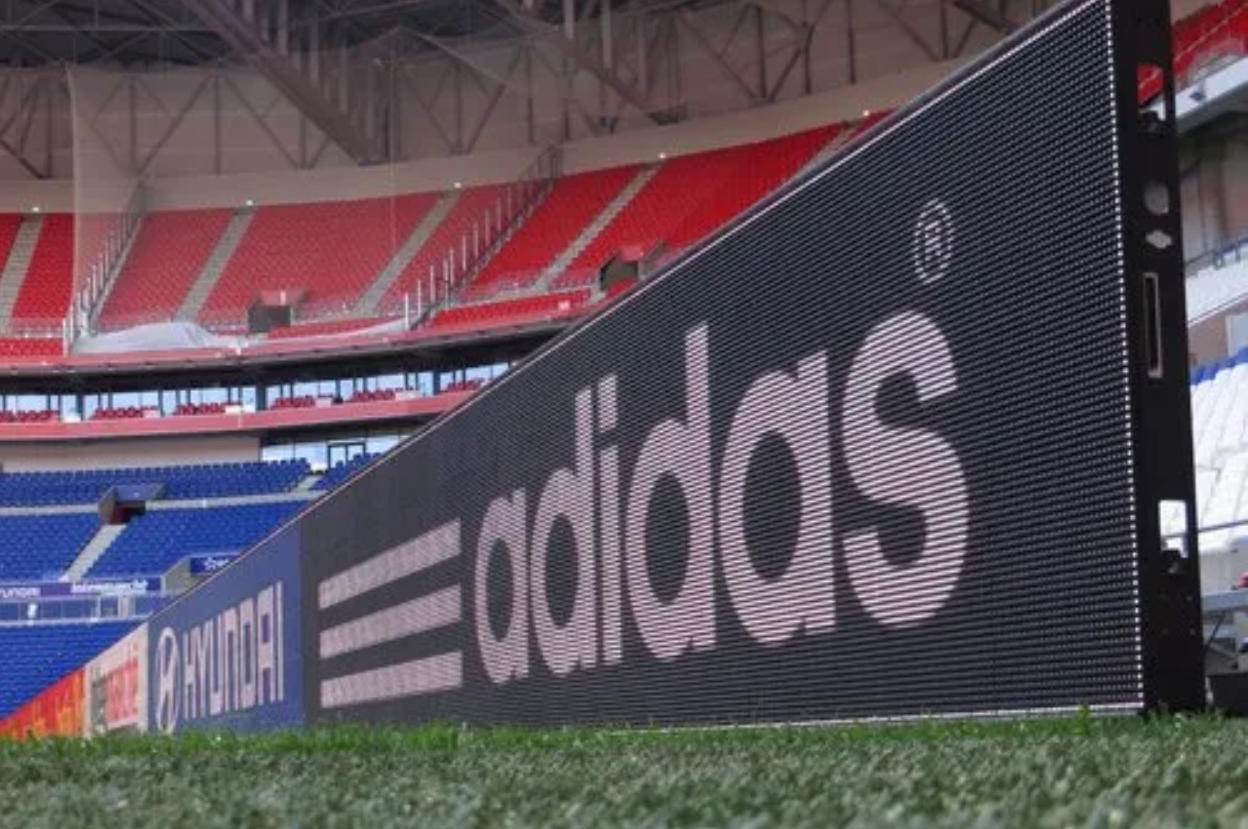
LED billboard where you can see the individual pixels.
You can create a pattern like this in Nuke by using for example a Grid node with an Invert node connected after it:
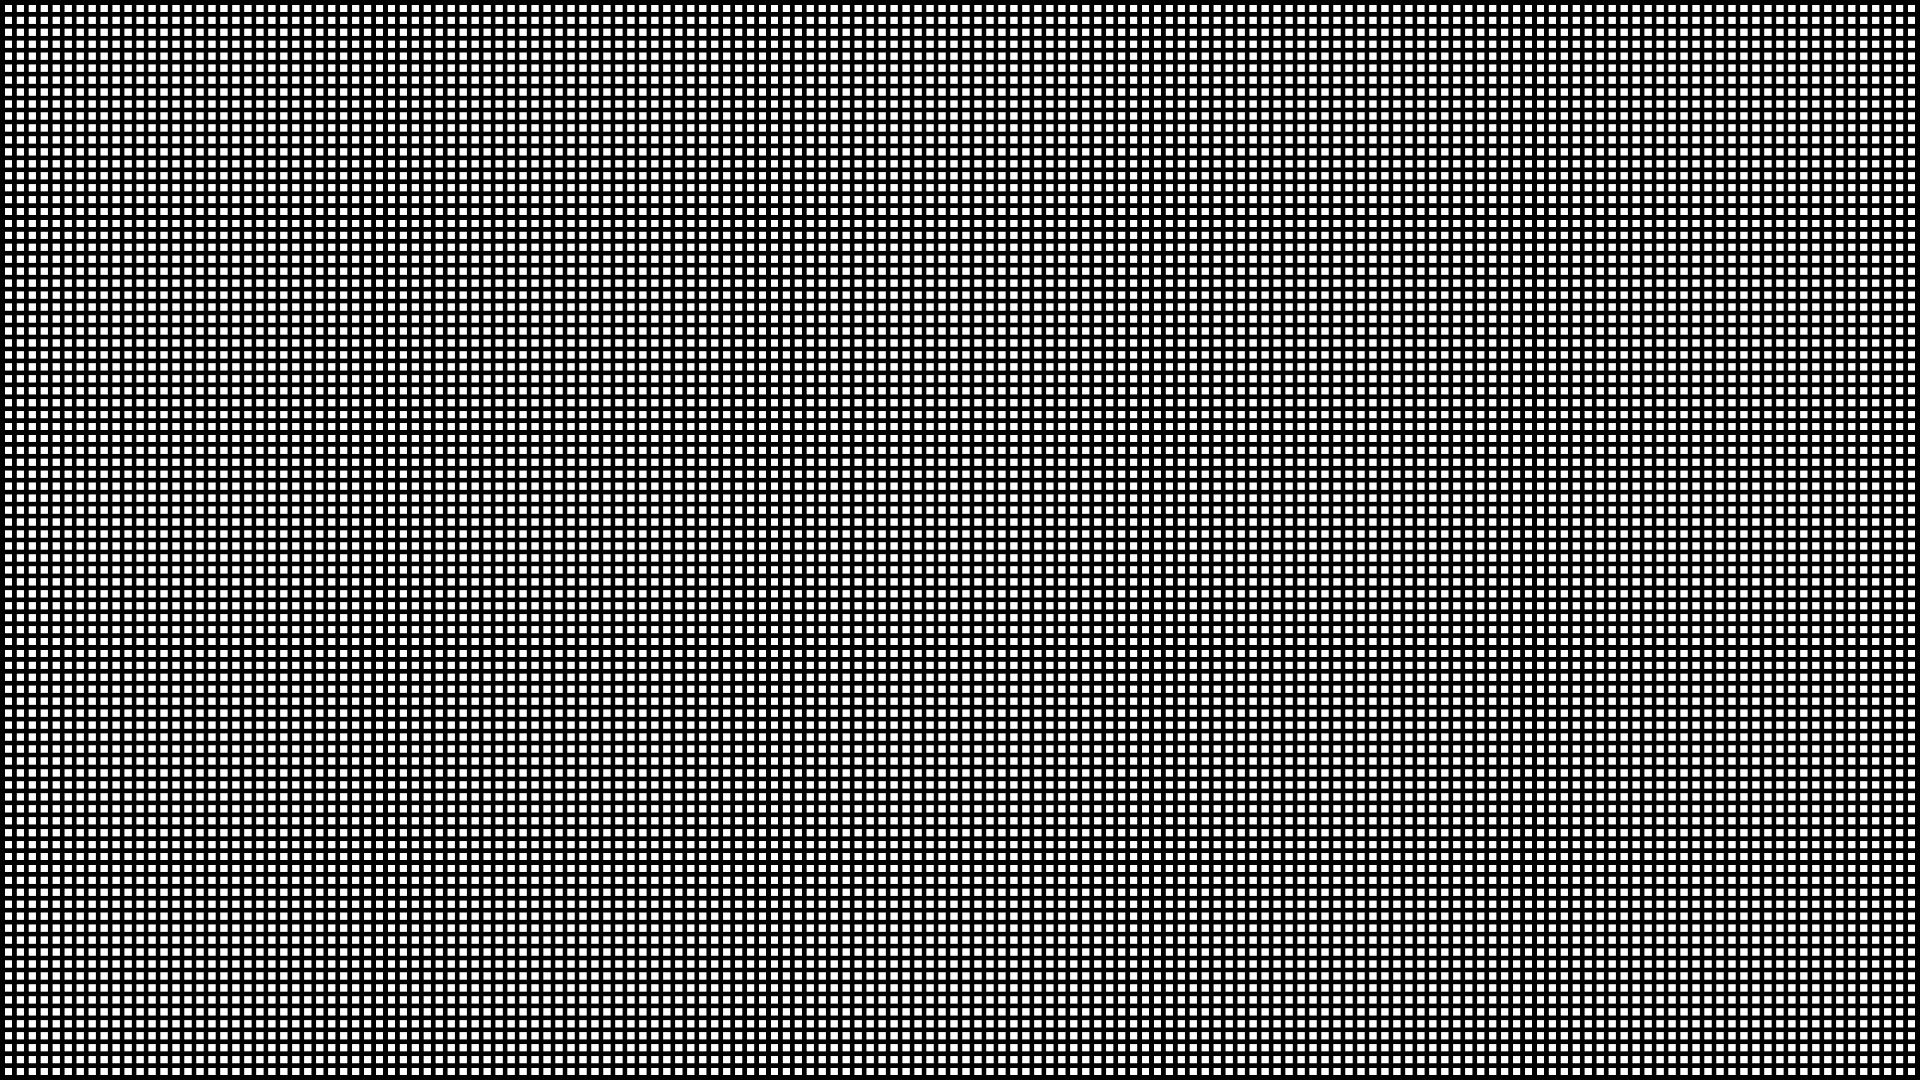
Pixel pattern created using the Grid and Invert nodes in Nuke.
You could also transform each channel of the image above by a couple of pixels, to split out the RGB for an even more realistic subpixel look:
LED pattern.
To do that, branch out three Transform nodes from the image. Let’s say Transform1 will control the red channel, Transform2 the green channel, and Transform3 the blue channel. Using a Copy node, copy green → green from Transform2 (A) to Transform1 (B), and using a second Copy node, copy blue → blue from Transform3 (A) to the first Copy node (B).
Now, you can adjust each Transform node and translate the respective channels around in the image. A couple of pixels in each direction usually does the trick.
Finally, Multiply or Plus this pattern over your graphics.
There are several tools on Nukepedia to help create this type of pixelation and other screen effects, such as Pixel_Sweetener, PixelCRT, or pfGlitchy.
And because pixels are small light sources:
7. Screens Emit Light
A screen is a source of light.
That means, light from the screen will hit nearby objects and illuminate them. And light from the screen gets blocked by occluding objects.
This can be as subtle as a faint glow from the screen hitting the bezels, or more intricate lighting interactions such as in the example images at the end of point 2 above.
The important thing is that a screen will affect its surroundings.
As an example, if the TV screen insert that you have composited into your shot is displaying a blazing red Ferrari across the screen, make sure to complement that by grading a red tint on the white wall facing the TV.
Screens also interact with the environment through reflections:
8. Screens Reflect The Environment
Unless it's holographic, a screen will reflect its surroundings.
Even matte screens have (dull) reflections. Which means, if you leave out the reflections from your screen insert, it won’t look quite right.
Use the original reflections when possible. You can restore the plate reflections using the techniques in tip number 13 below. Hopefully, the screen has been shot at an angle where it faces neither the light nor the camera, to save you some cleanup.
Double check that you don't see the crew or the set equipment in the reflections. Clean up any unwanted subjects/objects from the reflections as needed, and remove any markers over the reflections you want to keep.
All of the above also applies to any shadows that are cast on the screen from the environment.
Let’s move on to screen content and behaviour:
9. Screens Are Dynamic
To make a screen insert believable, you have to consider the question: What does a screen do?
- A phone that’s raised up to the ear when taking a phone call will usually automatically turn the screen off, or dim it.
- A tablet tilted sideways will flip between portrait and landscape mode.
- Content will move in a certain way as you scroll down the page of a website.
- The screen of a smartwatch will react to touch.
The animations, timings, and look of the content on the screen is often half of the equation for selling the screen insert. Not all of this will be in your control, because often a separate company will create the screen graphics. But some things you can influence.
For example, when you turn the TV on, does it instantly go from black to fully lit? Does it fade up over a few frames? Is there a certain kind of physical effect visible on the screen? Study references from real life or video, and analyse what is happening so that you can accurately replicate it in comp.
Also try to put reasonable content on the screen, in the right format. A phone’s aspect ratio is different to a wide screen monitor. Your screen insert should look like it was made to fit the screen that you are replacing.
Next, let’s look at some physical limitations:
10. Screen Inserts Adhere To The Lens Focus
An out of focus TV in the background shouldn’t realistically display a sharp image.
Match the focus of the screen insert to the actual screen in the plate. And animate the focus if there is a rack focus, or if the screen moves through the focal plane over the course of the shot.
If the screen is at an angle to the camera, remember that part of the screen may be outside the focal plane. Apply depth defocus as necessary.
Here, a screen insert would have to be sharper at the front than at the back.
On the topic of focus:
11. Screen Inserts Adhere To The Motion Blur
A screen insert without motion blur will stick out like a sore thumb in a shot where the camera or the screen moves around quickly.
Make sure to match the motion blur to the plate – that includes both the Shutter Time and the Shutter Offset. And ensure you set enough motion samples to avoid artefacts.
Next, let’s look at colours and brightness:
12. Screen Inserts Are Limited By The Camera’s Range
You could have an HDR OLED screen with obsidian blacks and scorching whites in real life.
However, when you record it, the dynamic range of the screen will be limited by what the camera can capture. The blacks will be lifted and the whites will be clamped within the camera's dynamic range.
Make sure to grade your screen insert accordingly. Gain the Viewer up and down, and sample the bright and dark values in the plate to inform your grading.
Let’s move on to extracting screen detail from the plate:
13. Screen Inserts Benefit From Auxiliary Keys
If you have a screen displaying just a single colour like black or green, you can usually extract a lot of detail using an auxiliary key.
With a multiplication key or an additive keyer, you can restore fine details such as small cracks, dust, fingerprints, reflections, interference patterns, etc. on the screen, and any hair, semi-transparent and motion blurred edges, etc. on anything crossing in front of it.
Another method is to despill the screen to black and then Merge (from) the despill (A) with the original scan (B), which gives you the spill separated on its own, i.e. a spill matte. Desaturate this matte to 0 and Merge (plus) it after your despill to restore the luminance.
You can now multiply your screen insert through the desaturated spill matte (you might have to grade it up beforehand) before merging it with the luminance-restored, despilled scan using a Merge (plus). Your insert will then be added to the black screen while accounting for any reflections or variation in the screen.
But no matter how you composite your screen insert, remember that:
14. Screen Inserts Can Introduce Bad Edges
Be conscious of the edges around your screen insert and around any subject or object that's moving in front of it.
Depending on how similar or dissimilar the original screen is to your screen insert, you may see some nasty edges in your comp.
Look out for light and dark edges around fingers and hair, especially. You may even have to rebuild the motion blurred edges.
Also check your despill and make sure there's no green/blue colour left in any crevices.
You can use the despill matte from the previous tip 13 to grade the monitor.
All of the tips & tricks so far in this article are meant to help you composite screen inserts in a realistic way, but there is one thing you should keep in mind above all else:
15. Screens Need To Be Legible
The content on a screen is often a story point.
You'll have to accept that sometimes you will get asked to cheat the focus, the amount of reflections, or the grading to help tell the story.
It can be frustrating when the client has shot the screen out of focus and then requests the insert to be sharp, but it's more important that the audience understands what's going on in the shot than it is for them to see a physically/technically correct comp.
Remember, the story is King and visual effects serve the story.
I hope you found this tutorial useful. For more Nuke tips & tricks, see Nuke.


