Procedural Map Generation In Nuke
Generate unlimited worldbuilding maps right inside of Nuke…

Generate unlimited worldbuilding maps right inside of Nuke…
When I was a kid I used to love pirate treasure maps.
There was something about them that sparked my imagination and made me daydream. And I still enjoy their distinct visual look today.
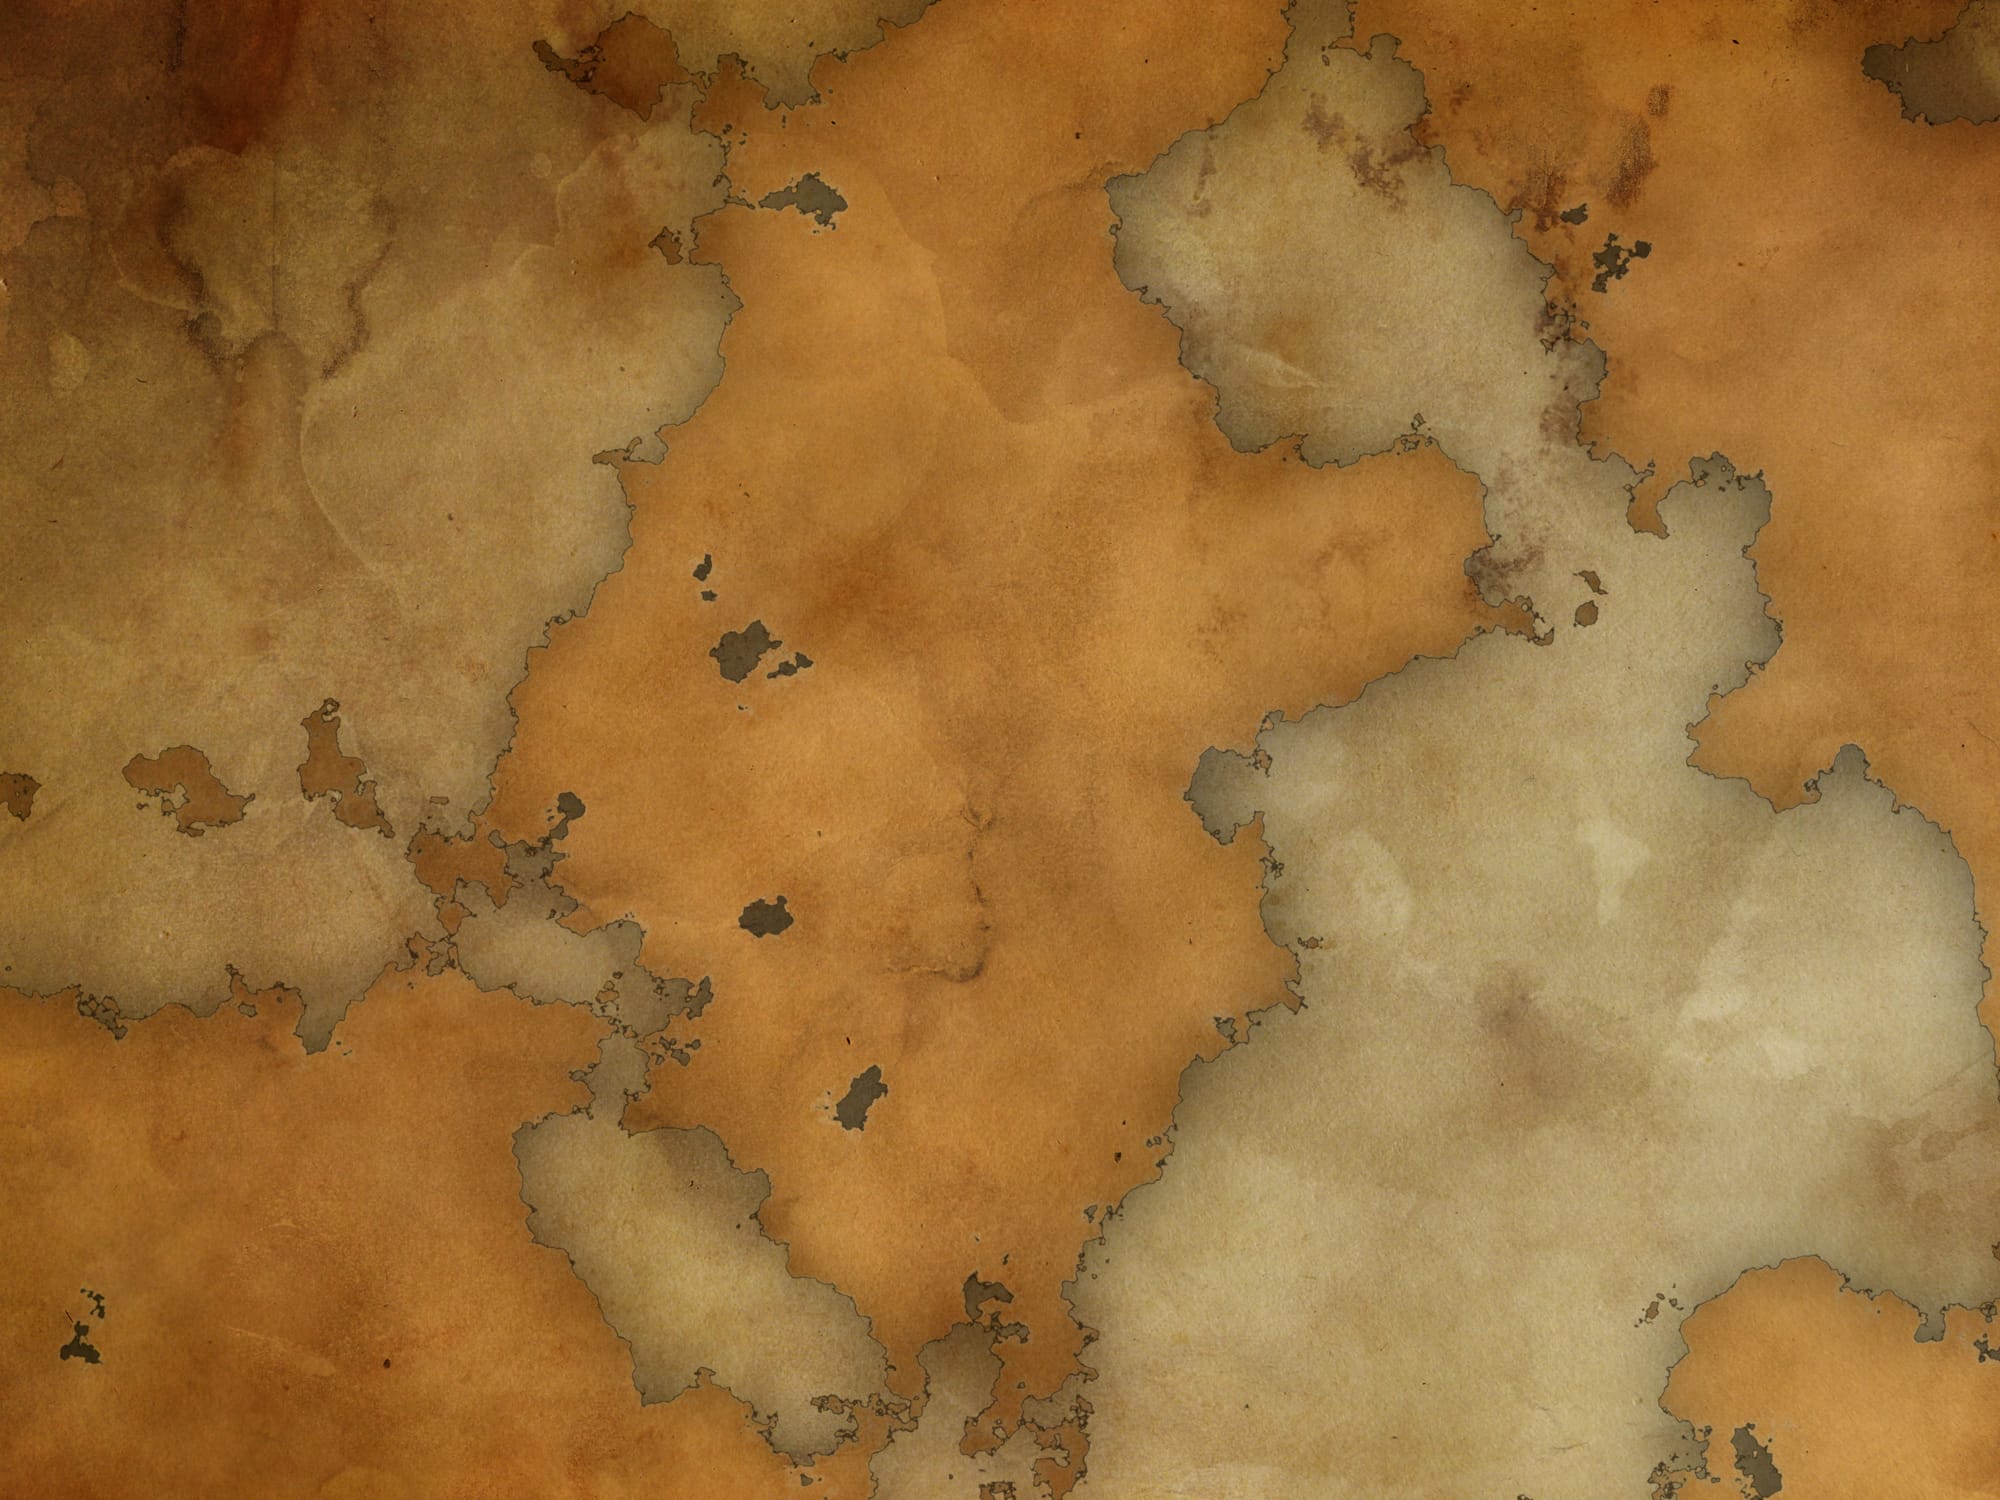
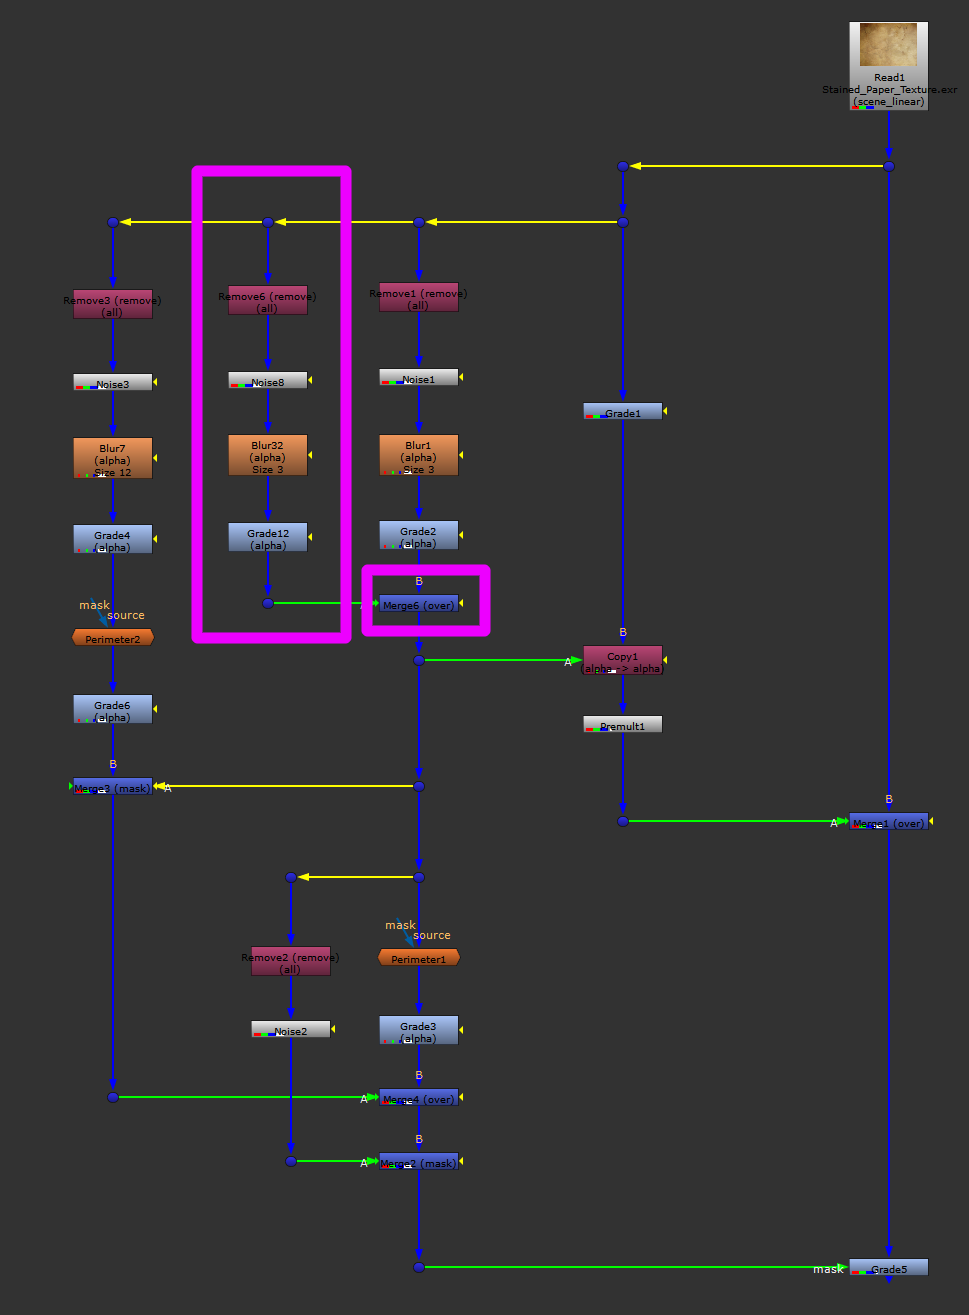
As a fun little side project, I generated the base image for a pirate map using Noise nodes in Nuke:
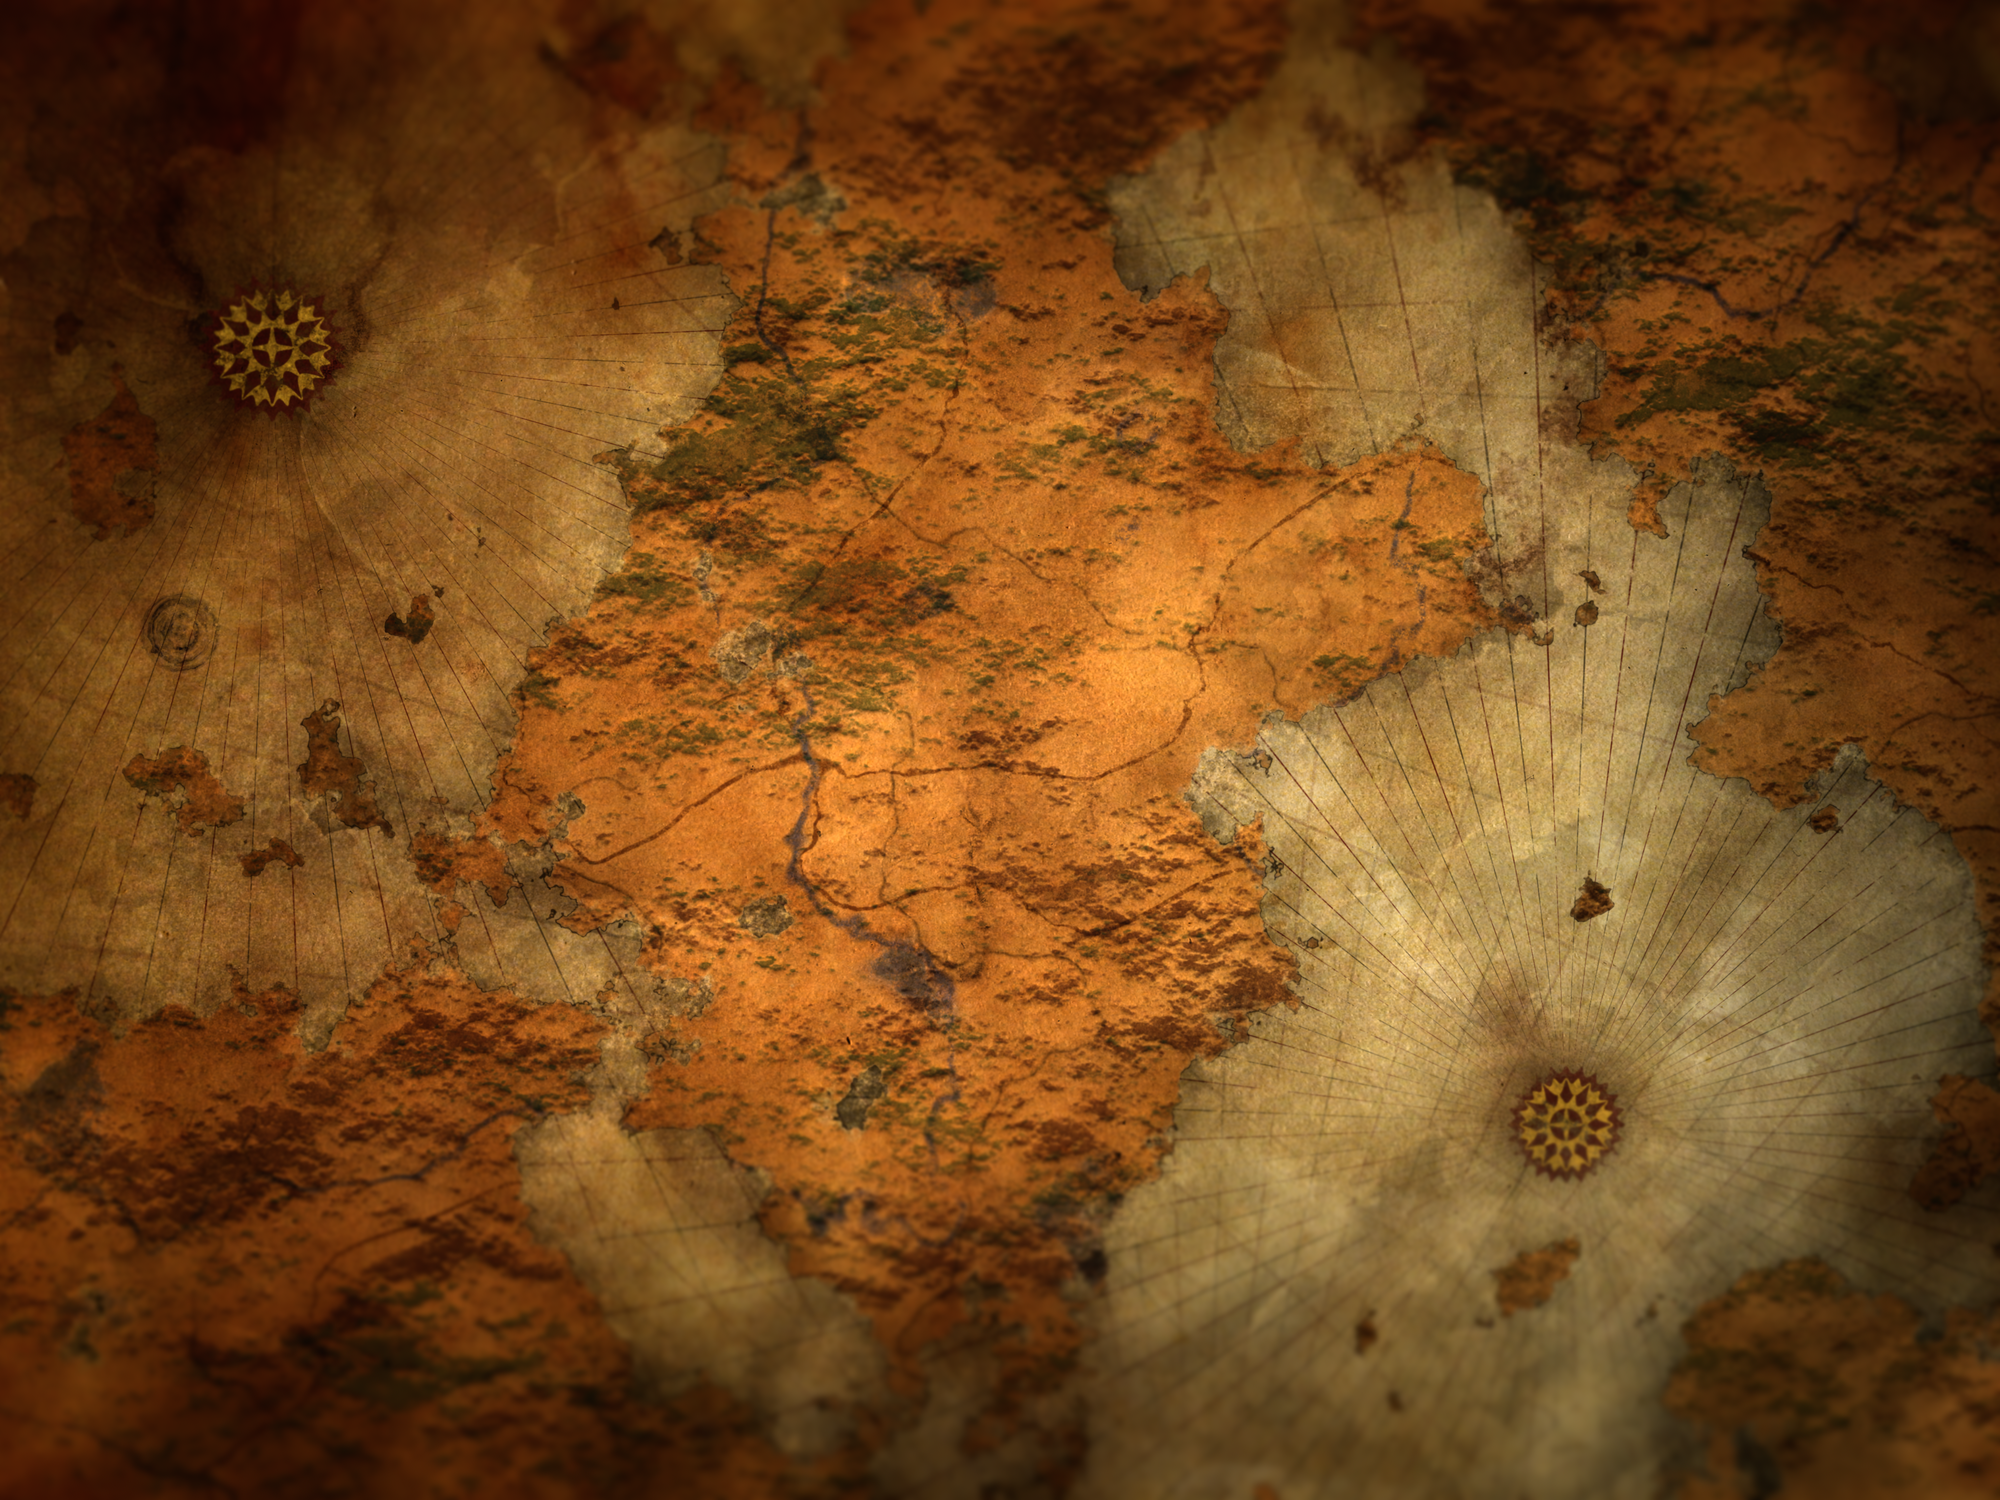
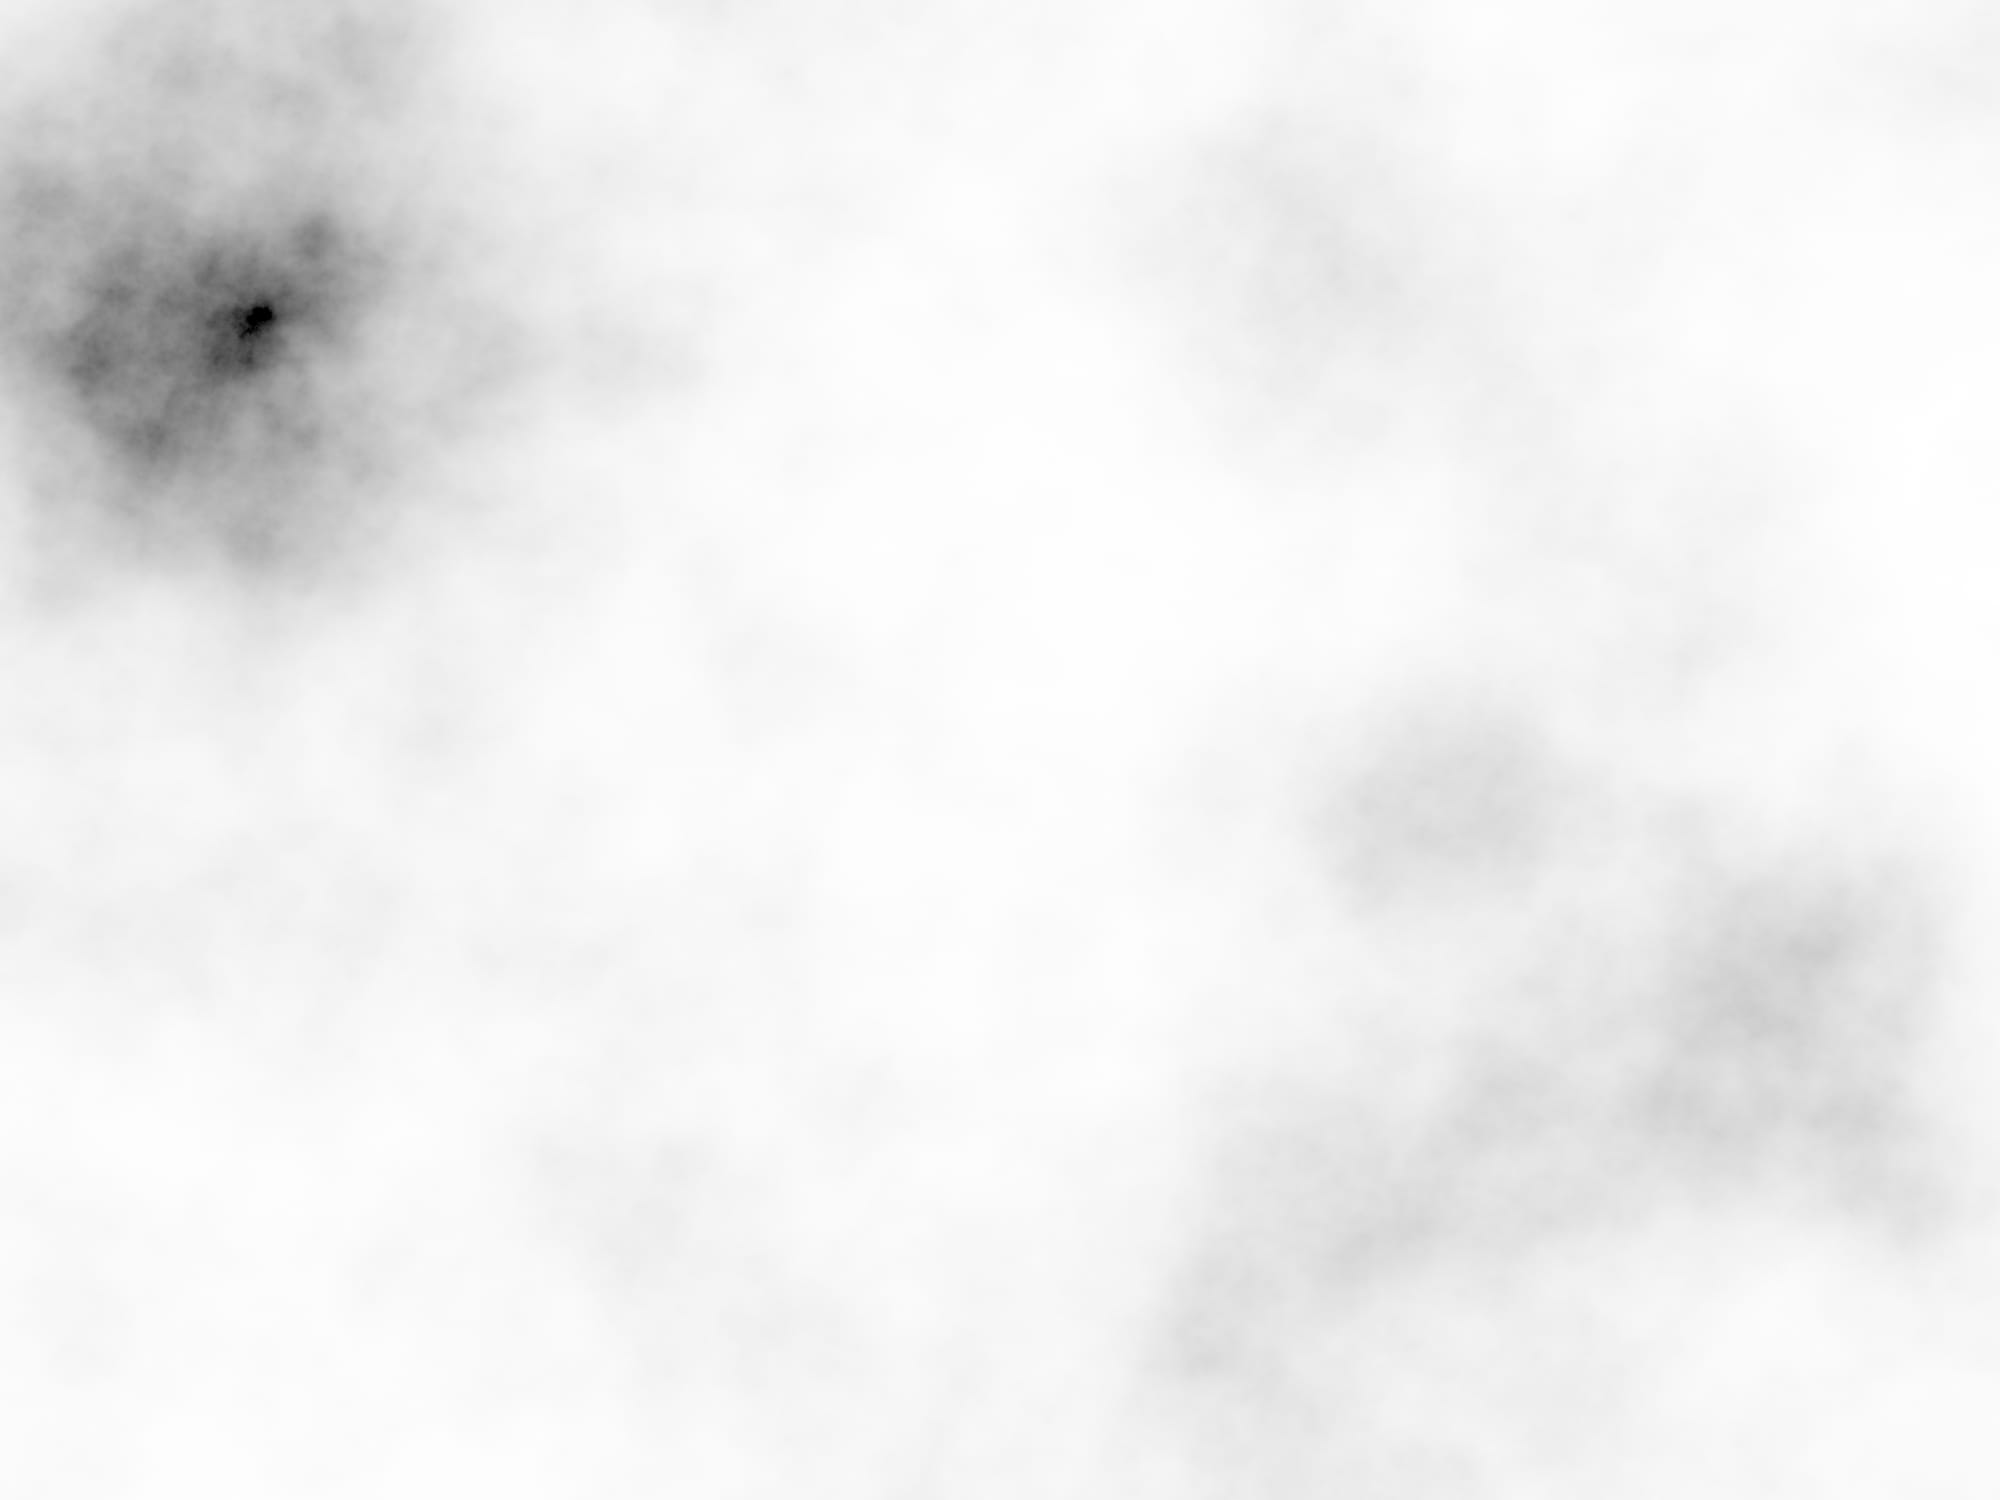
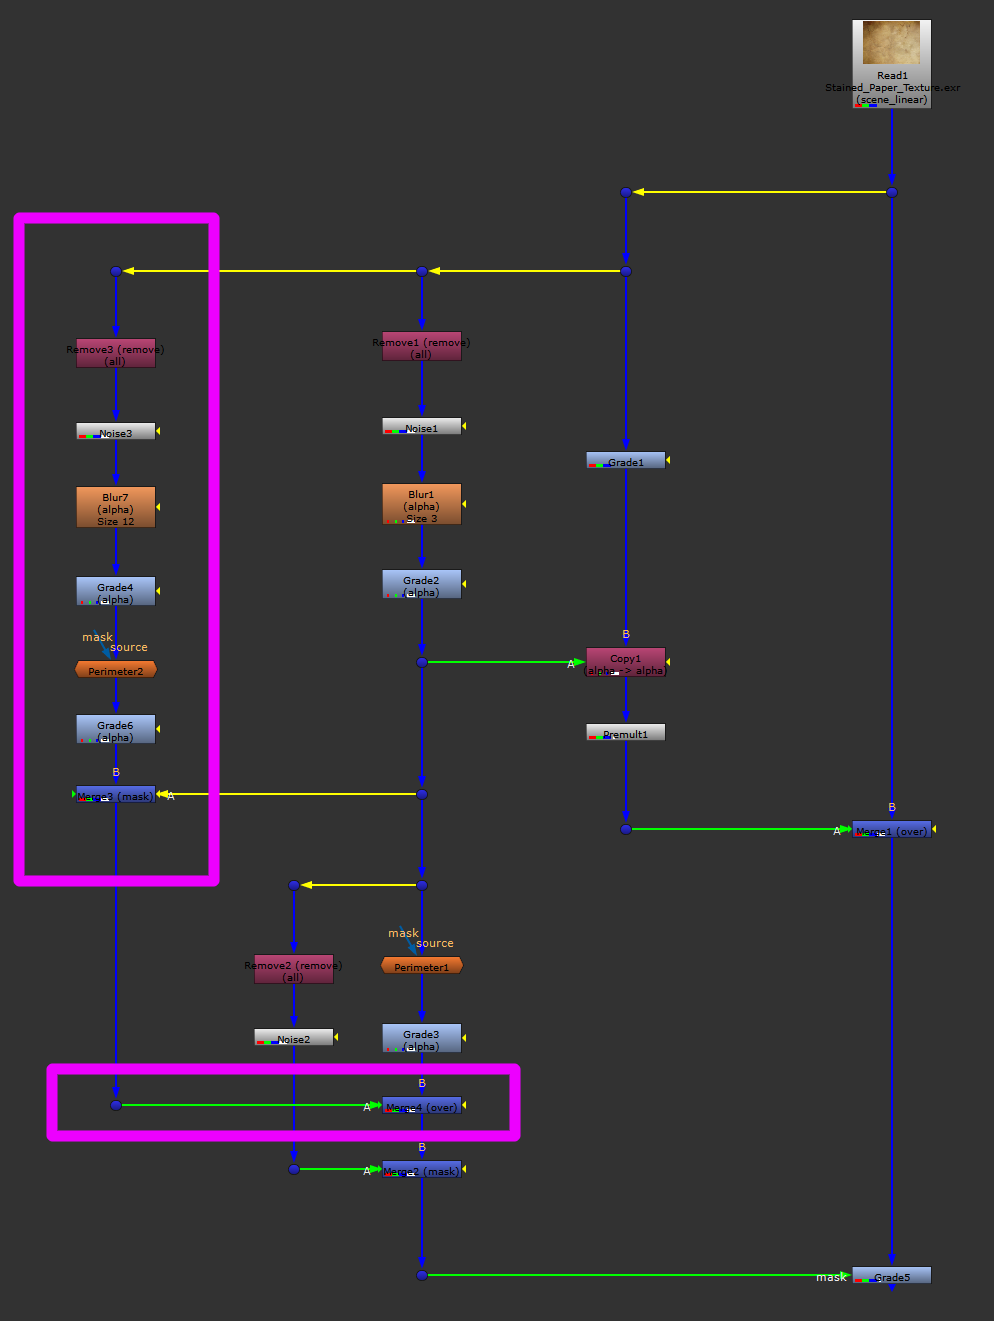
A procedurally generated base image of a pirate map, most of which is driven by Noise nodes.
Nearly all aspects of the map are procedural, meaning it's possible to customise and stylise it heavily. And by changing the values in the Noise nodes, we can essentially produce an infinite variety of maps:
Procedural map generation.
The video above only shows a small fraction of the maps that are possible to make.
Let's take a look at how we can build this in Nuke.
References
Before you start building the setup, it can be useful to look for references.
Find some maps that you like the look of, and use them to draw inspiration for style, colours, and various elements that you'd like to incorporate into your own work.
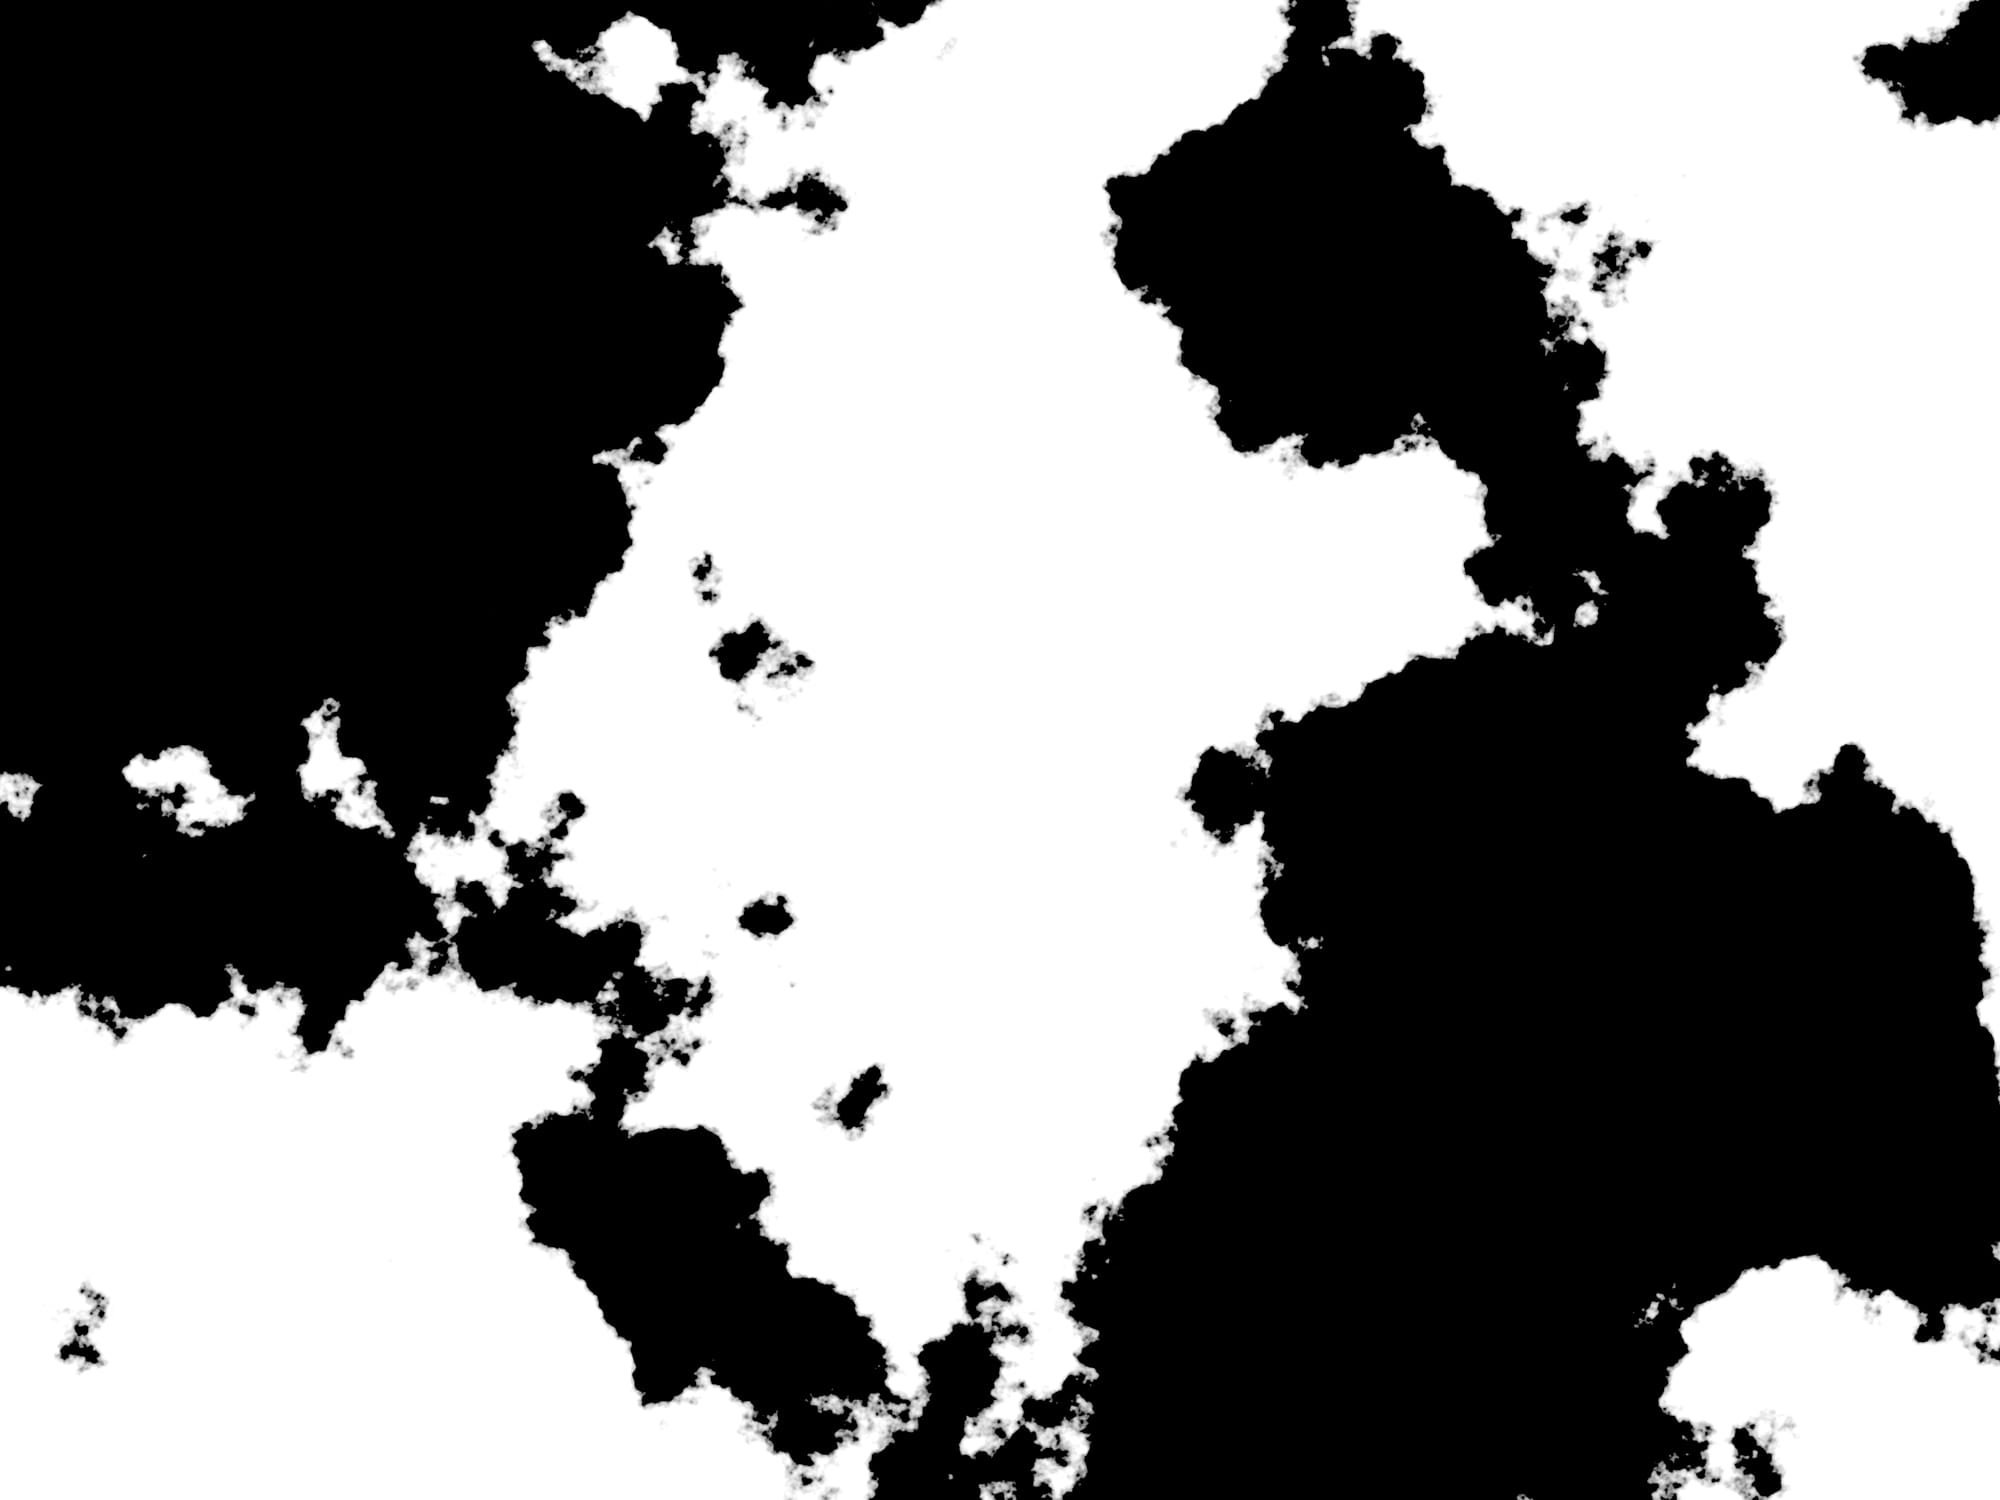
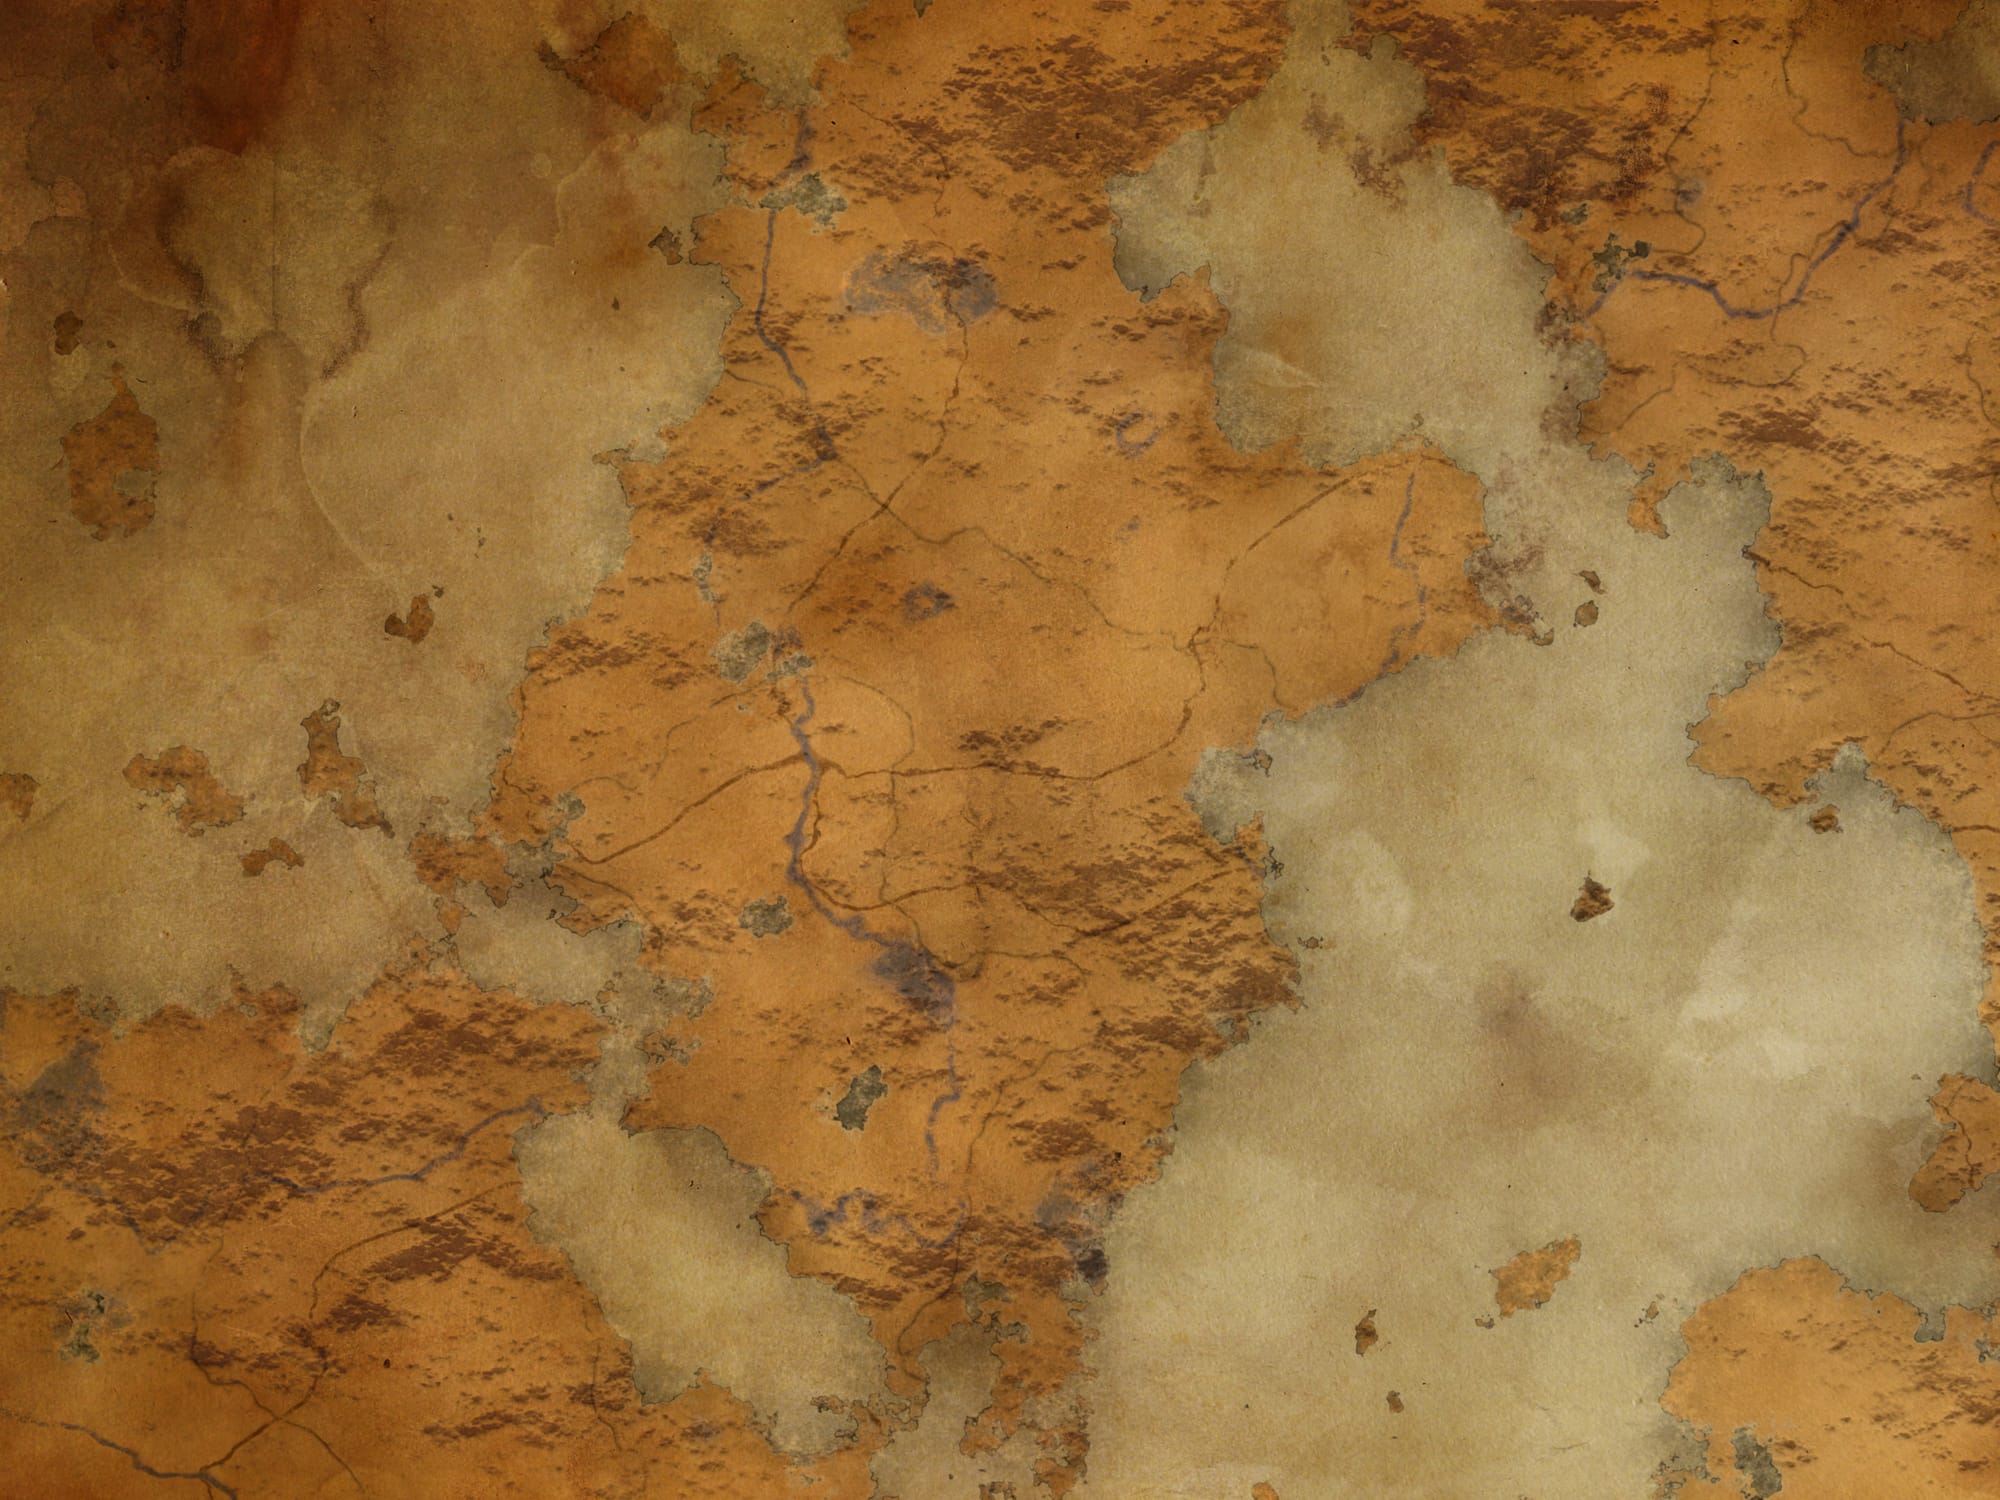
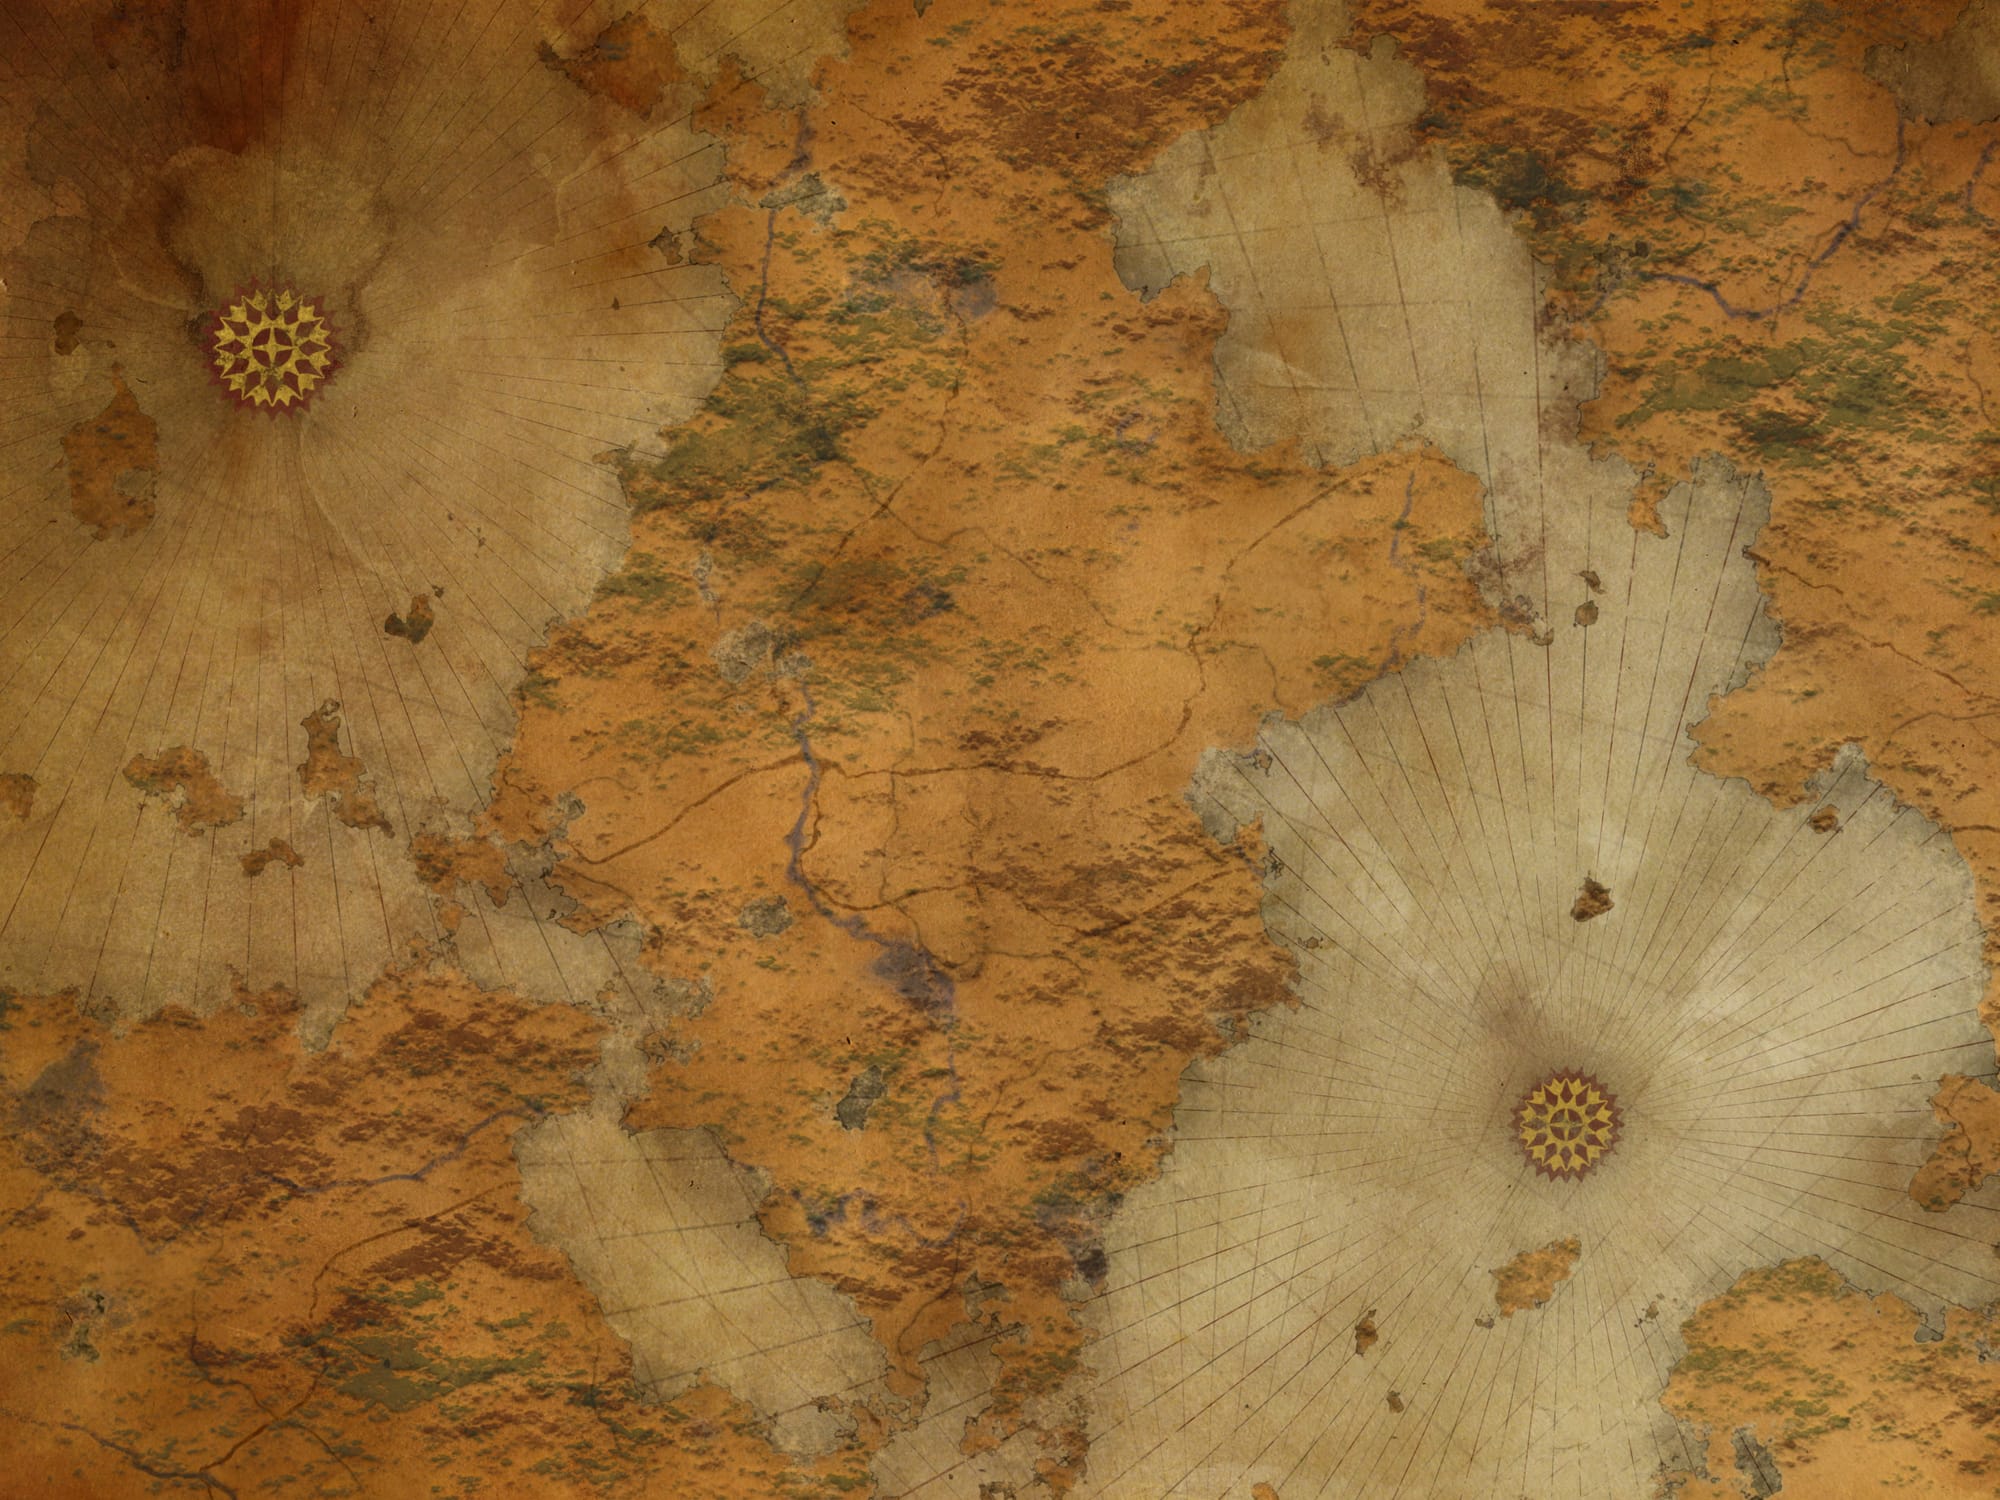
For my map, I initially drew inspiration from an early version of the FFXVI world map:
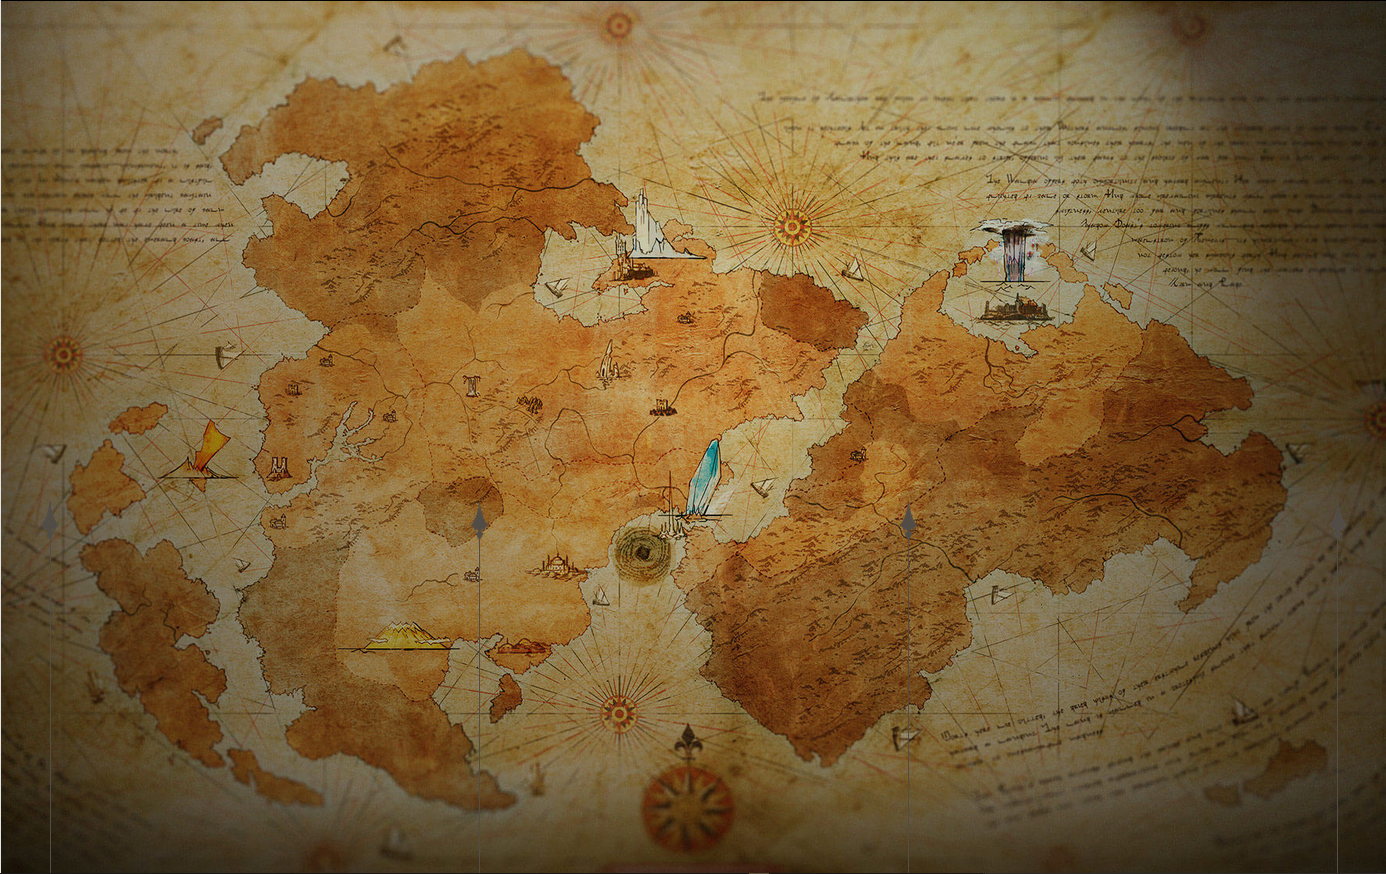
An early version of the FFXVI world map.
My map ended up looking quite different as a result of my own design choices, however you can see some of the same design elements echoed in it.
That's actually sort of the whole idea here. You can pick and choose different things you like, and combine them into something new and unique.
You don't have to stress about reinventing the wheel. Maps have been around for a very long time, and there is so much amazing work out there that can be used to help spark ideas.
Once you have gathered some inspiration and have a rough idea of what you would like to make, let's continue.
Free Details
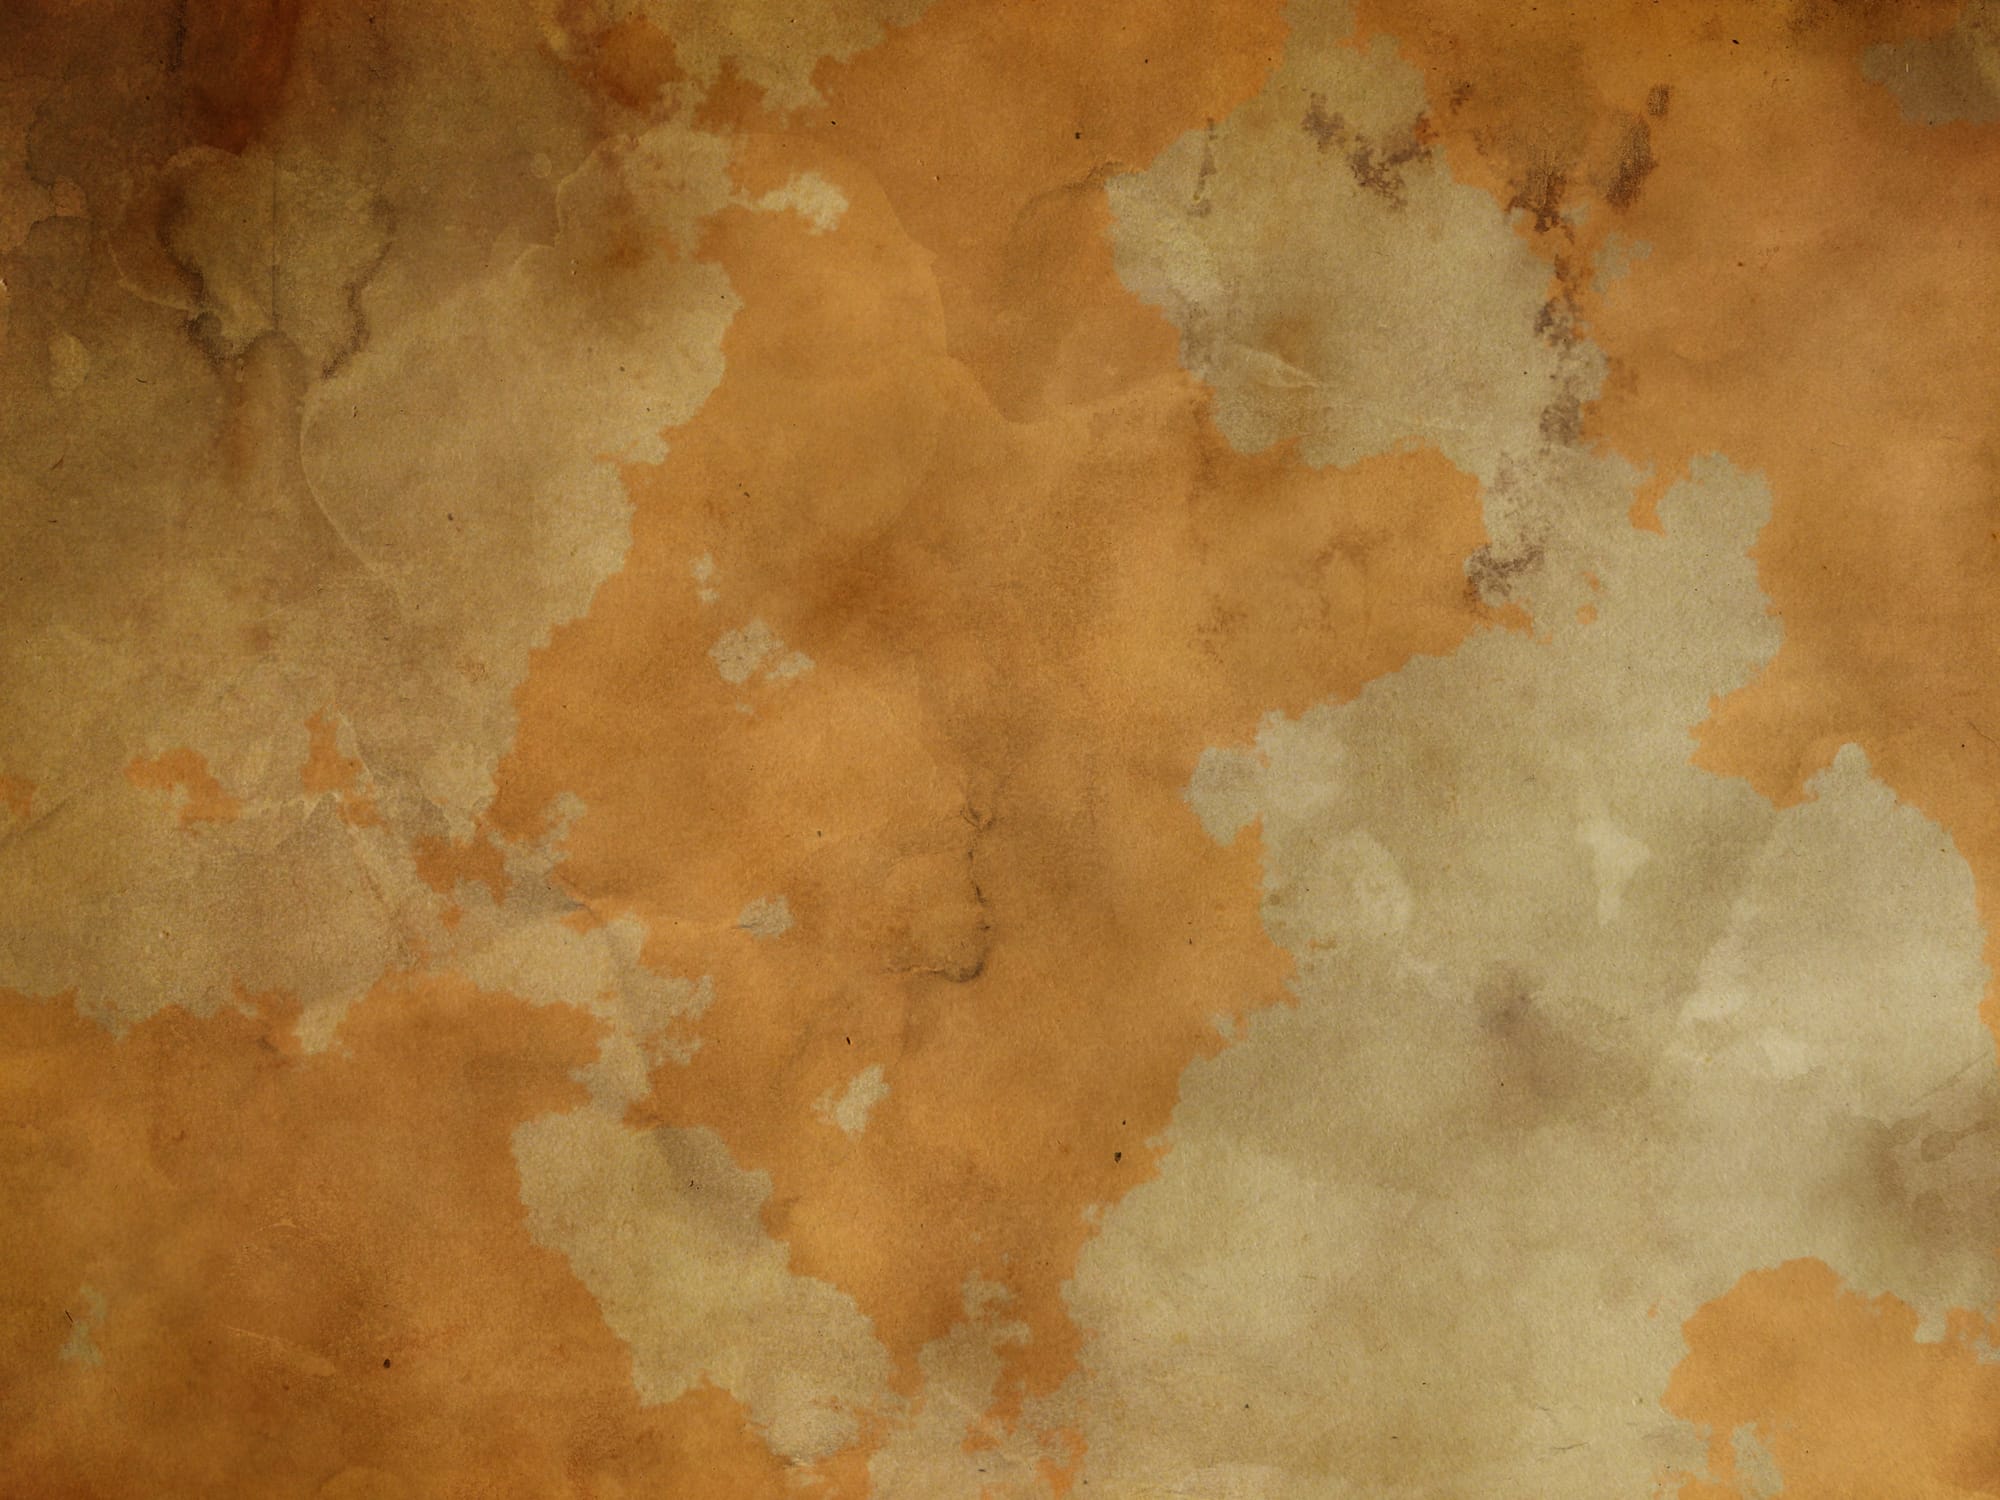
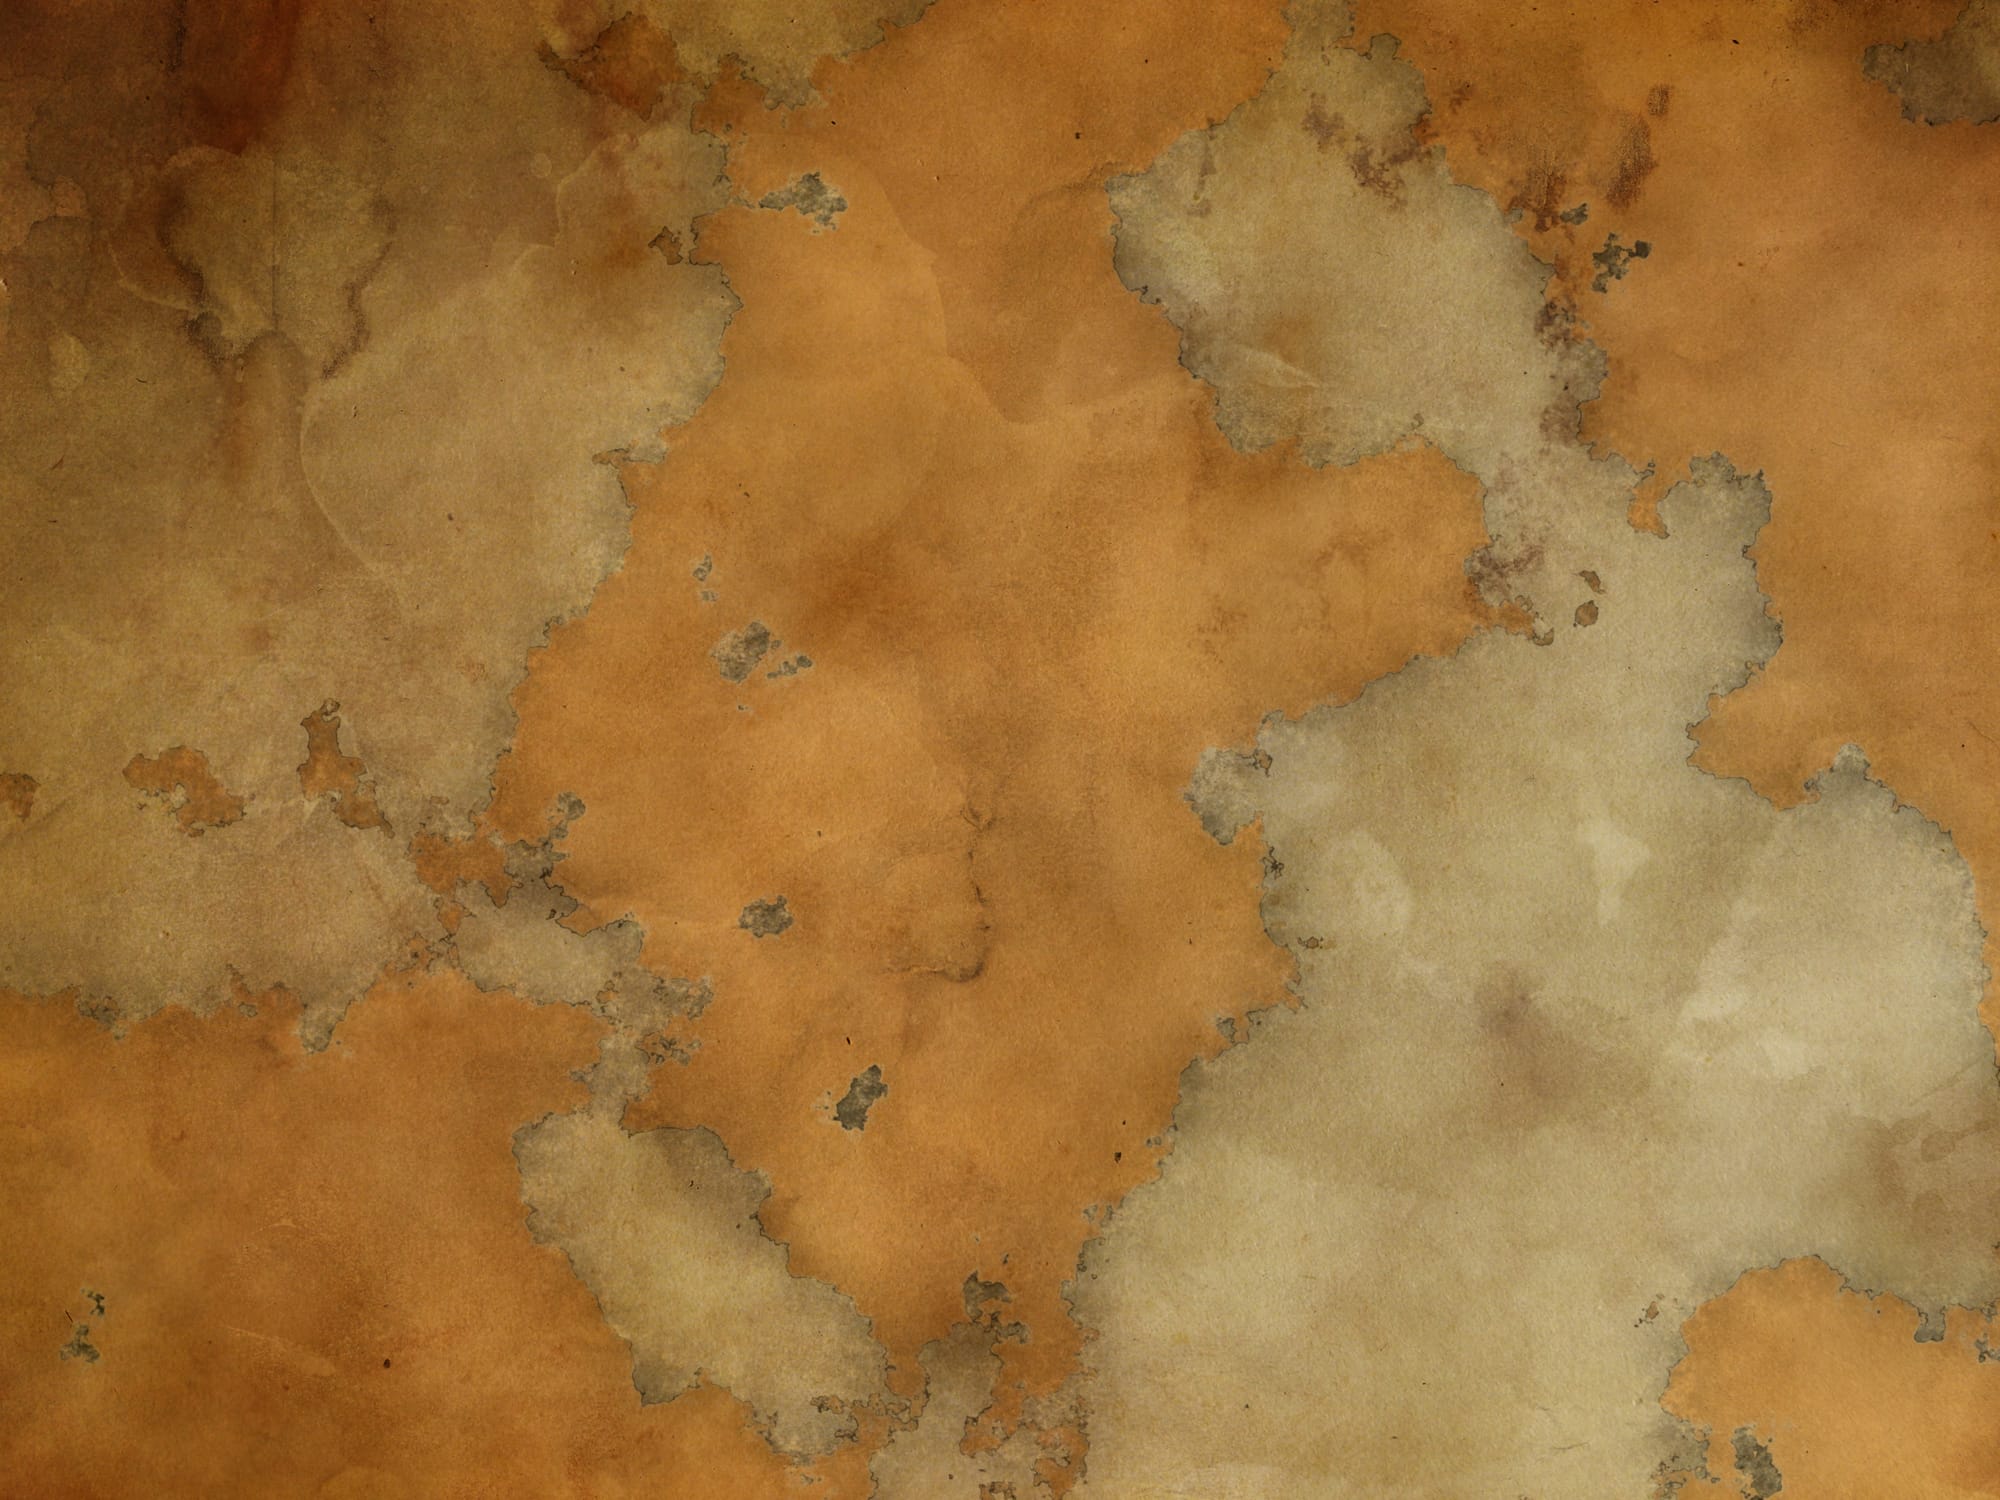
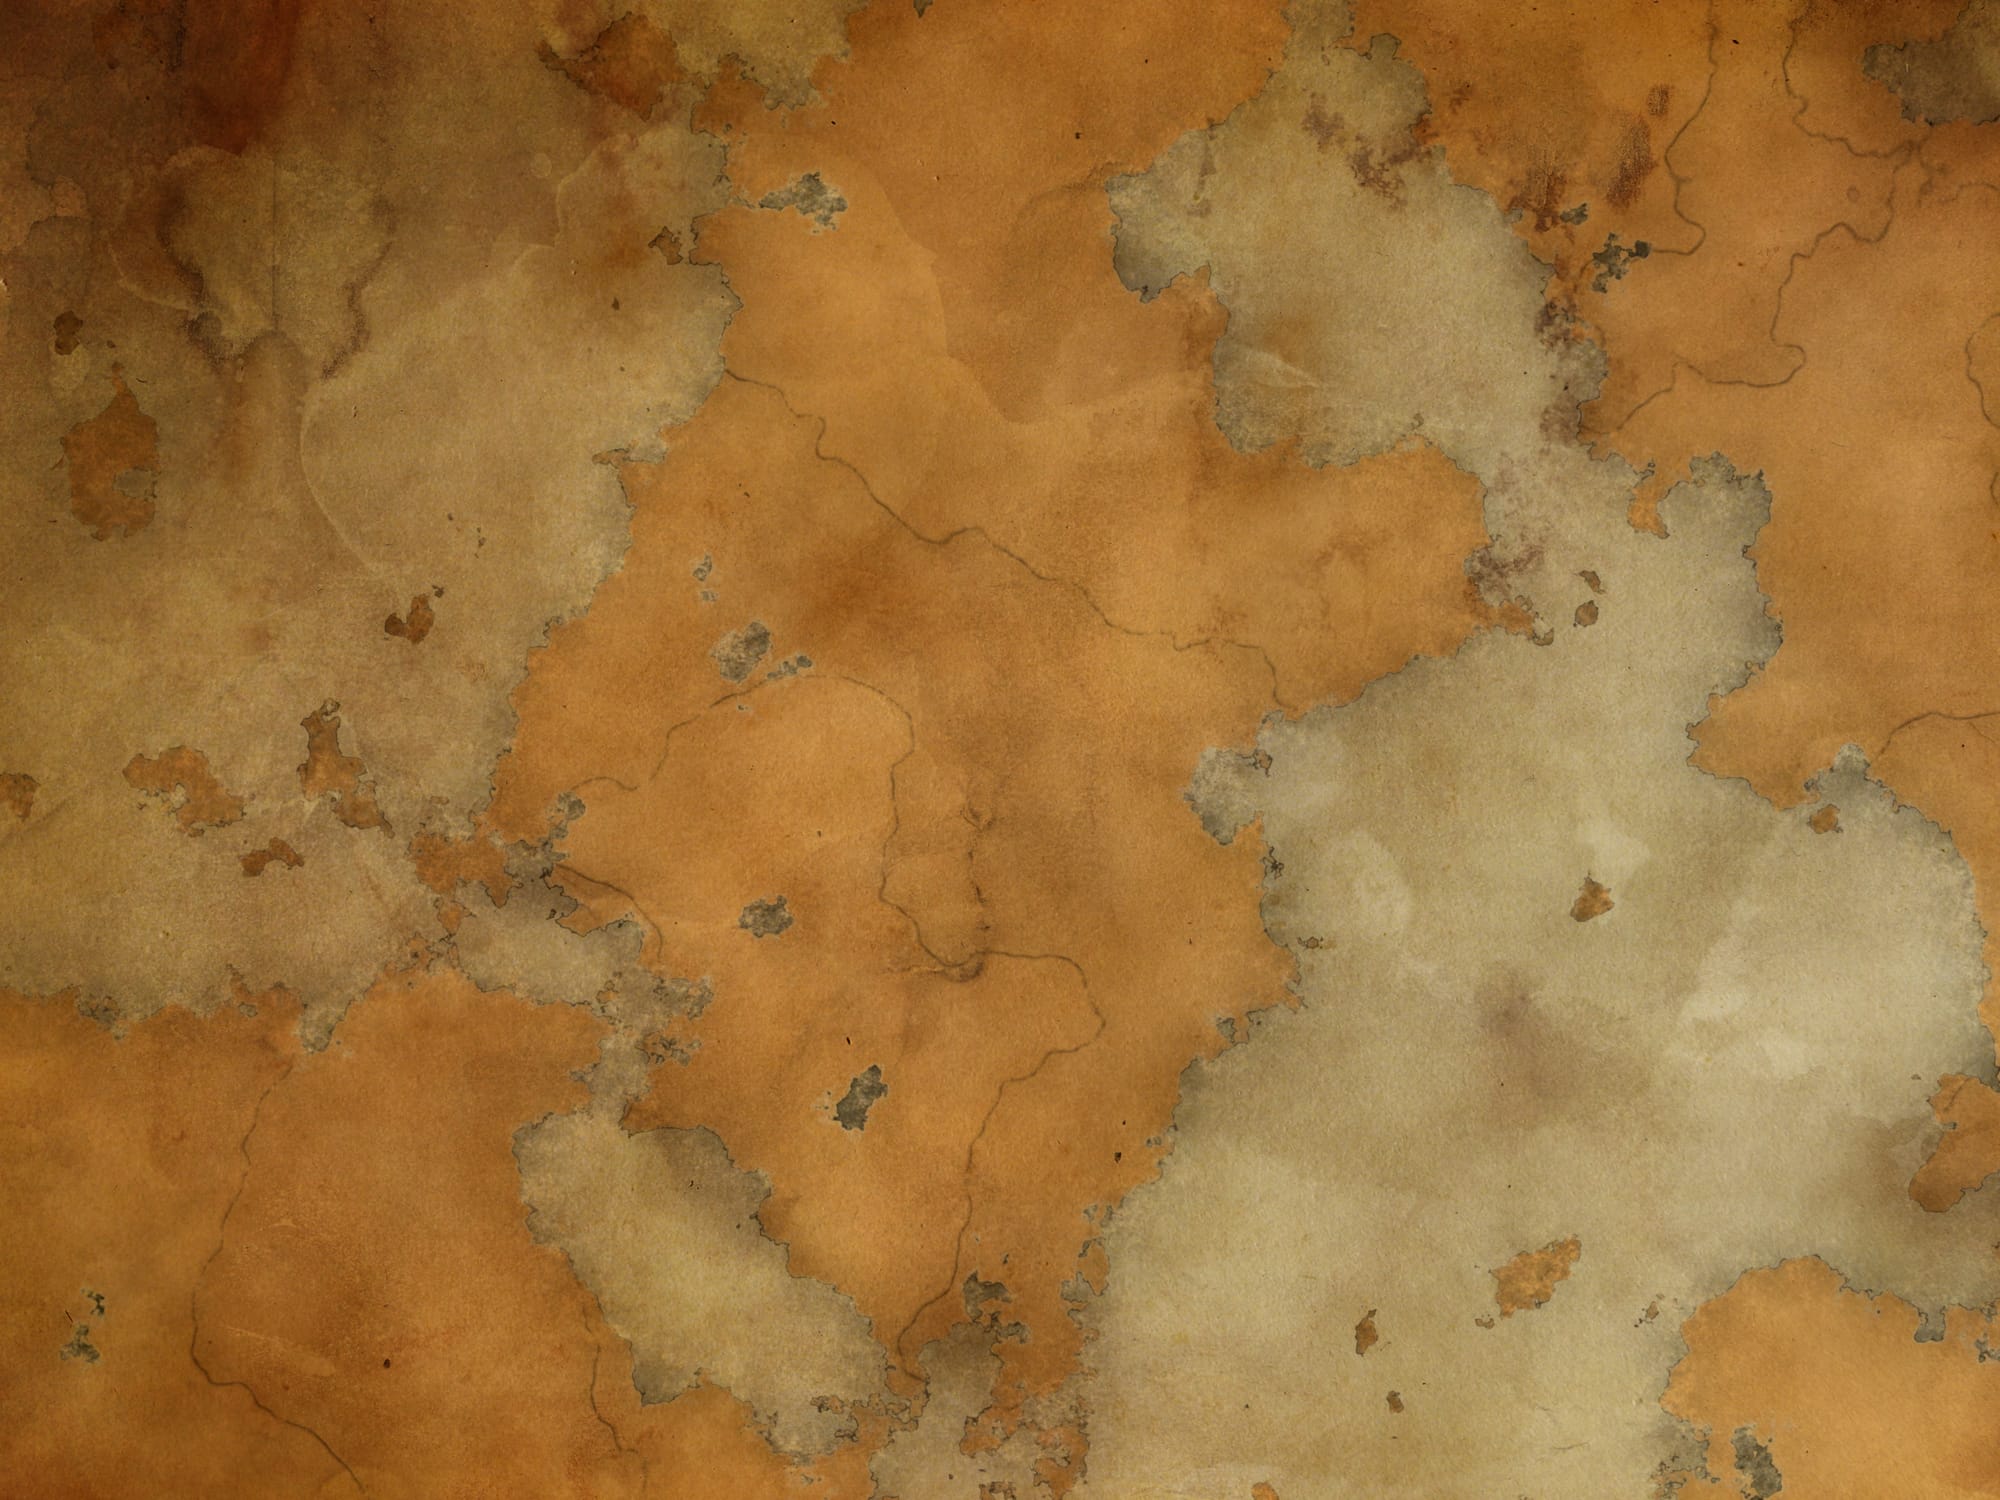
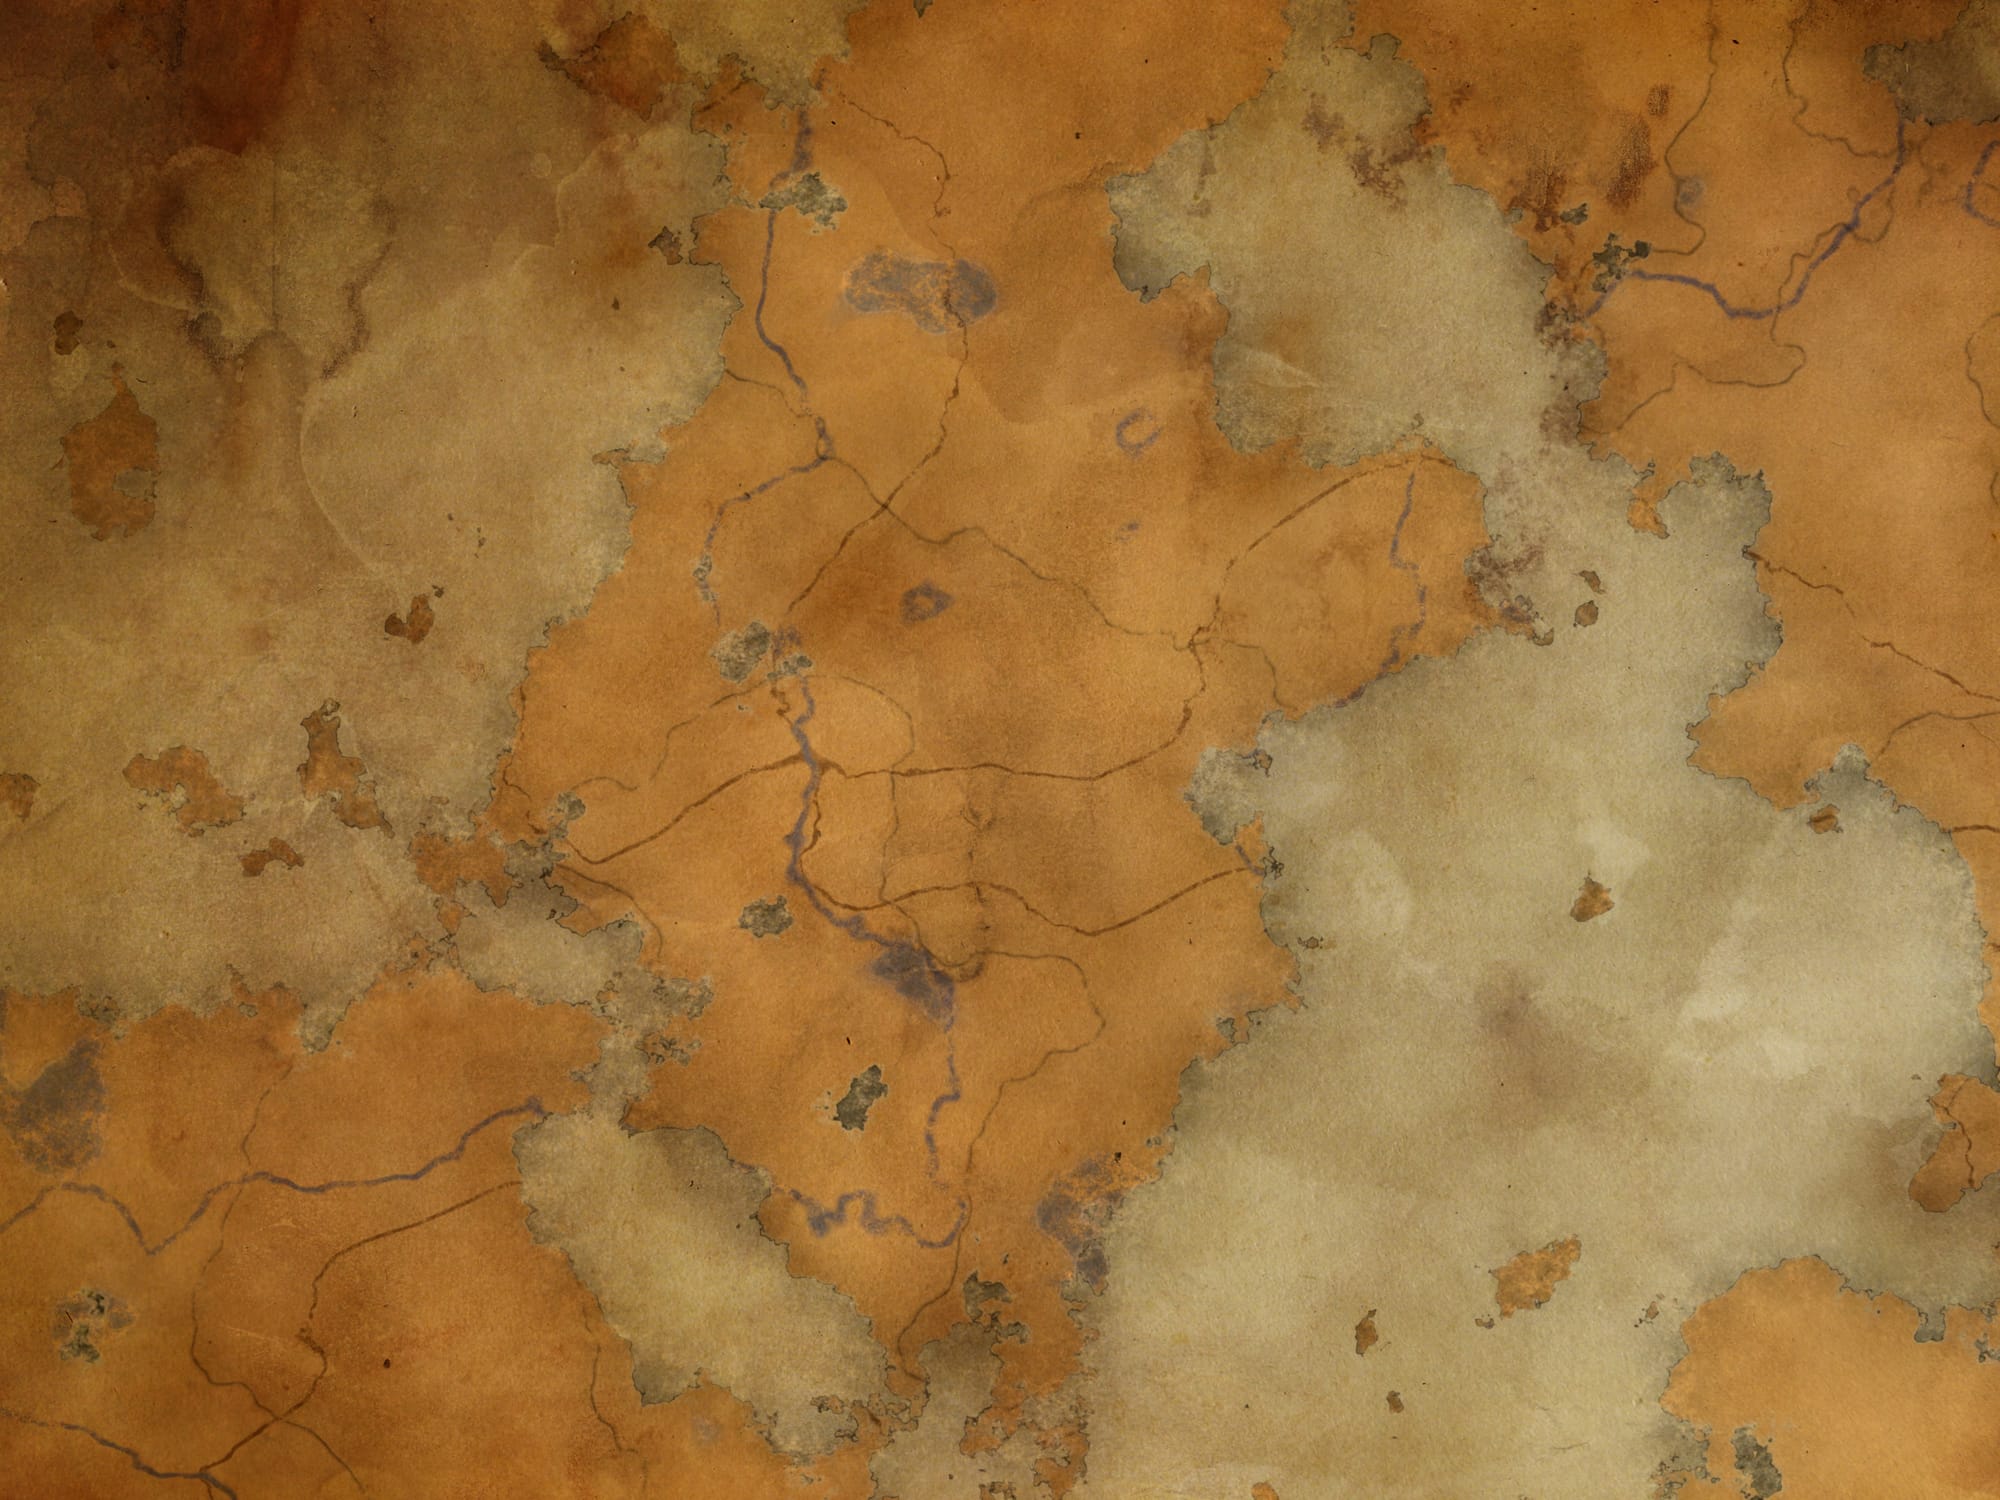
To help fight the blank page syndrome, it can be a good idea to start out with a high resolution image of an old and stained paper texture.
That way, you'll get a bunch of details for free right off the bat, and save yourself a lot of work by not having to create the map completely from scratch.
While you can absolutely make something similar with enough Noise nodes and grades, it helps to have real, non-synthetic detail as a foundation for the map.
Some authentic imperfection:
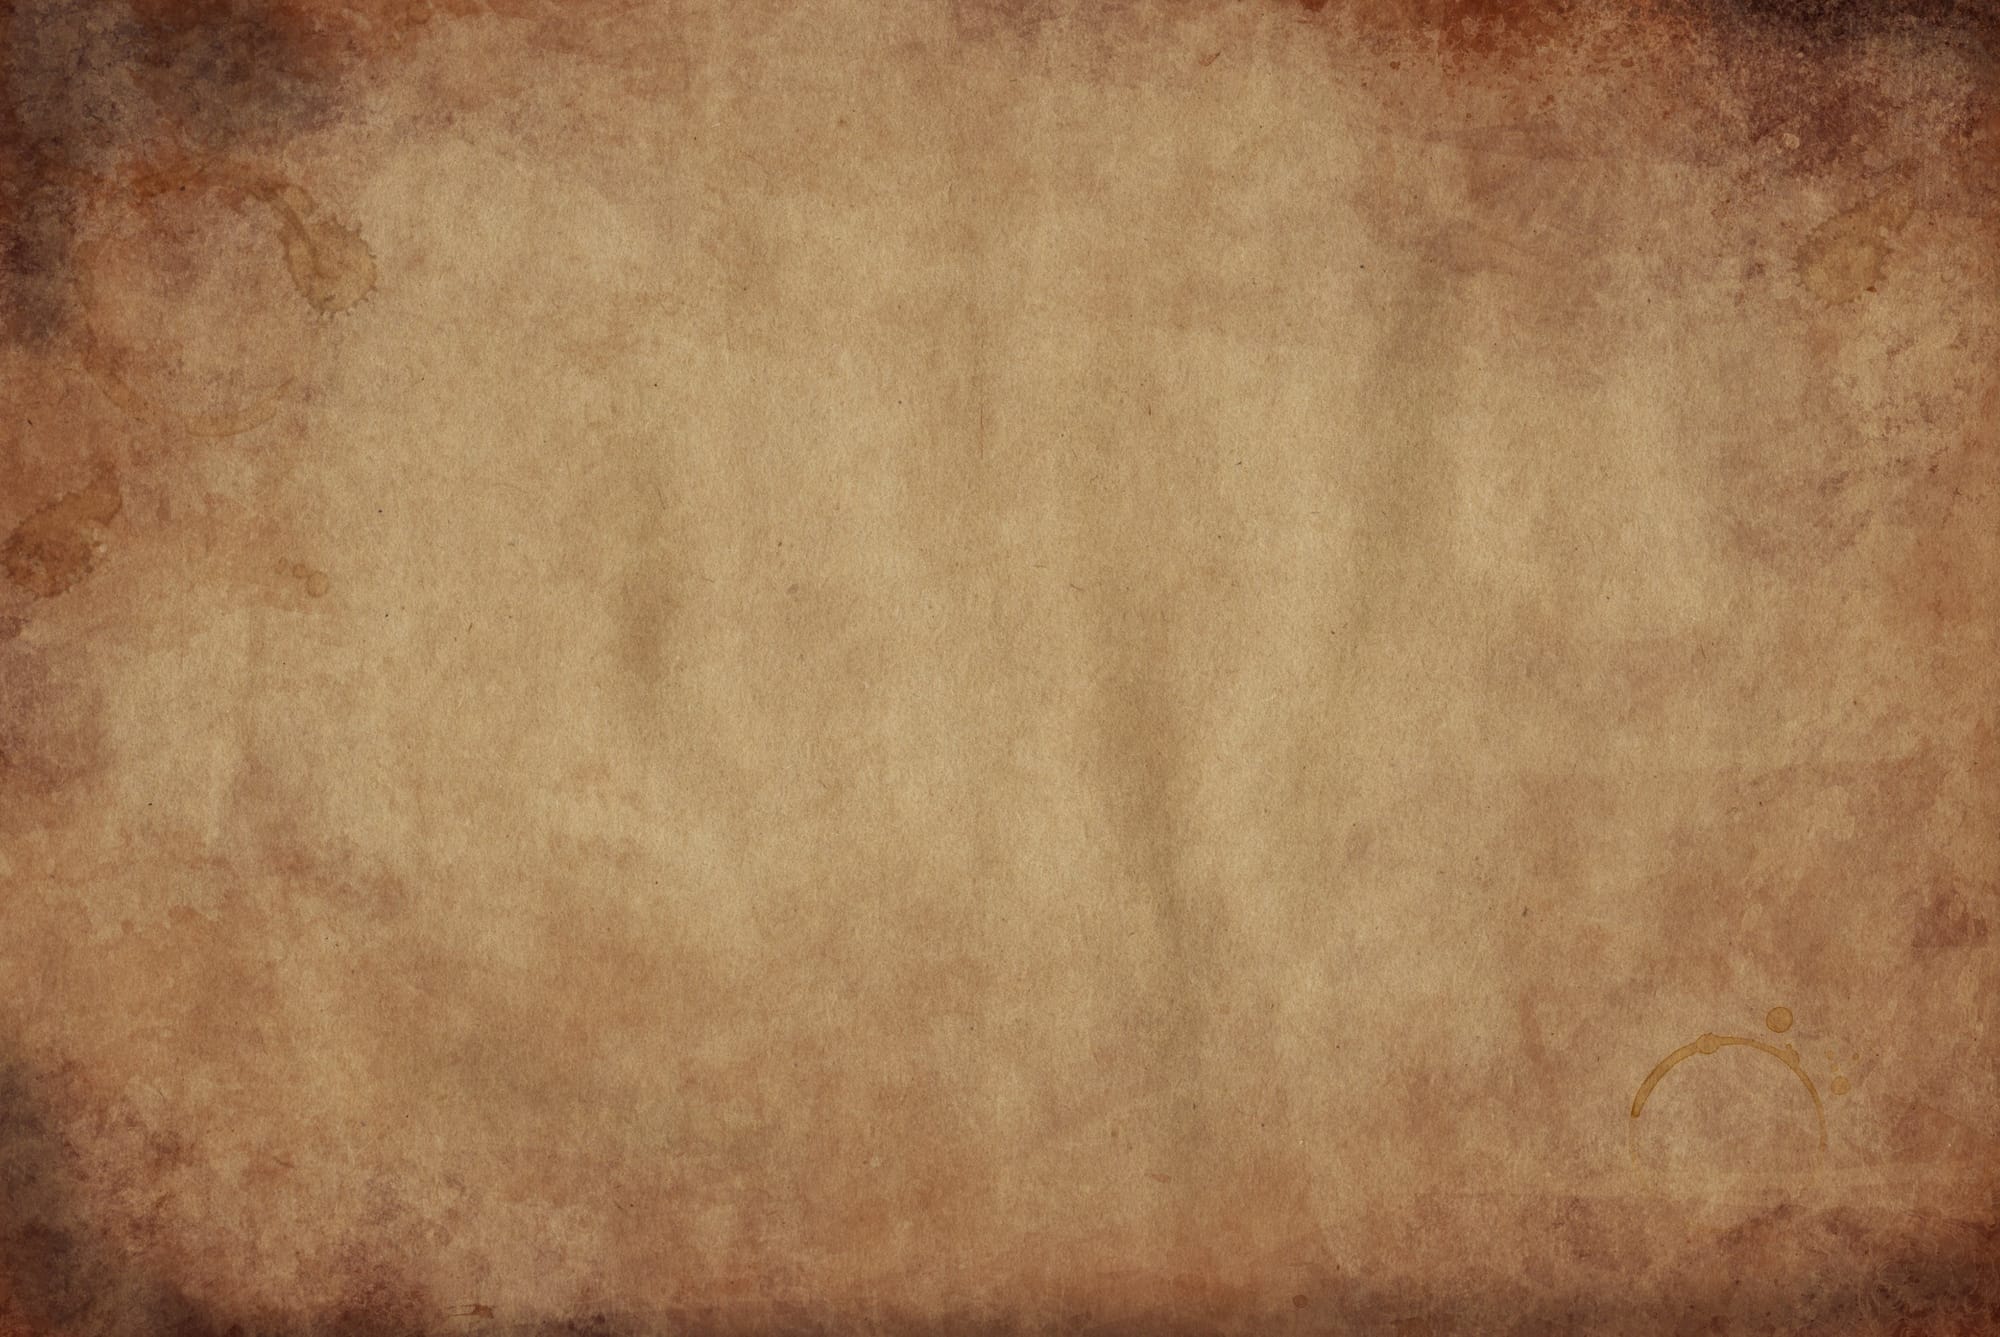

Examples of old and stained paper textures.
Import your paper texture into Nuke, and let's start building the map.
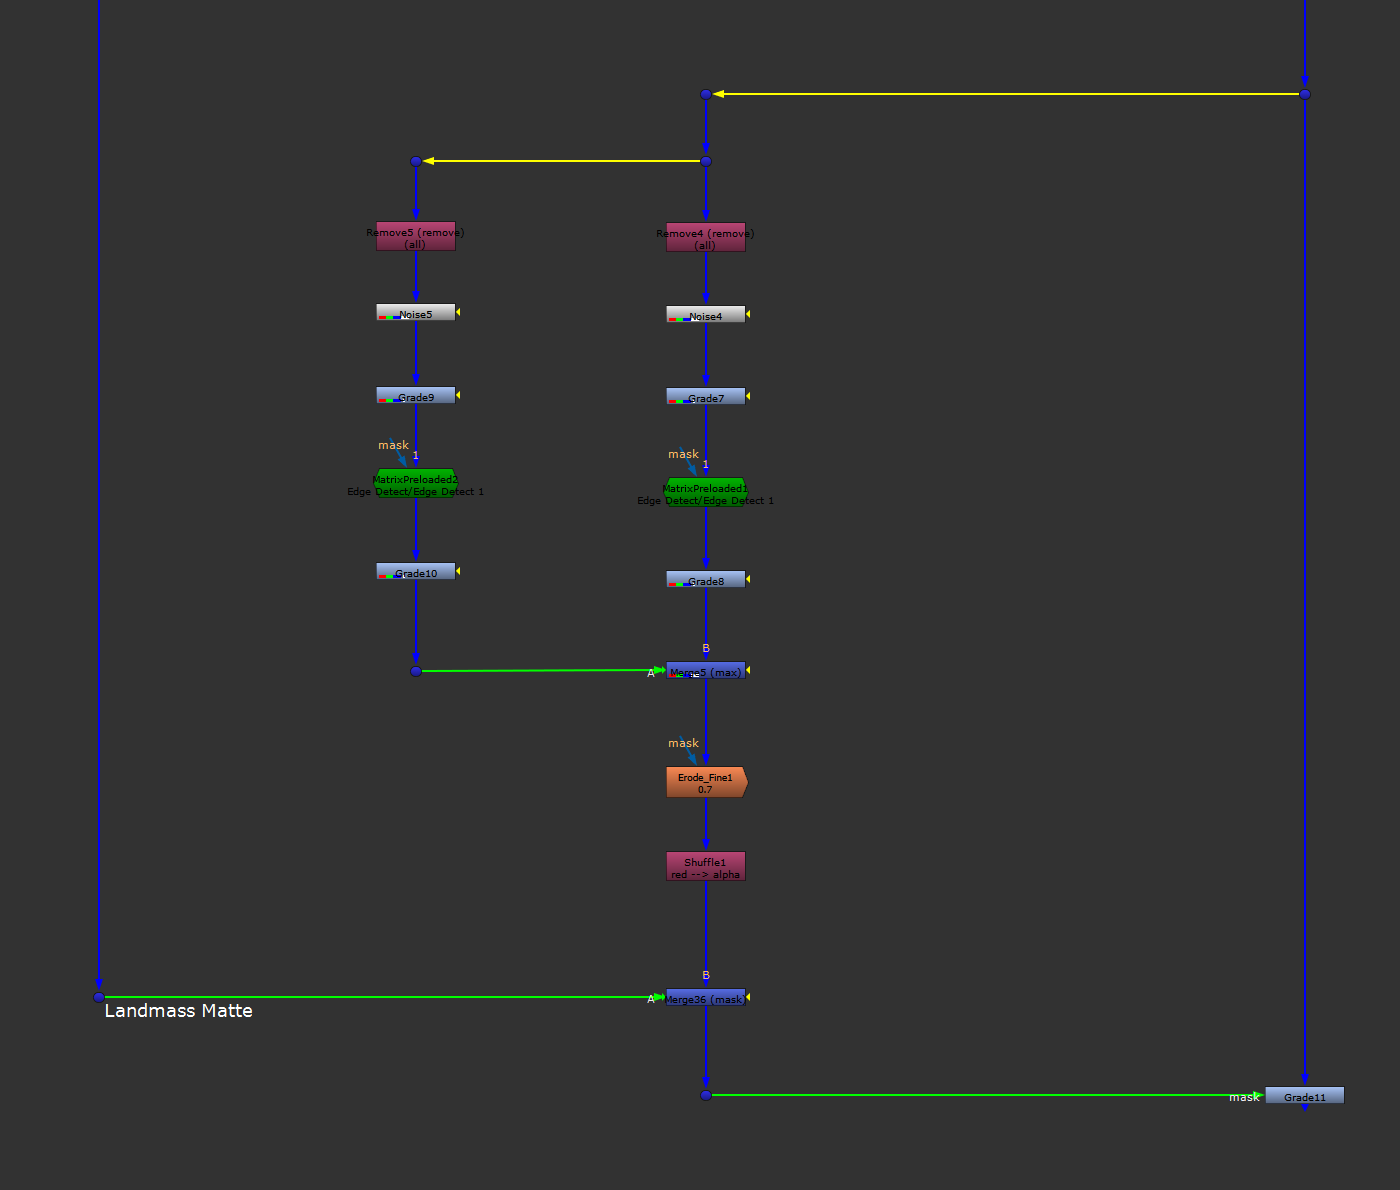
Landmasses
The Noise node in Nuke is great for procedurally generating landmasses.
It has a ton of settings to create basically an unlimited variety of shapes. And because it's procedural, you can create as large of an image, with as much detail, as you like. Meaning, your input image can be any resolution.
For my map, I chose to use a 4000 x 3000 pixels stained paper texture. You could use anything you like, although I would recommend going with a high resolution image for sharper detail. (Which would also look better on print if you plan to make a physical map).
Mainland
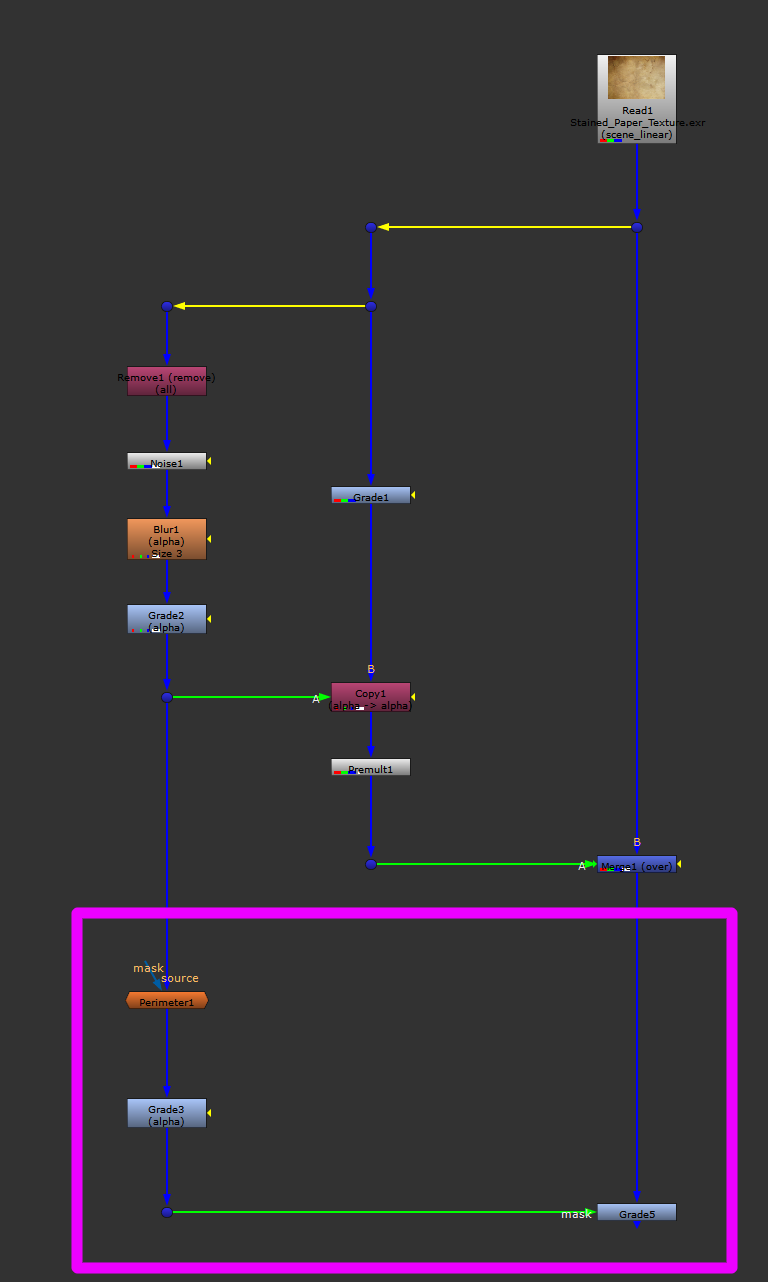
All right, so we're going to use a Noise node to generate the main landmasses.
It's important that the Noise node is set to the same format as your paper texture in order for everything to fit together.
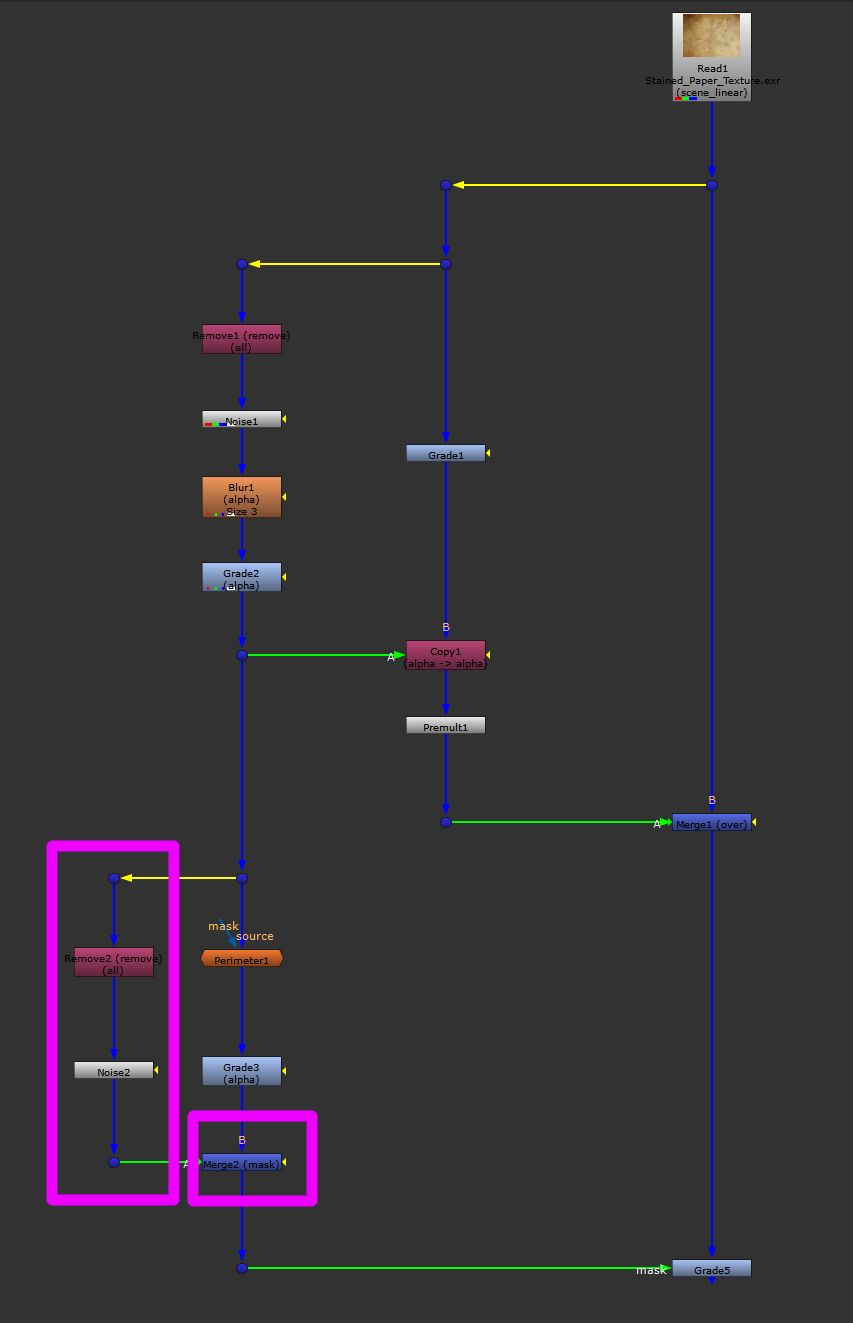
Make a branch off to the side from your paper texture, add a Remove (all) node, and then connect a Noise node to it. This will transfer only the format of the paper texture to the Noise node.
Next, crunch the white and black points of the Noise node’s alpha with a Grade node. This will make the edges of the landmasses more defined. Remember to tick black clamp and white clamp in the Grade node to keep the alpha values between 0 and 1.
Copy the crunched alpha into a new branch coming from the paper texture, and then Premult. In this new branch, grade the paper texture to the colour you want the landmasses to be on your map.
Then, Merge (over) the coloured landmasses (A) with the original paper texture (B).
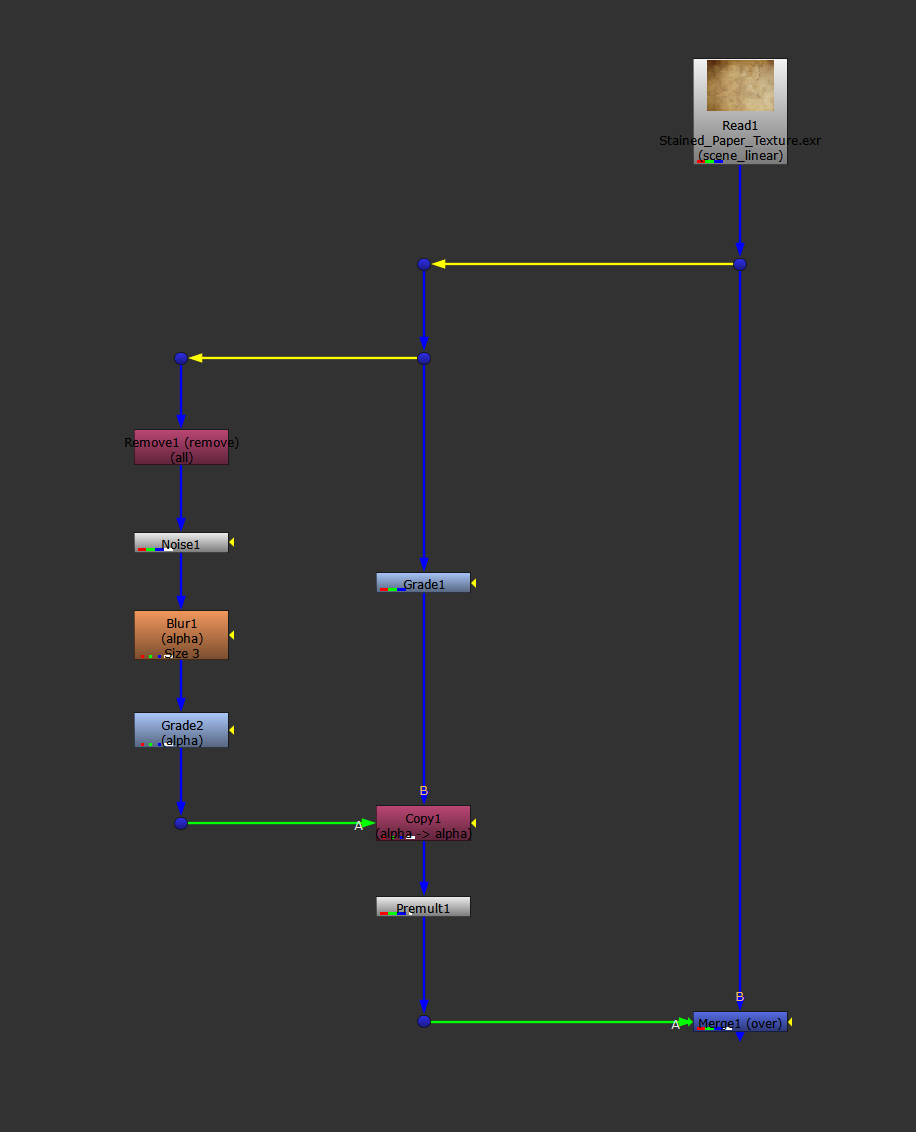
Setup for generating the main landmasses.
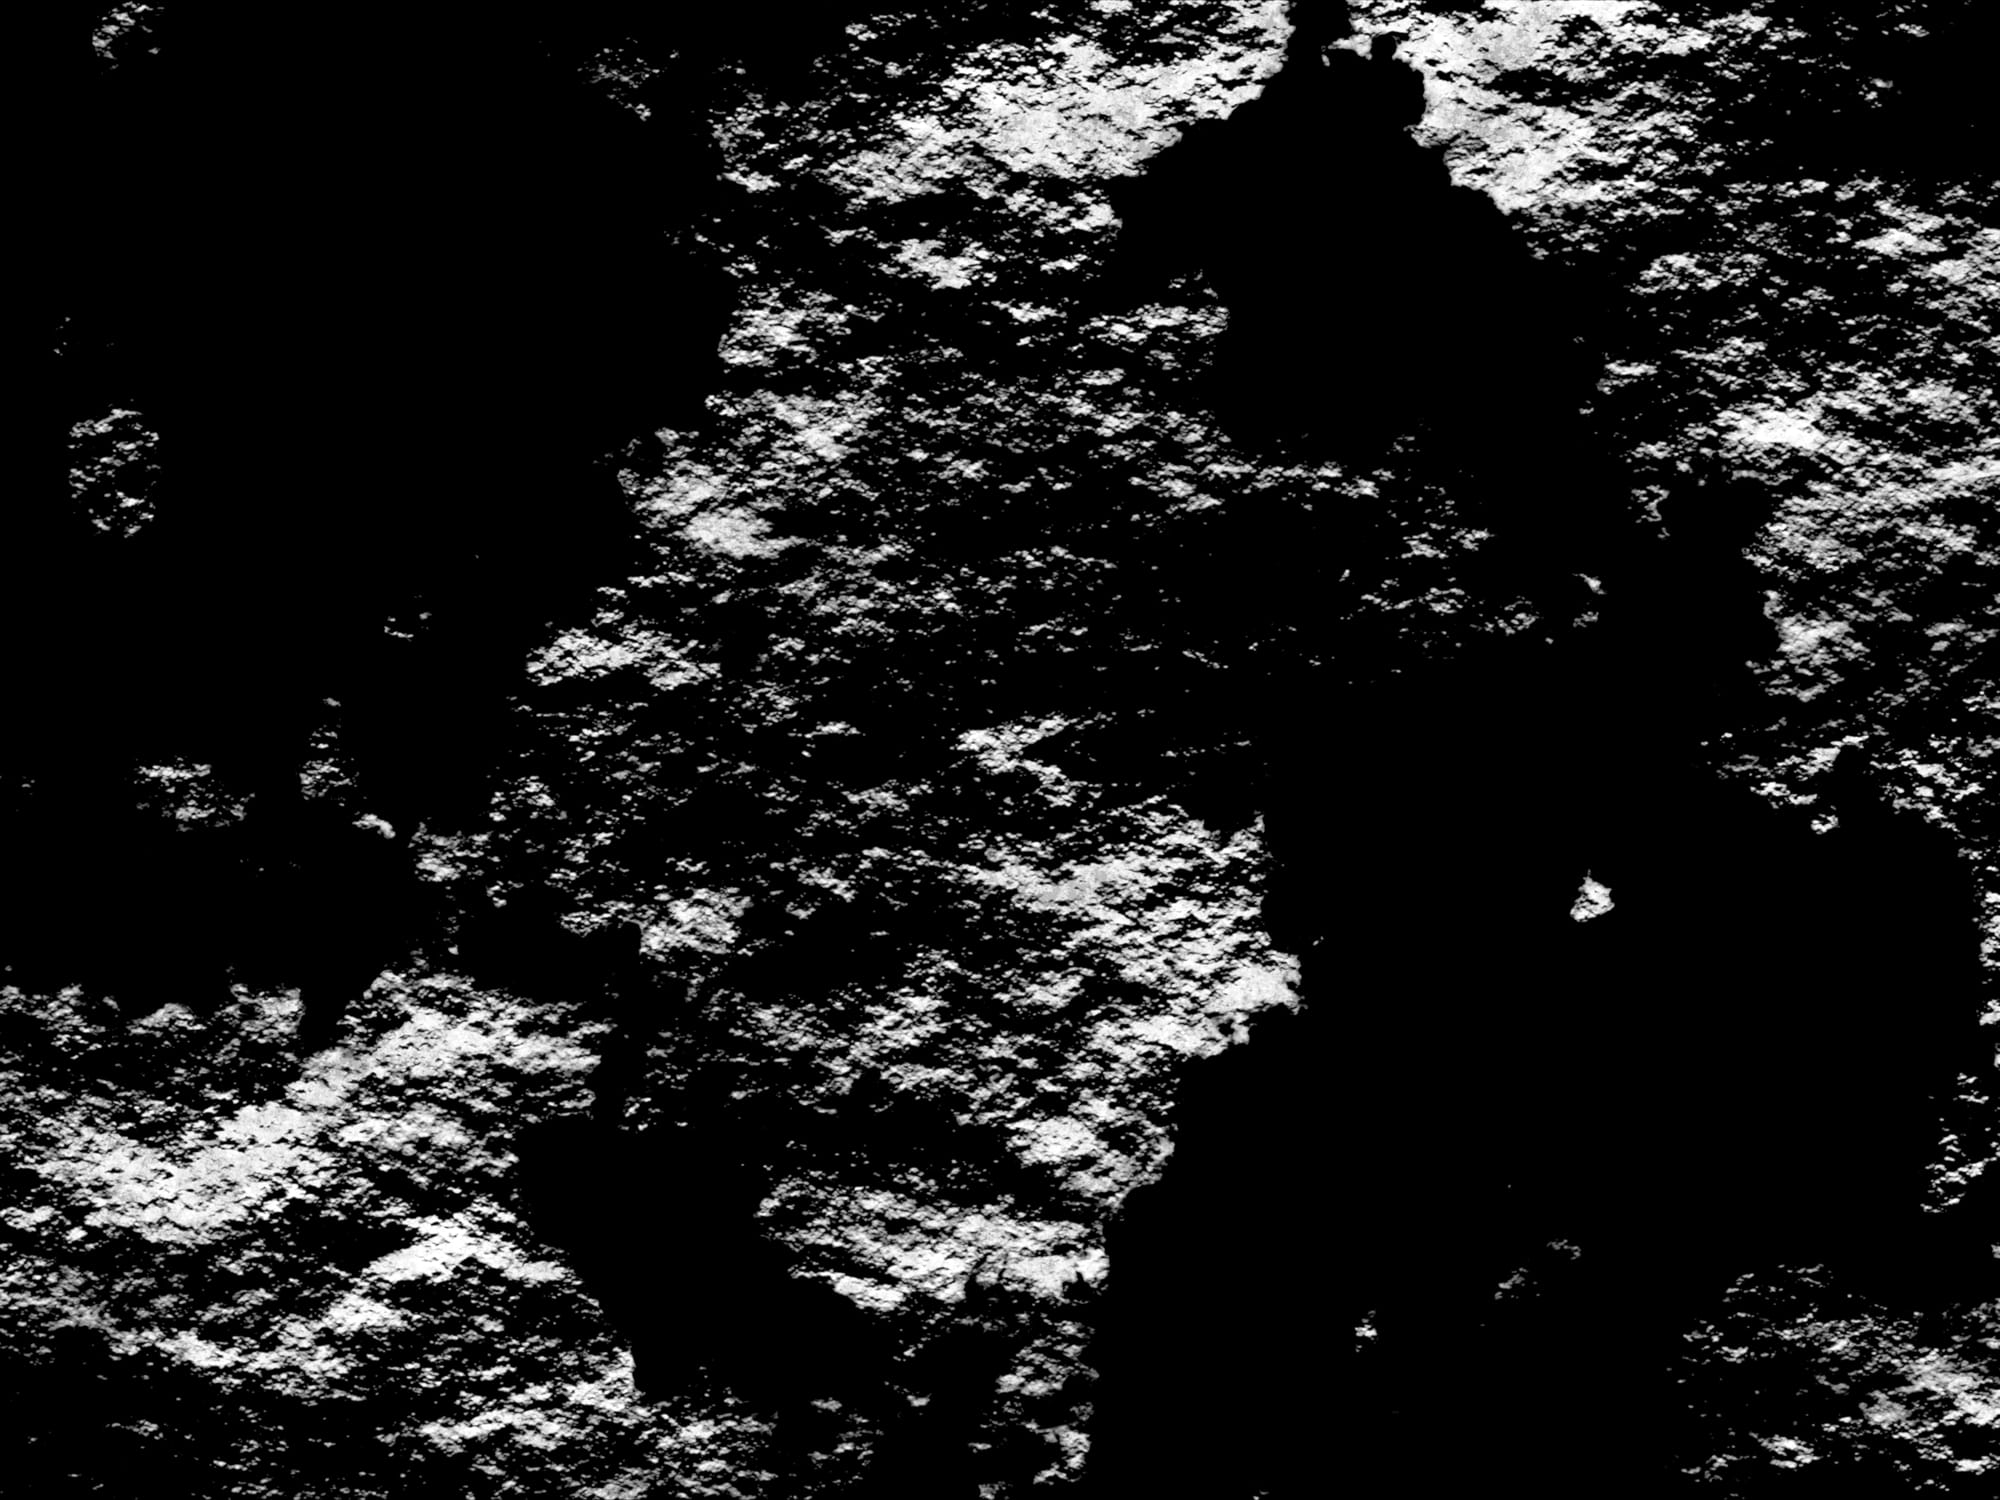
The Noise matte, before and after crunching the white and black points.
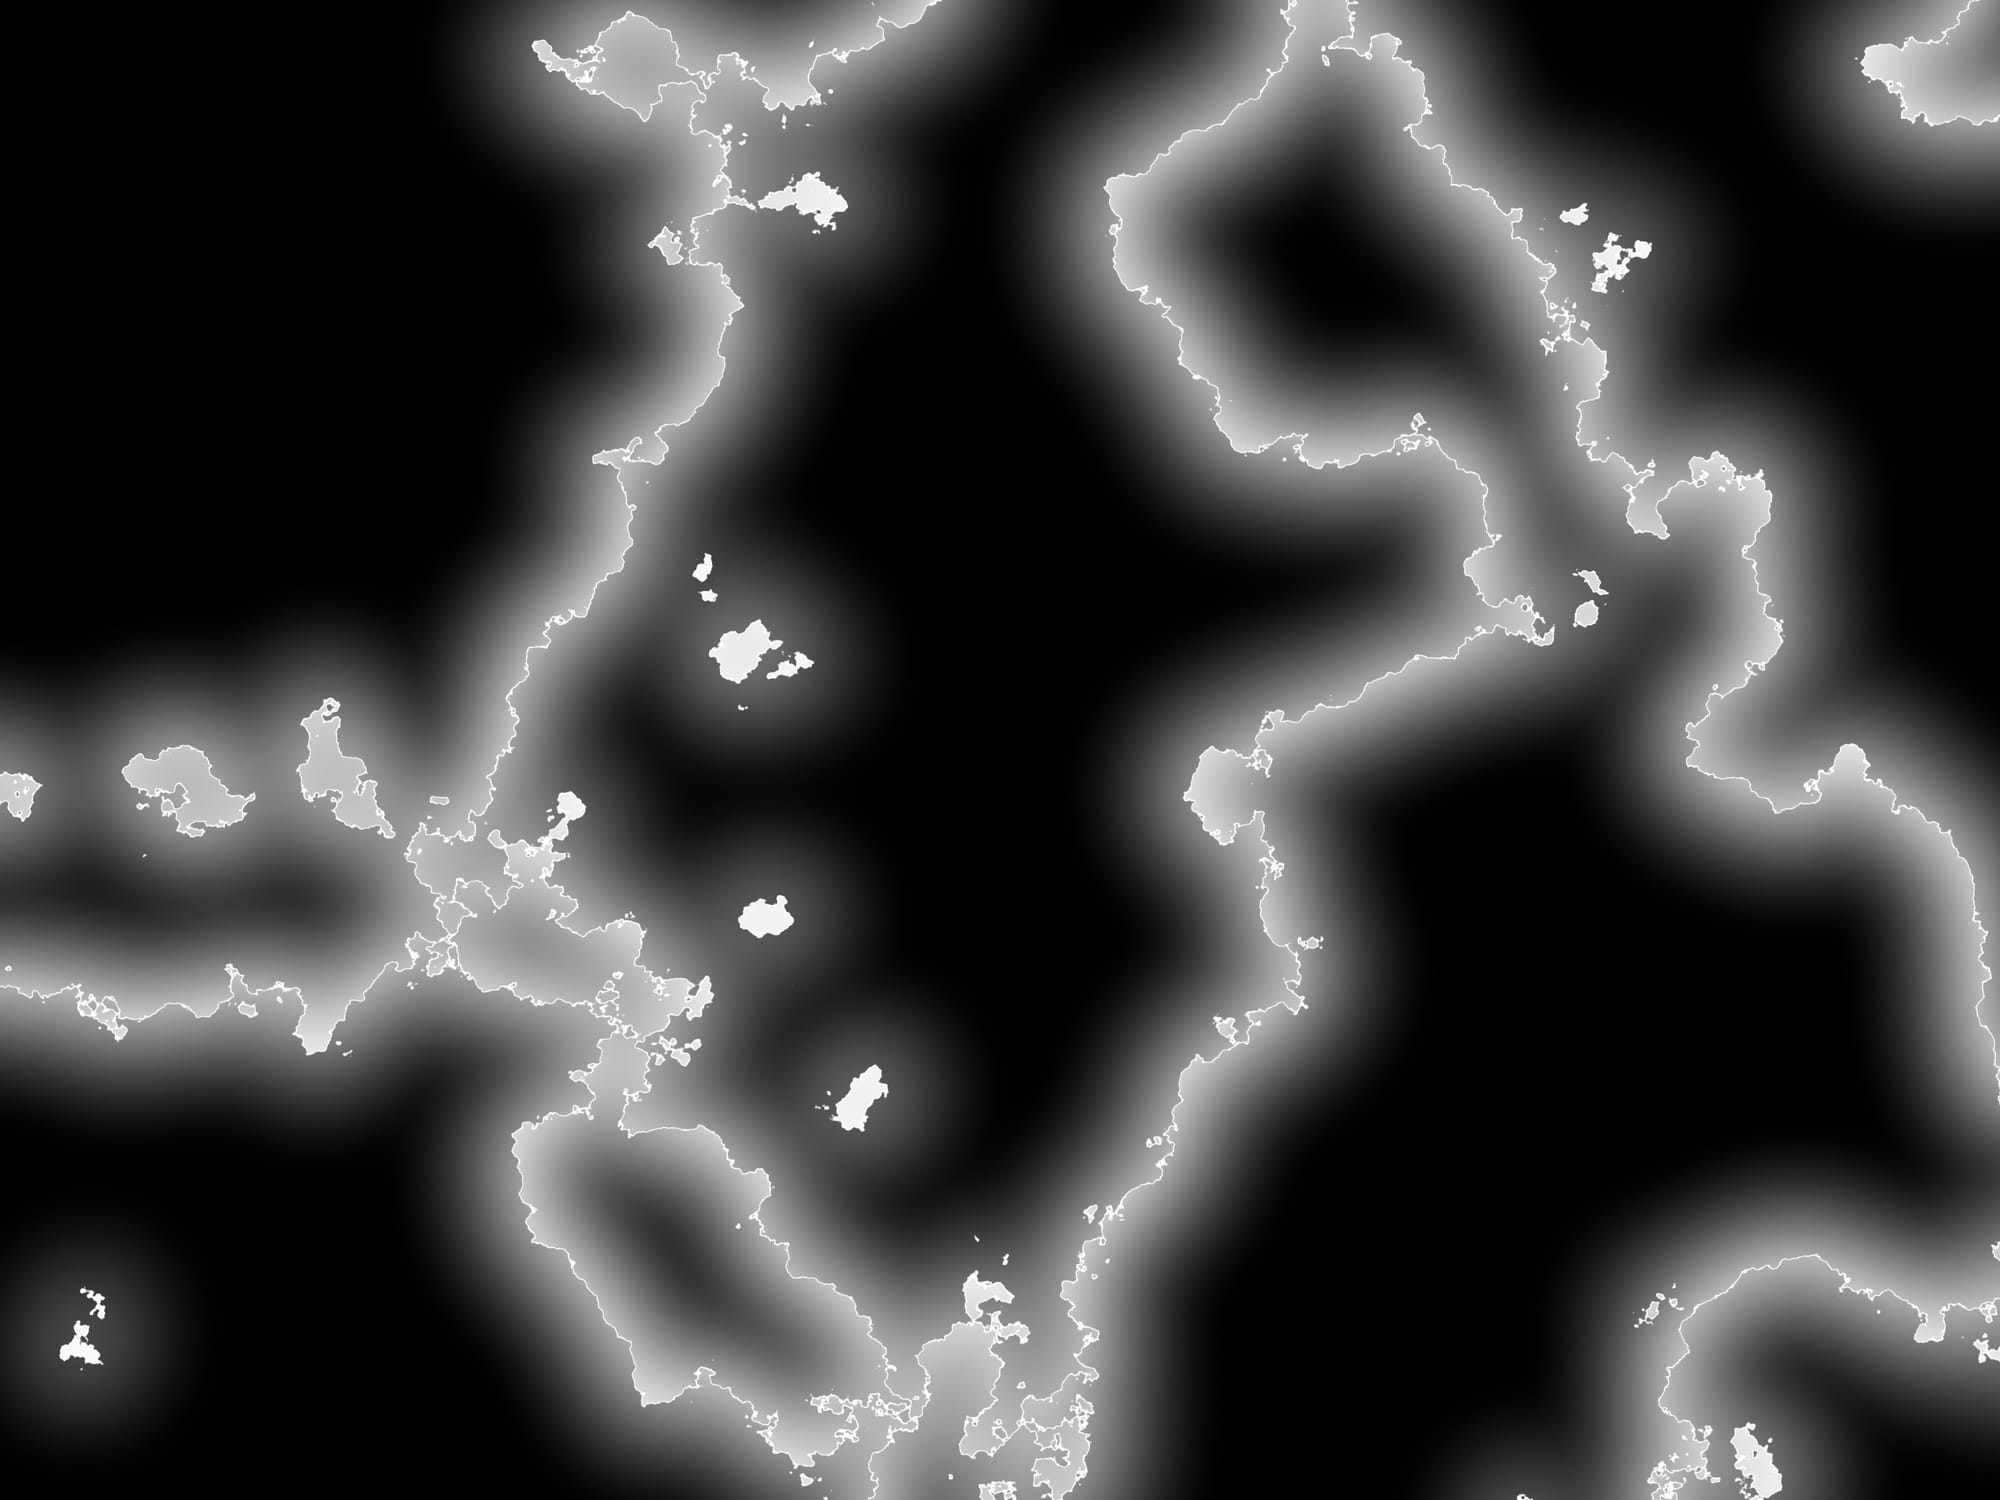
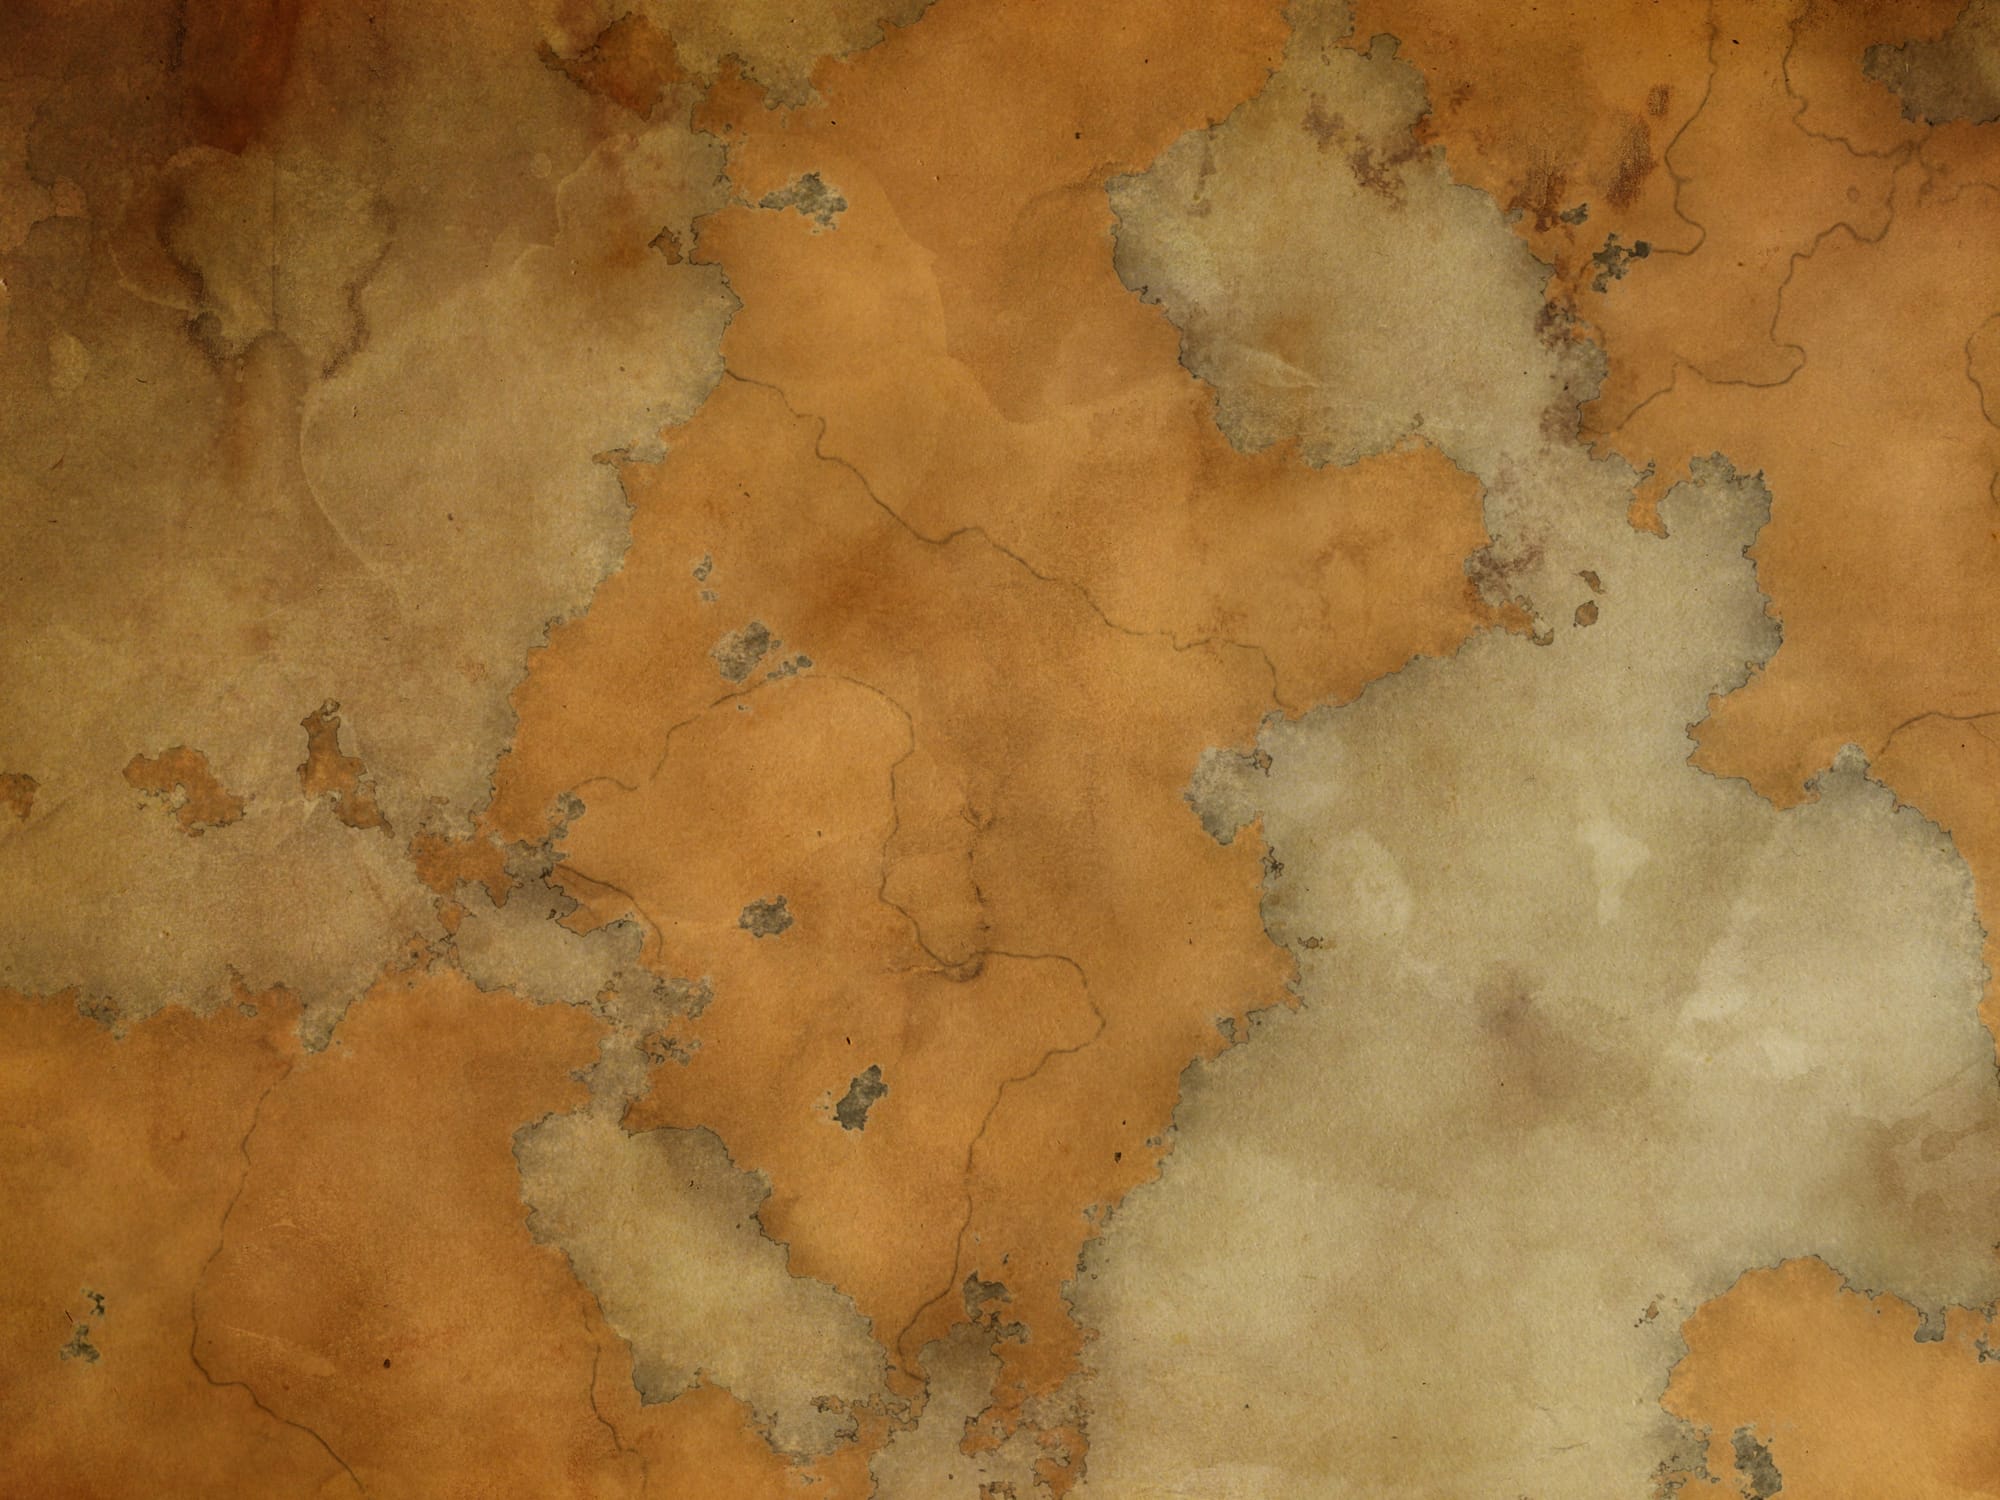
The map with the landmasses added.
Outlines & Shading
To better define the landmasses, let’s add outlines and some shading.
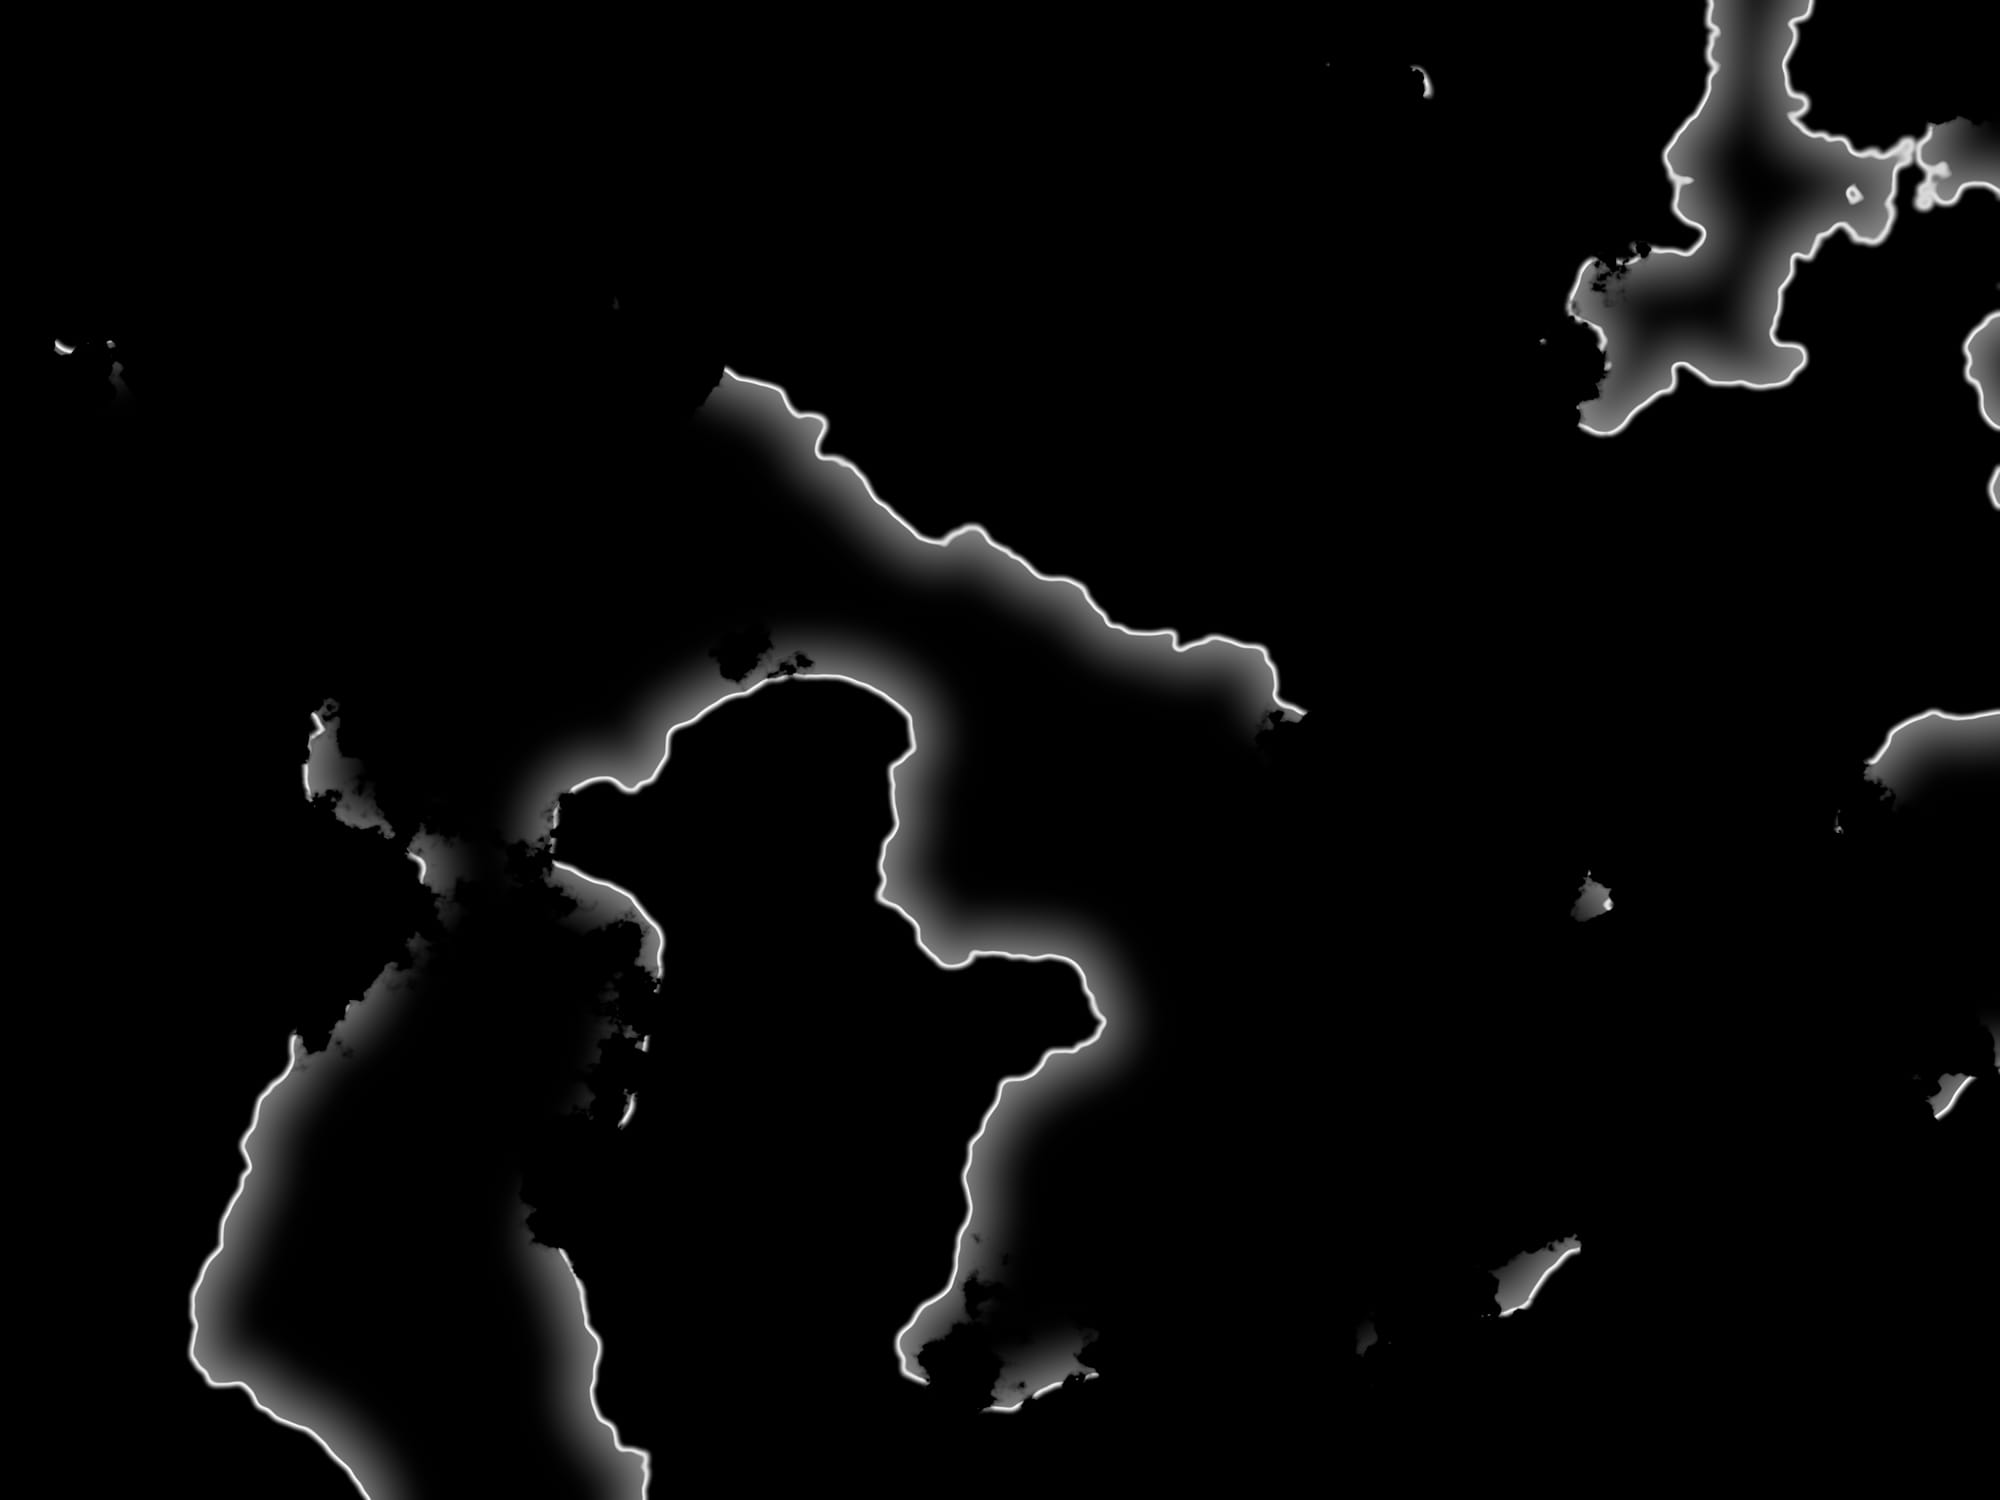
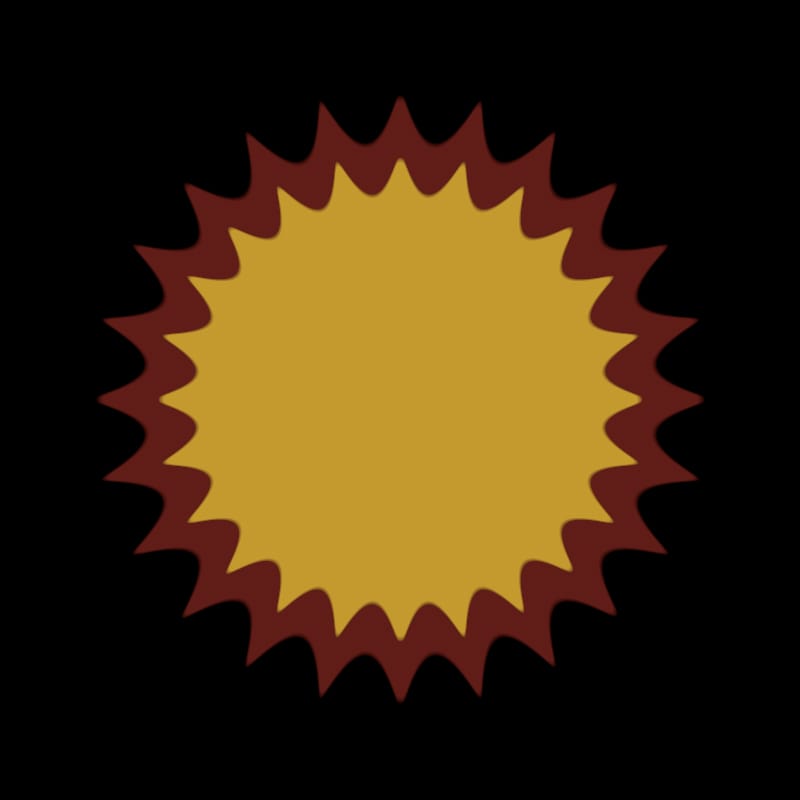
Create an edge matte from the landmasses matte, for example using Perimeter. This tool has options for adding softening to the inner and outer edges, which can be used for shading.
Lower the white point of the softened edge matte with a Grade node to make it punchier.
Adding outlines and shading to the landmasses.
The matte for the outlines created using the Perimeter tool.
As shown in the setup above, connect a Grade node to the map with the landmasses. Using the outline matte as a mask, grade down the map until you get a nice outline around the landmasses.
The landmasses with added outlines and shading.
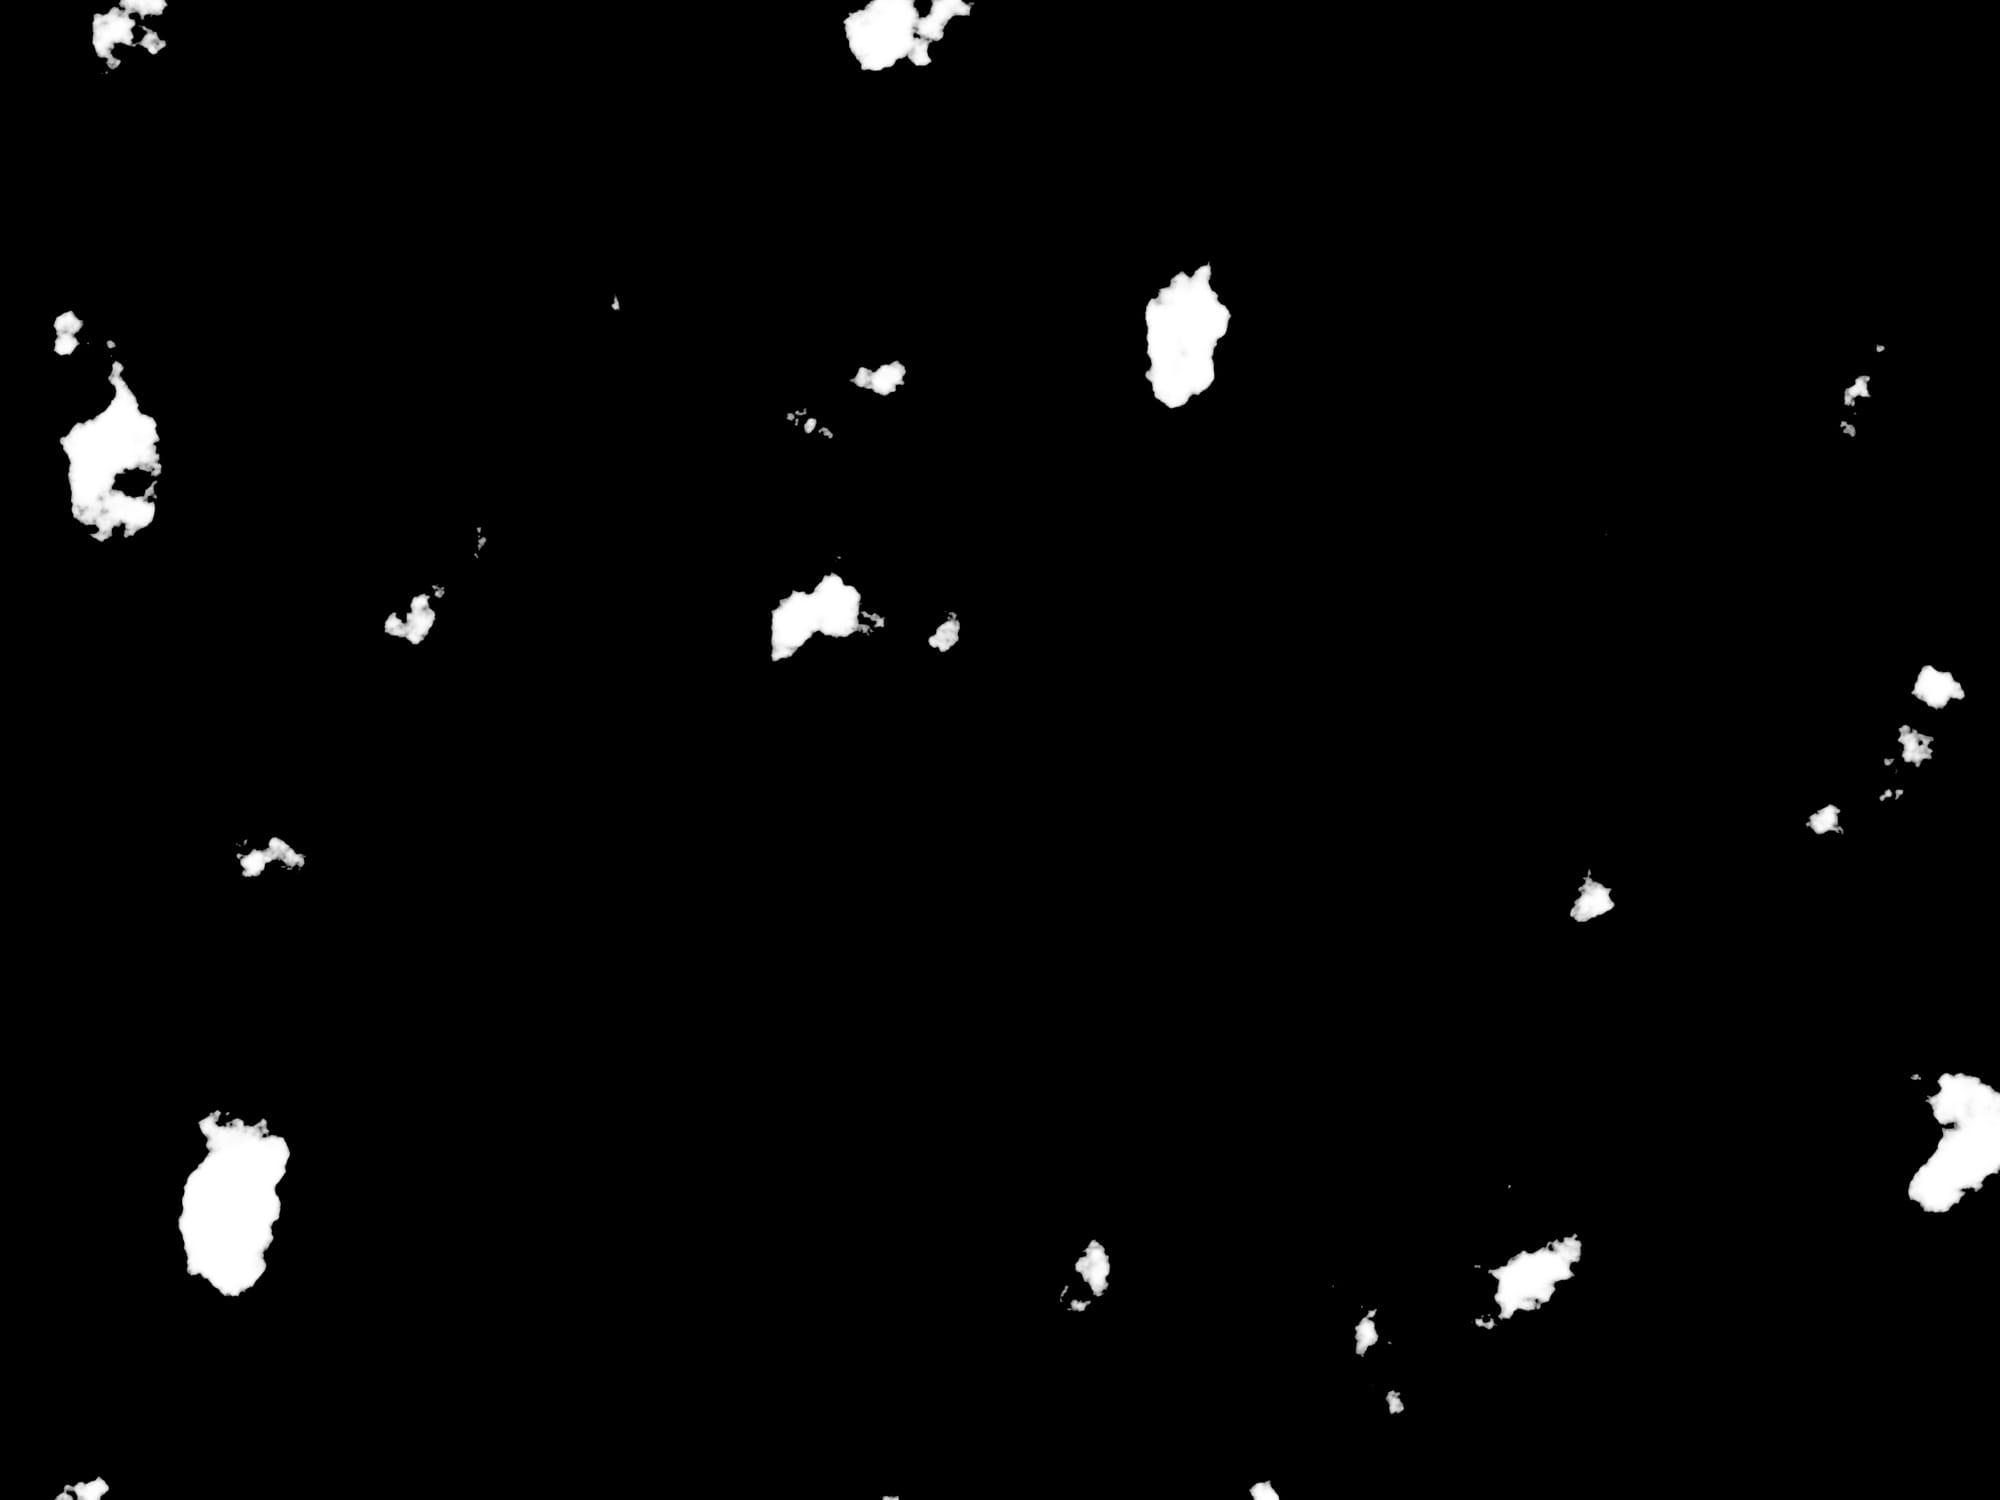
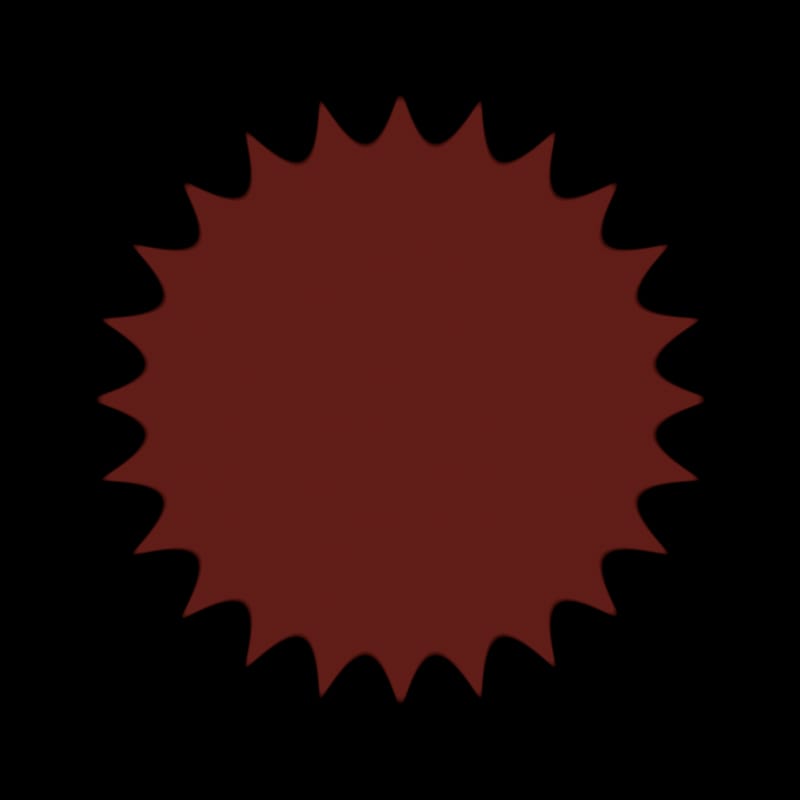
Currently, the outlines look quite sharp and clean. We should roughen them up a bit by introducing some wear and tear. To do that, we can mask the outline matte by another Noise node with a fine noise pattern:
Adding wear and tear to the outlines.
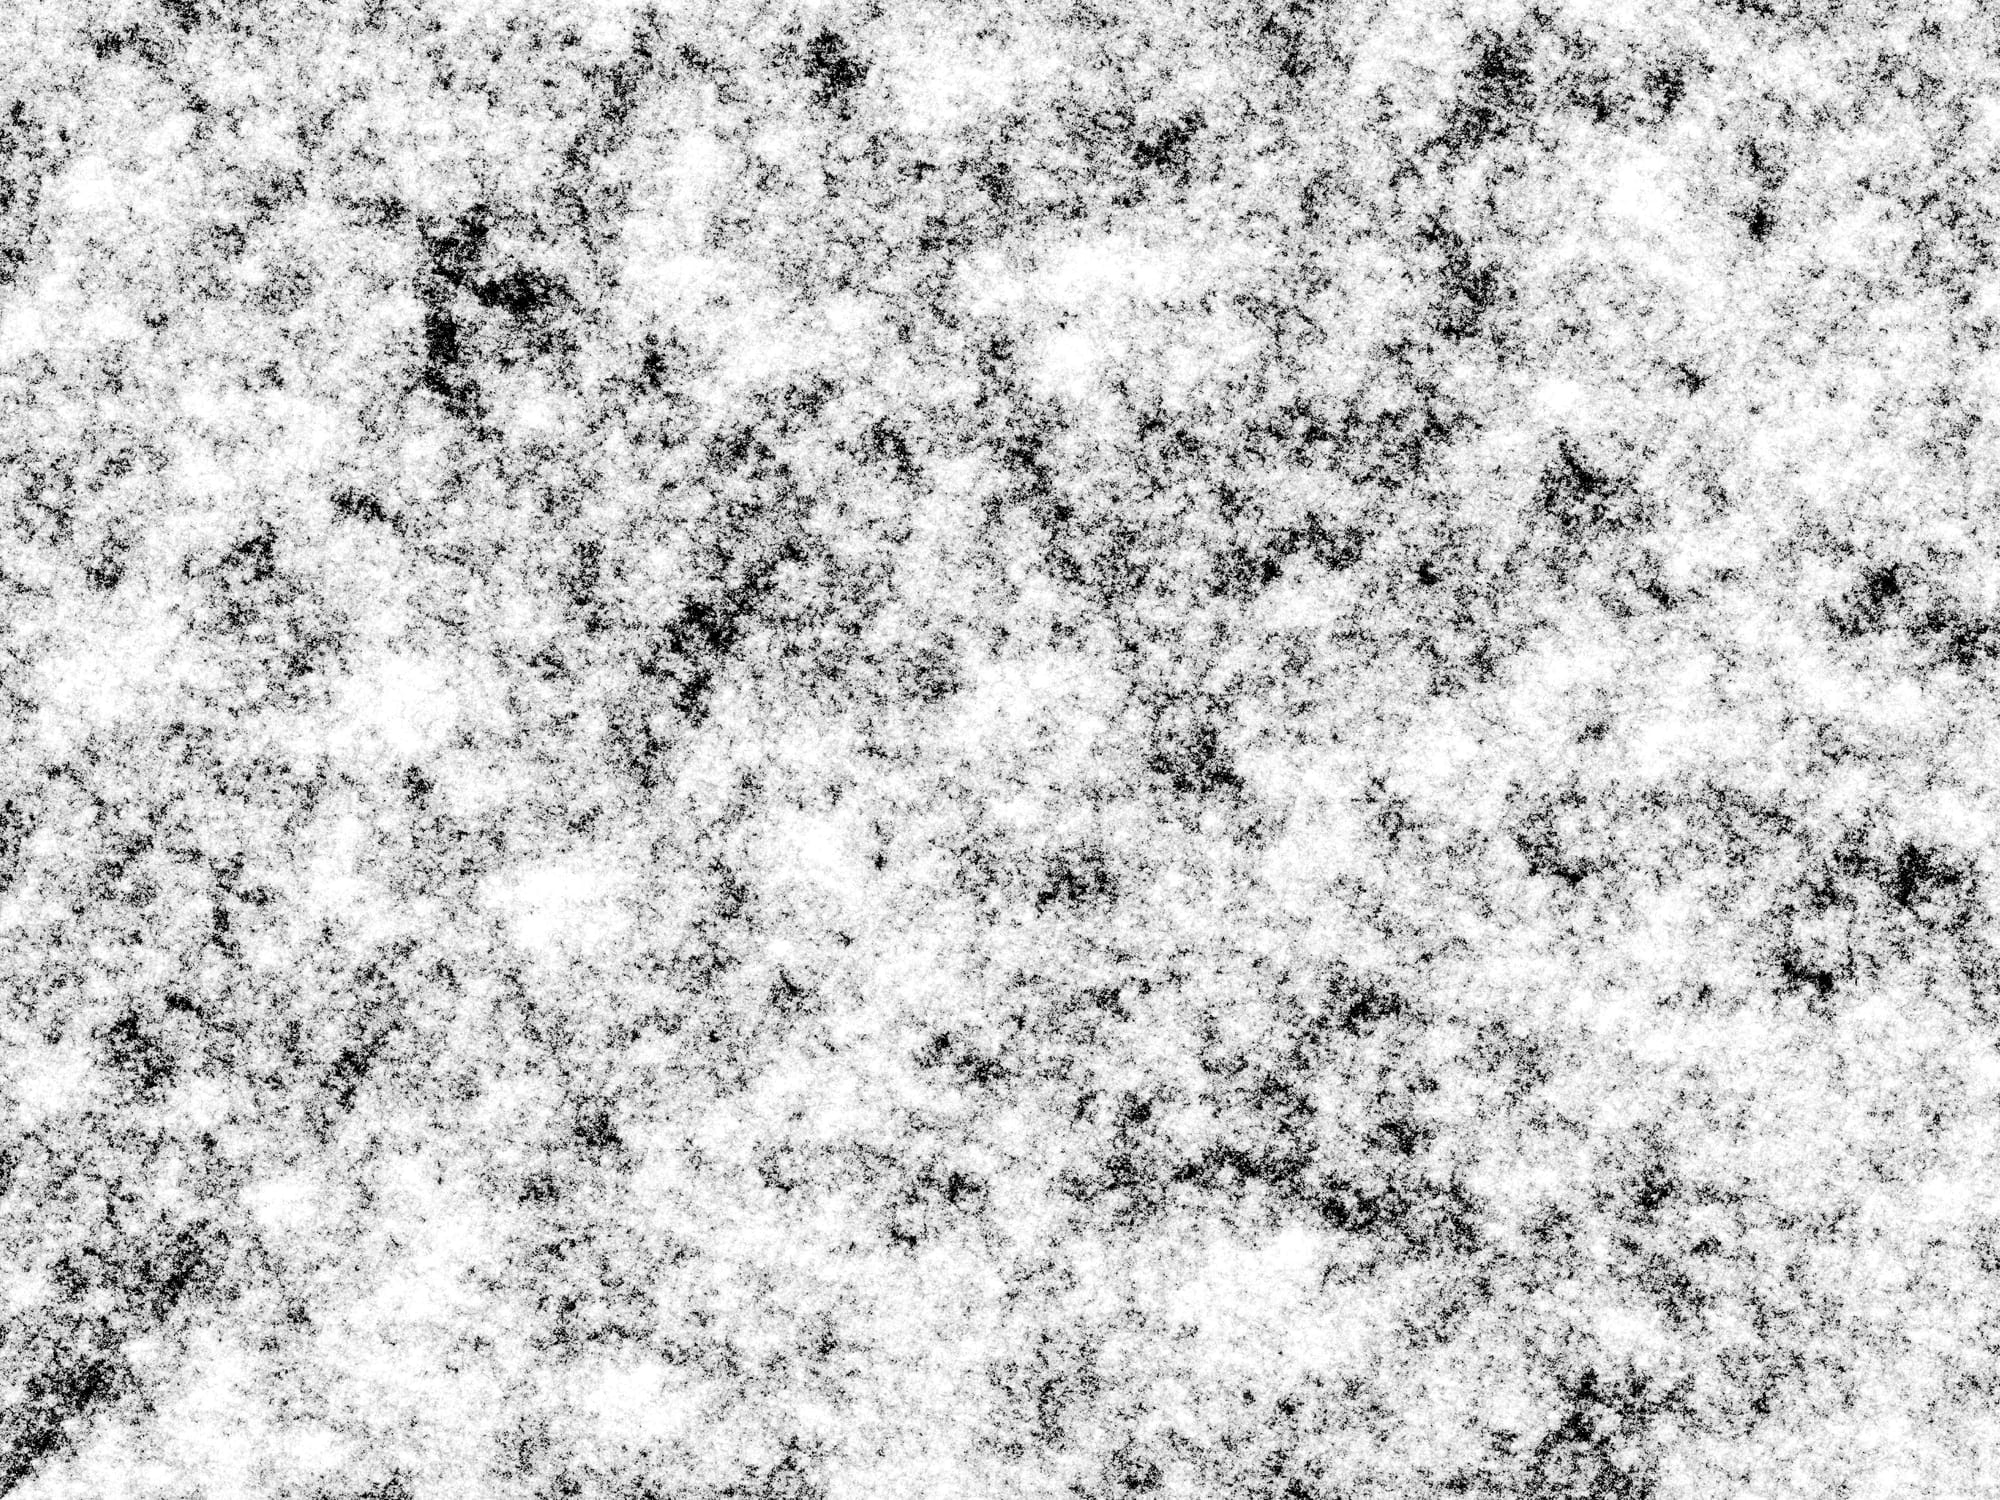
The wear and tear matte.
The outlines with wear and tear applied.
With this setup, it’s much easier to visualise what the map could look like. Now is a good time to play more with all of the settings in the first Noise node to find a nice shape for your landmasses.
The z value will have a major impact on the initial shape – even small changes make a big difference. To fine-tune it, you’ll have to go far into the decimal values.
You can adjust the lacunarity value and the Blur node’s size value to control the amount of border detail in your Noise matte.
And remember that you can adjust the settings in the Transform tab in the Noise node as well. Because it’s procedural, you can transform your matte infinitely. Translate, rotate, scale, or skew your map to your heart’s content. There’s no risk of any cropping or stretching issues appearing, or of suffering a loss of fidelity. (Like you’d get if you were instead using a Transform node on the rasterized Noise output).
If you like, you can draw your own shape for the landmasses using a Roto node. Then, apply one of the many edge roughening tools out there, such as FractalBlur, to add procedural edge detail.
And remember that you can mask or stencil your landmasses as much as you like. You can also add an Invert node to the matte in the search to find the right shape for your landmasses. Customise your map exactly how you want it.
Borders
To make borders within the landmasses in order to indicate regions or countries, you can copy the whole setup used for making the outlines, and then change the values in the new nodes.
Setup for adding border lines within the landmasses.
Make a different shape with the new Noise node to form the actual borders, and increase the size value in the new Blur node to make the borders smoother, if needed. Remember to mask the border matte (B) by the landmass matte (A) using a Merge (mask) node to contain the borders within the landmasses.
Then, Merge (over) the border matte (A) with the outline matte (B). (Or connect it to a different Grade node if you for example want another colour for your borders).
The matte for the borders.
Splitting the landmasses into regions using borders.
Islands
Your map may already have some islands, but if you want more, you can just create another Noise node and merge it with the main landmasses. Choose a smaller x/ysize value and crunch the alpha to make islands:
Setup for adding islands.
Matte for the islands.
Adding more islands to the map.
By merging the islands with the main landmasses like in the setup above, you avoid any issues with overlapping and doubling up. Where they intersect, the islands simply become absorbed by the mainland.
Rivers, Lakes & Roads
These are essentially just duplicates of setups we have done so far, with minor adjustments.
Rivers are made similarly to the borders, only with a thicker edge matte. The colour in the Grade node that’s grading the map is also changed to blue.
Lakes are made with a similar Noise node setup as for the islands, only the setup is masked by the mainland matte. And again, the colour in the Grade node that’s grading the map is changed to blue.
Roads are again just the same as the borders, but with a slightly different colour in the Grade node.
Adding rivers, lakes, and roads to the map.
Mountains & Forests
For these, we'll again start with a Noise node as the base.
We'll also be using the Matrix_Preloaded gizmo which has various useful features that we can use to make something that resembles mountains and forests.
Crunch the black and white points of the Noise node’s s RGB channels with a Grade node, and then apply the Matrix_Preloaded gizmo with the Edge Detect 1 preset.
Next, crunch the output of the Matrix_Preloaded node with another Grade node, and dilate the RGB to taste (usually only very slightly), before shuffling the red channel into the alpha channel.
Mask this by the landmass matte to contain the mountains to land only. Then, use the resulting matte as a mask for a Grade node to grade the map a darker brown in those areas.
You can duplicate the setup with different Noise settings to add more mountains.
Setup for making mountains.
The crunched output of the Matrix_Preloaded gizmo, masked by the landmass matte.
Adding mountains to the map.
Forests can be made in the same way, just with a green grade on the map instead.
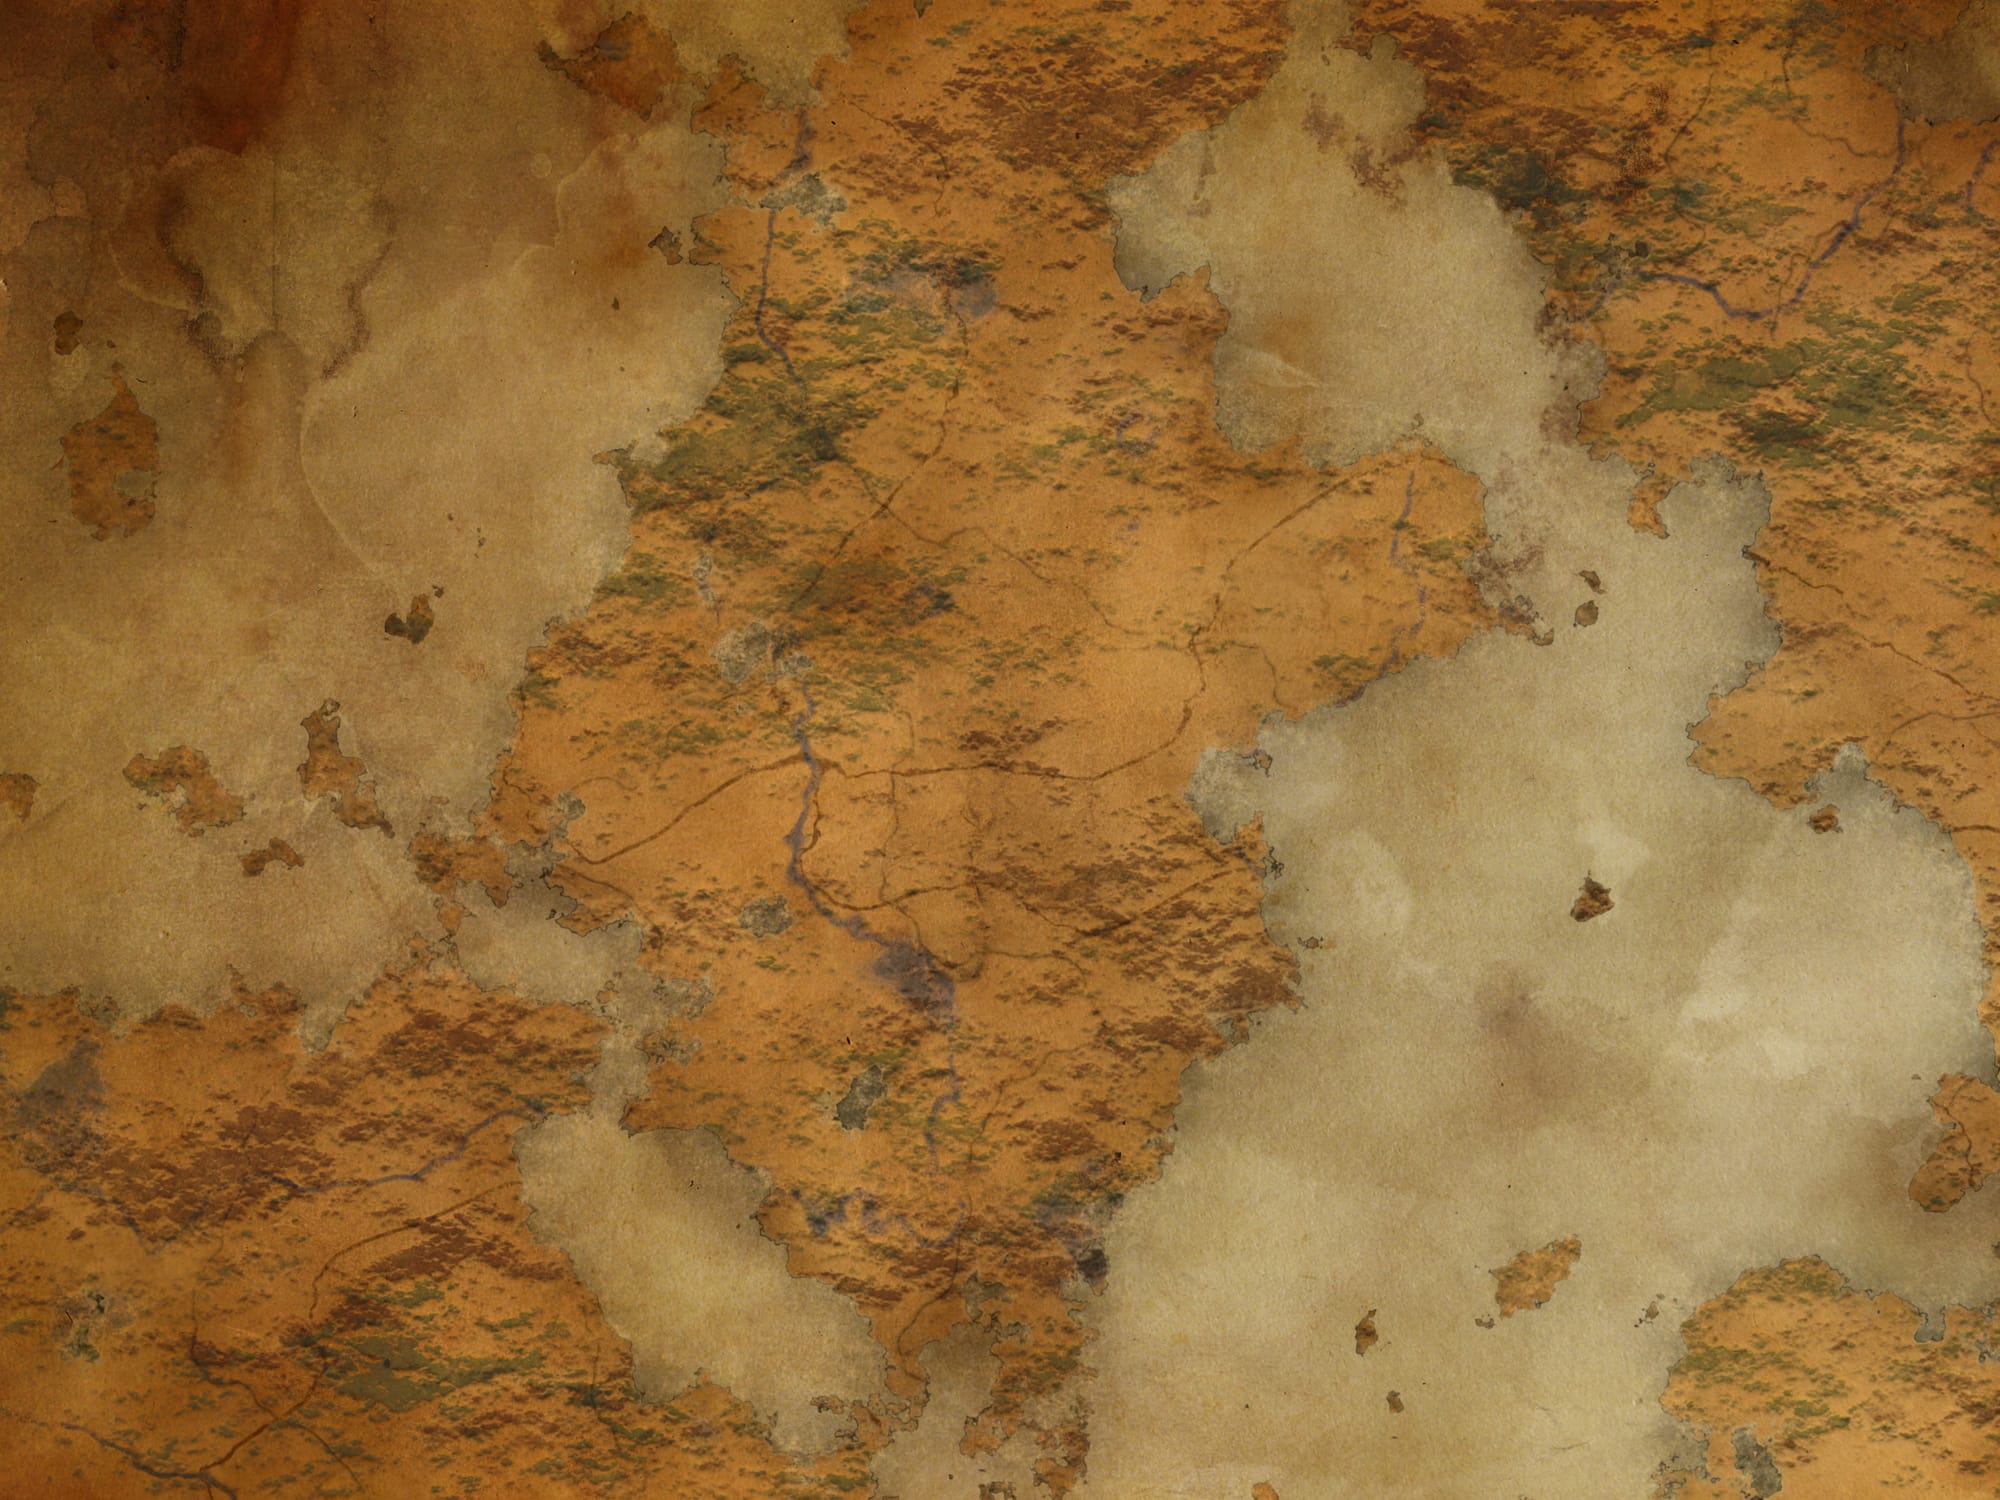
Adding forests to the map.
Compasses
Any decent map needs a compass! 😊
You can draw one yourself, for example like this using a number of patterns for inspiration, or you can for instance download an icon and composite it in.
For my map, instead of one compass in the corner of the frame, I wanted to make a windrose network similar to the one you saw in my main reference image.
And continuing in the spirit of procedural generation, I decided to make it using nodes in Nuke.
Compass Rose
One way of making the compass rose is to stack Flare nodes.
First, make a Flare node and increase the corners, edge flattening, and corner sharpness values. Then, add a Grade node and crunch the whitepoint value until there’s no transparency left in the centre.
Shuffle the red channel into the alpha channel so that you have a matte for the compass rose, and then add another Grade node and grade the RGB red.
Next, copy the whole setup. Make the second Flare node smaller and grade it yellow, and then stack it on top of the first one.
Keep doing this, alternating between red and yellow flares, while progressively reducing the number of corners and the edge flattening. To make a circle in the centre, you can set the edge flattening to 0, or use a Radial node.
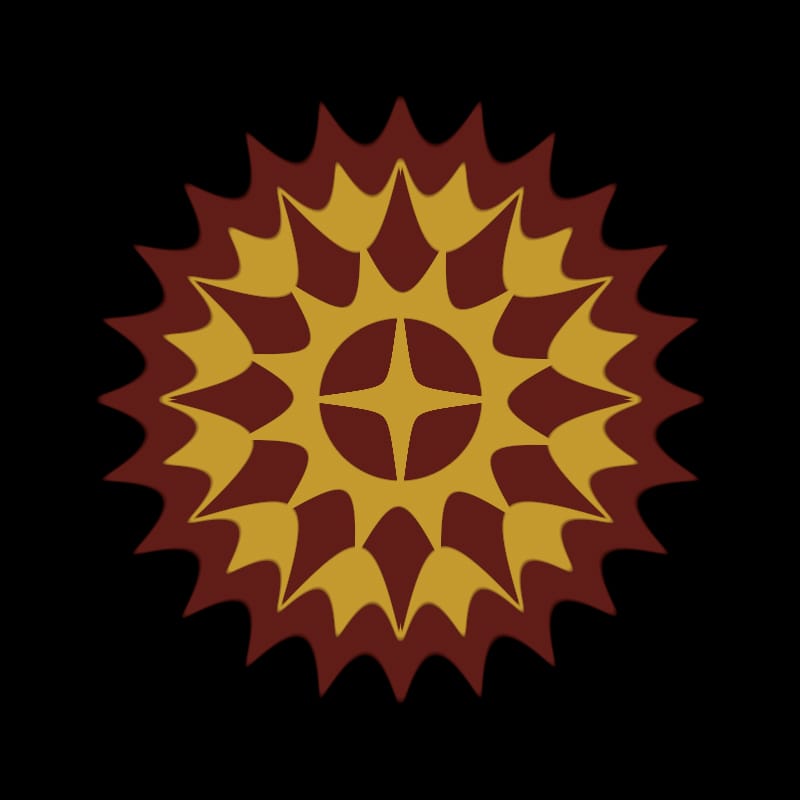
Progressively adding more Flare nodes until the compass rose is complete.
Mask the compass rose by the wear and tear matte, and merge it over your map.
Windrose Lines
The windrose lines are the radial lines coming from the compass rose.
You can make them procedurally by putting a radial lines expression (from here) in the alpha section of an Expression node:
sin( ( atan(x - centre.x, y - centre.y) + rotation) * lineNumber)
Where the centre is a 2d Position Knob, and the rotation and lineNumber are two Floating Point Sliders in a User tab in the Expression node.
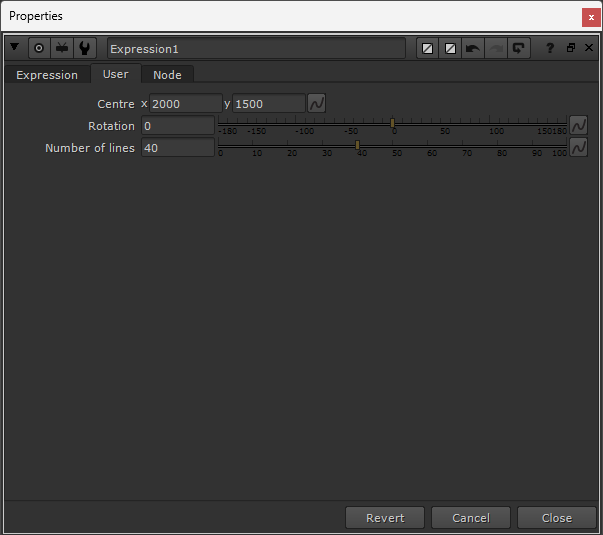
The expression node for creating radial lines.
Out of the box with the above settings, you’ll get this image:
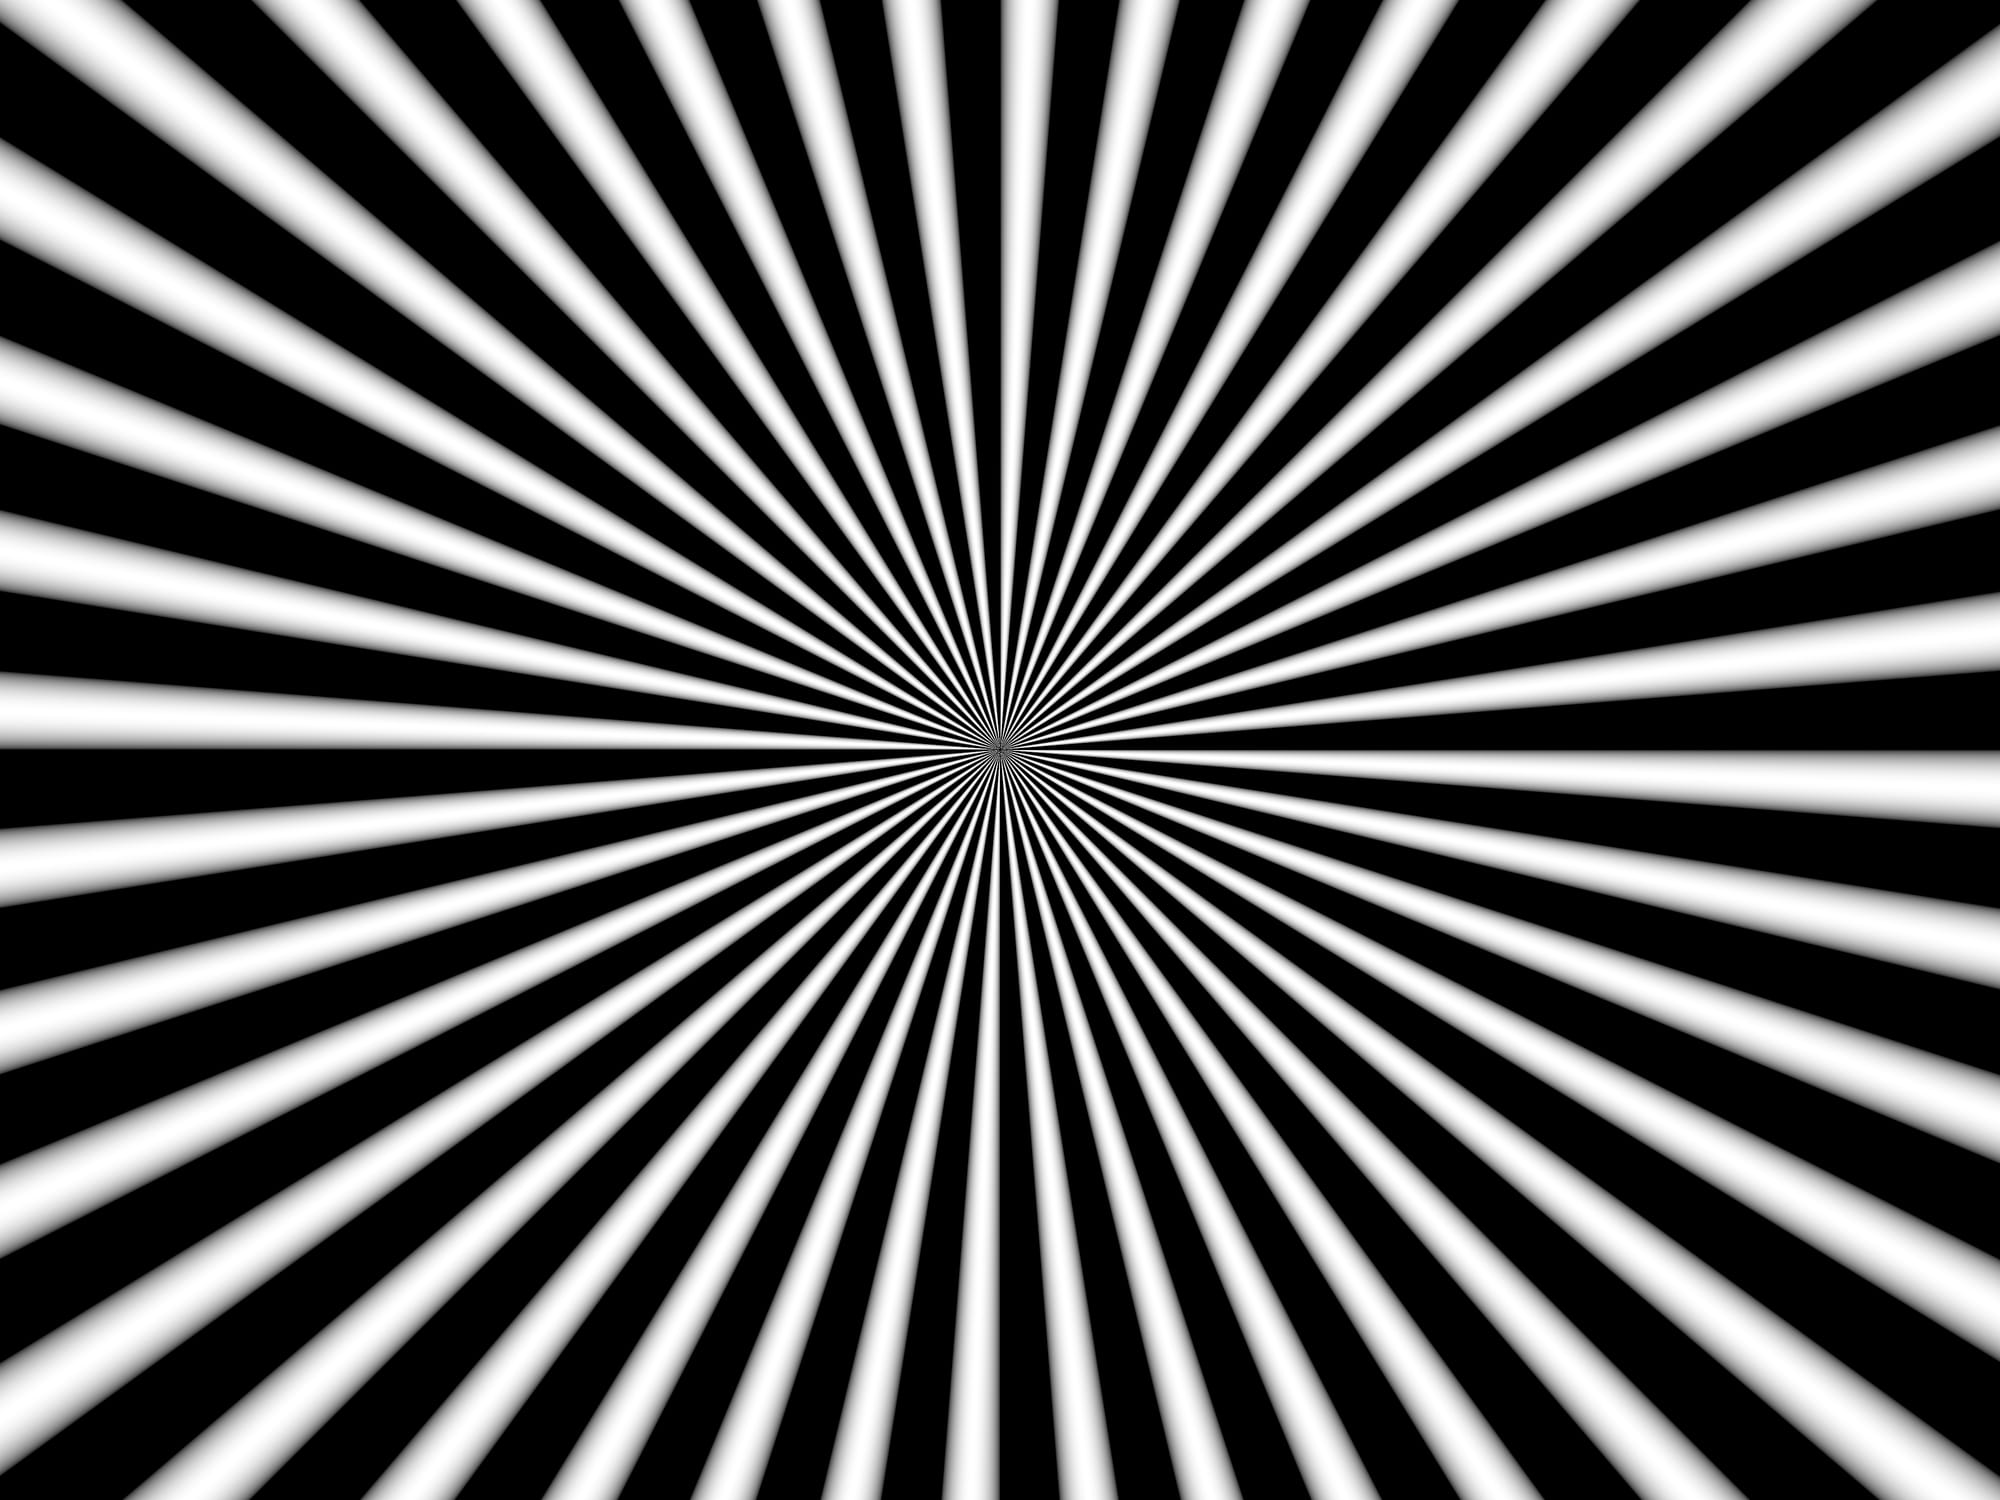
Procedural radial lines.
These lines are obviously too thick, but we can slim them down by adding a Grade node with the blackpoint set really close to 1, for example to 0.997:
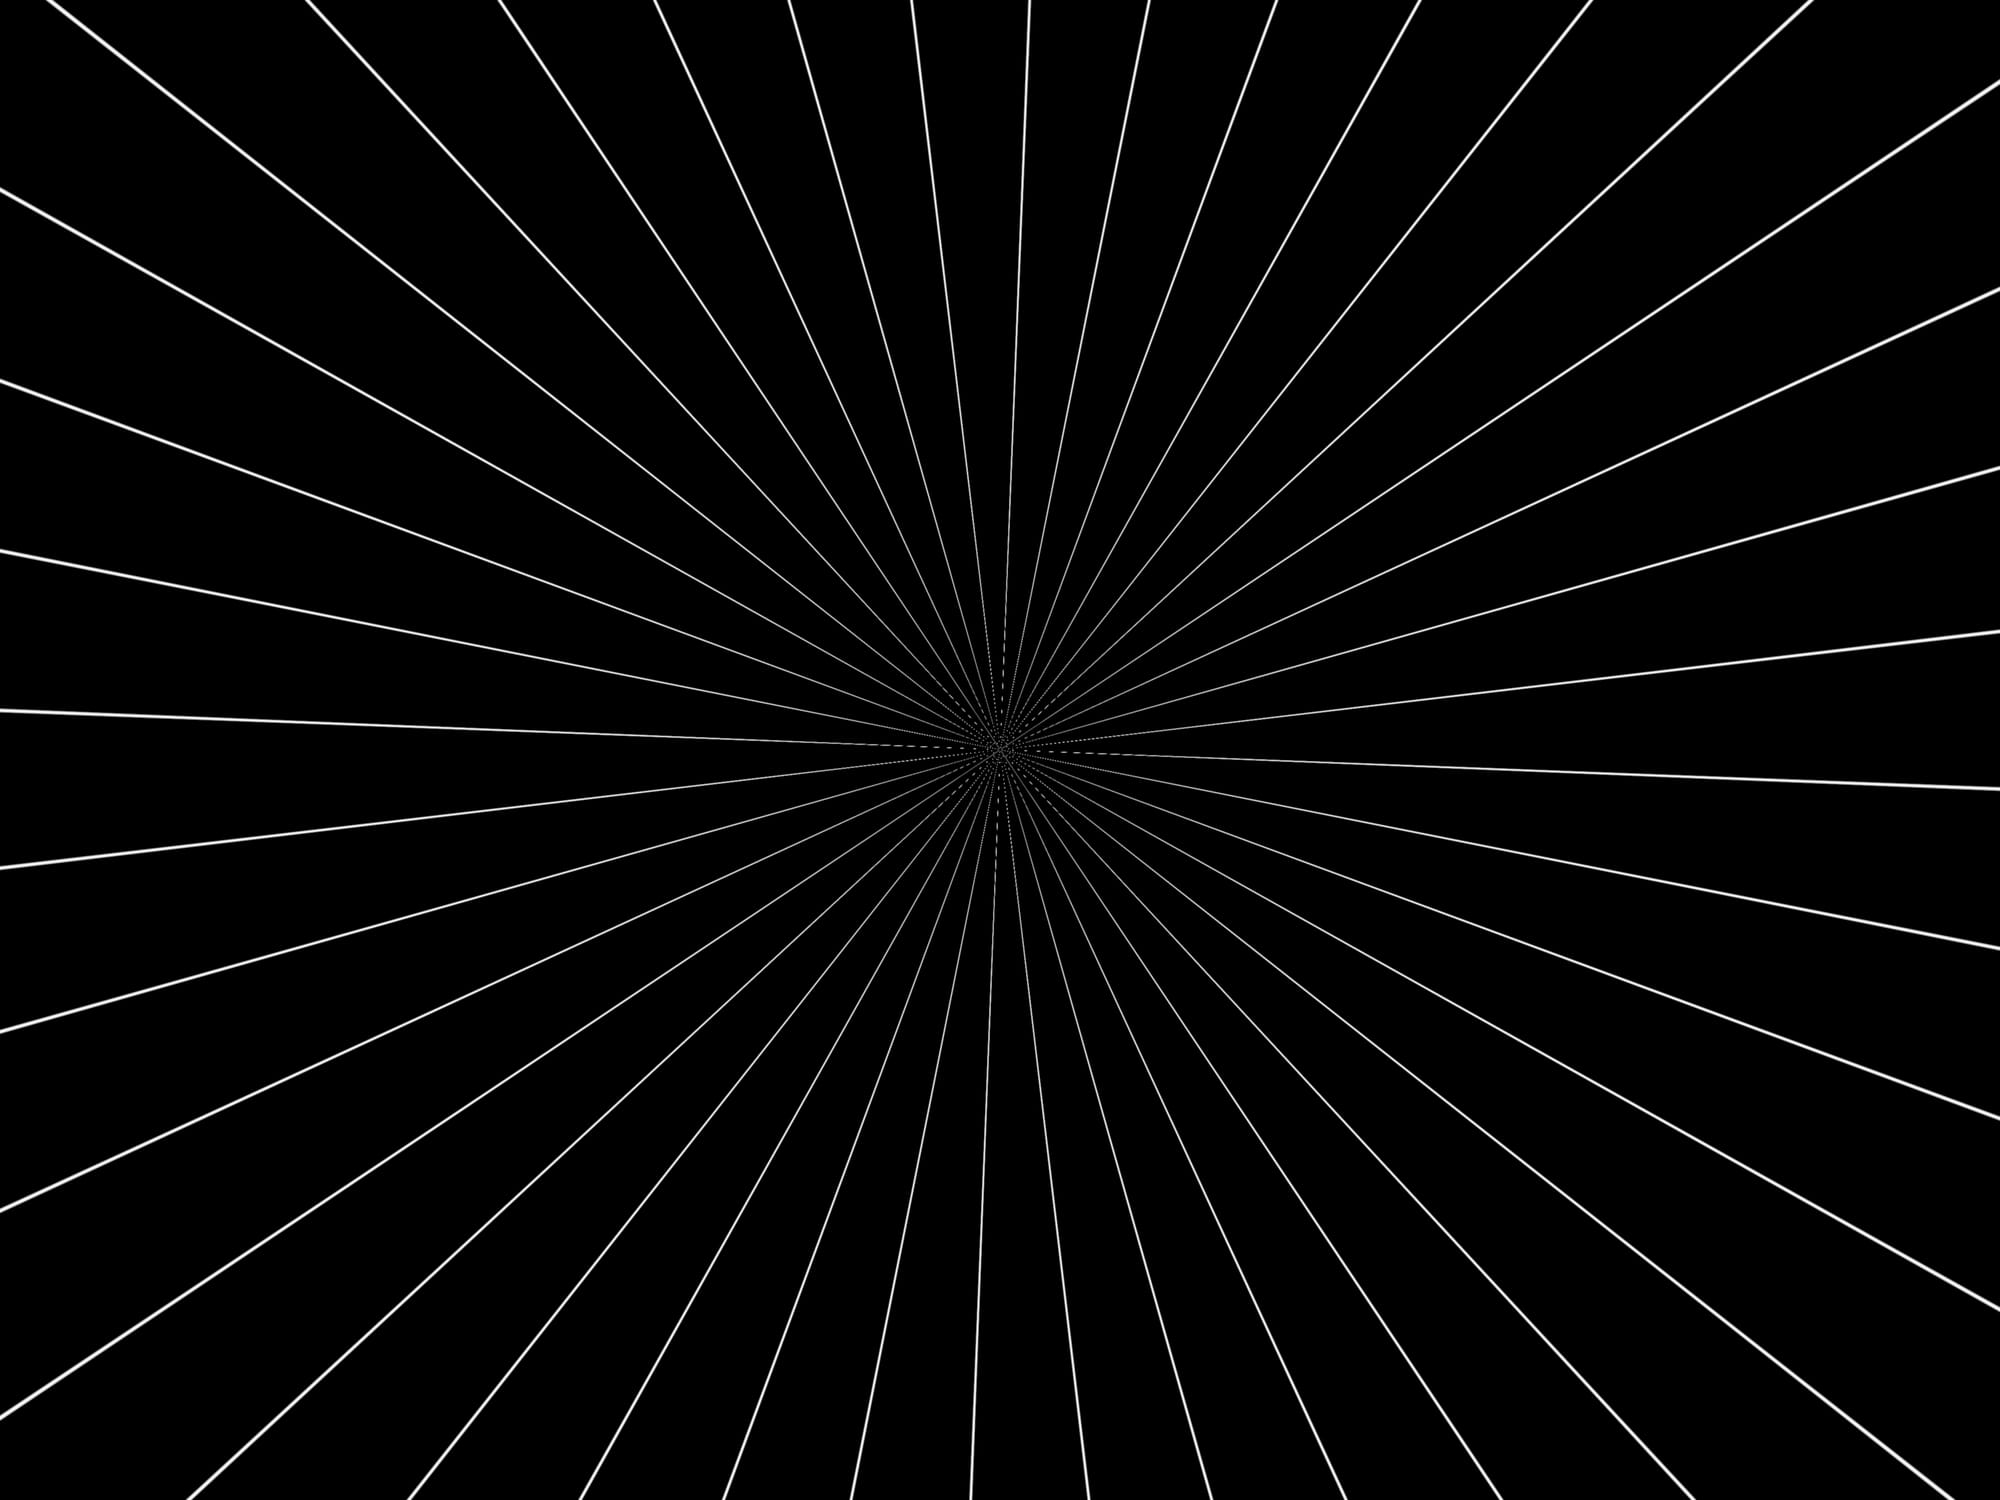
Radial lines with the appropriate thickness for our map.
Using this as a mask, we can grade the map darker to add the windrose lines. For my map, I made two sets of windrose lines for each compass (the second set had a rotation of 4.005 to fit exactly in between the first set).
I used one set for grading the map red and one set for grading it black.
Add the windrose lines beneath the landmasses layer on your map. (This is why we used a Copy Premult setup before, instead of simply grading the map directly – the windrose lines would have shown through). Or, Merge (stencil) the windrose lines (B) by the landmass matte (A).
For my map, I used three copies of the compass (one off-screen):
Adding the compasses to the map.
Grading, Vignette & DoF
To make the map pop more, you can grade it and add some vignetting and depth of field.
Increase the gain and lower the gamma to introduce more contrast and saturation into the map.
Darken the edges of the frame with a vignette using a tool such as dg_Vignette, or simply using a Grade node with an inverted Radial as the mask input.
A quick way to add depth of field to the map, or even field curvature (also known as edge [of frame] softness), is to use an iBlur node with either two Ramps top and bottom or an inverted Radial as the mask input.

The final base map.
That’s it for the procedural creation of the base map, but there are still plenty of things you could do to take your map to the next level:
Custom Elements
So far, we’ve only made a base map, and it’s up to you how you want to customise it.
You could add grid lines (for example using a Grid node), or decorate the map with ornate borders, symbols, and flags.
Add drawings or icons for the various areas of interest on your map, such as:
- Buildings
- Caves
- Monsters
- Pathways
- Ports
- Ships
- Towns
- Treasures
Below are some more examples:
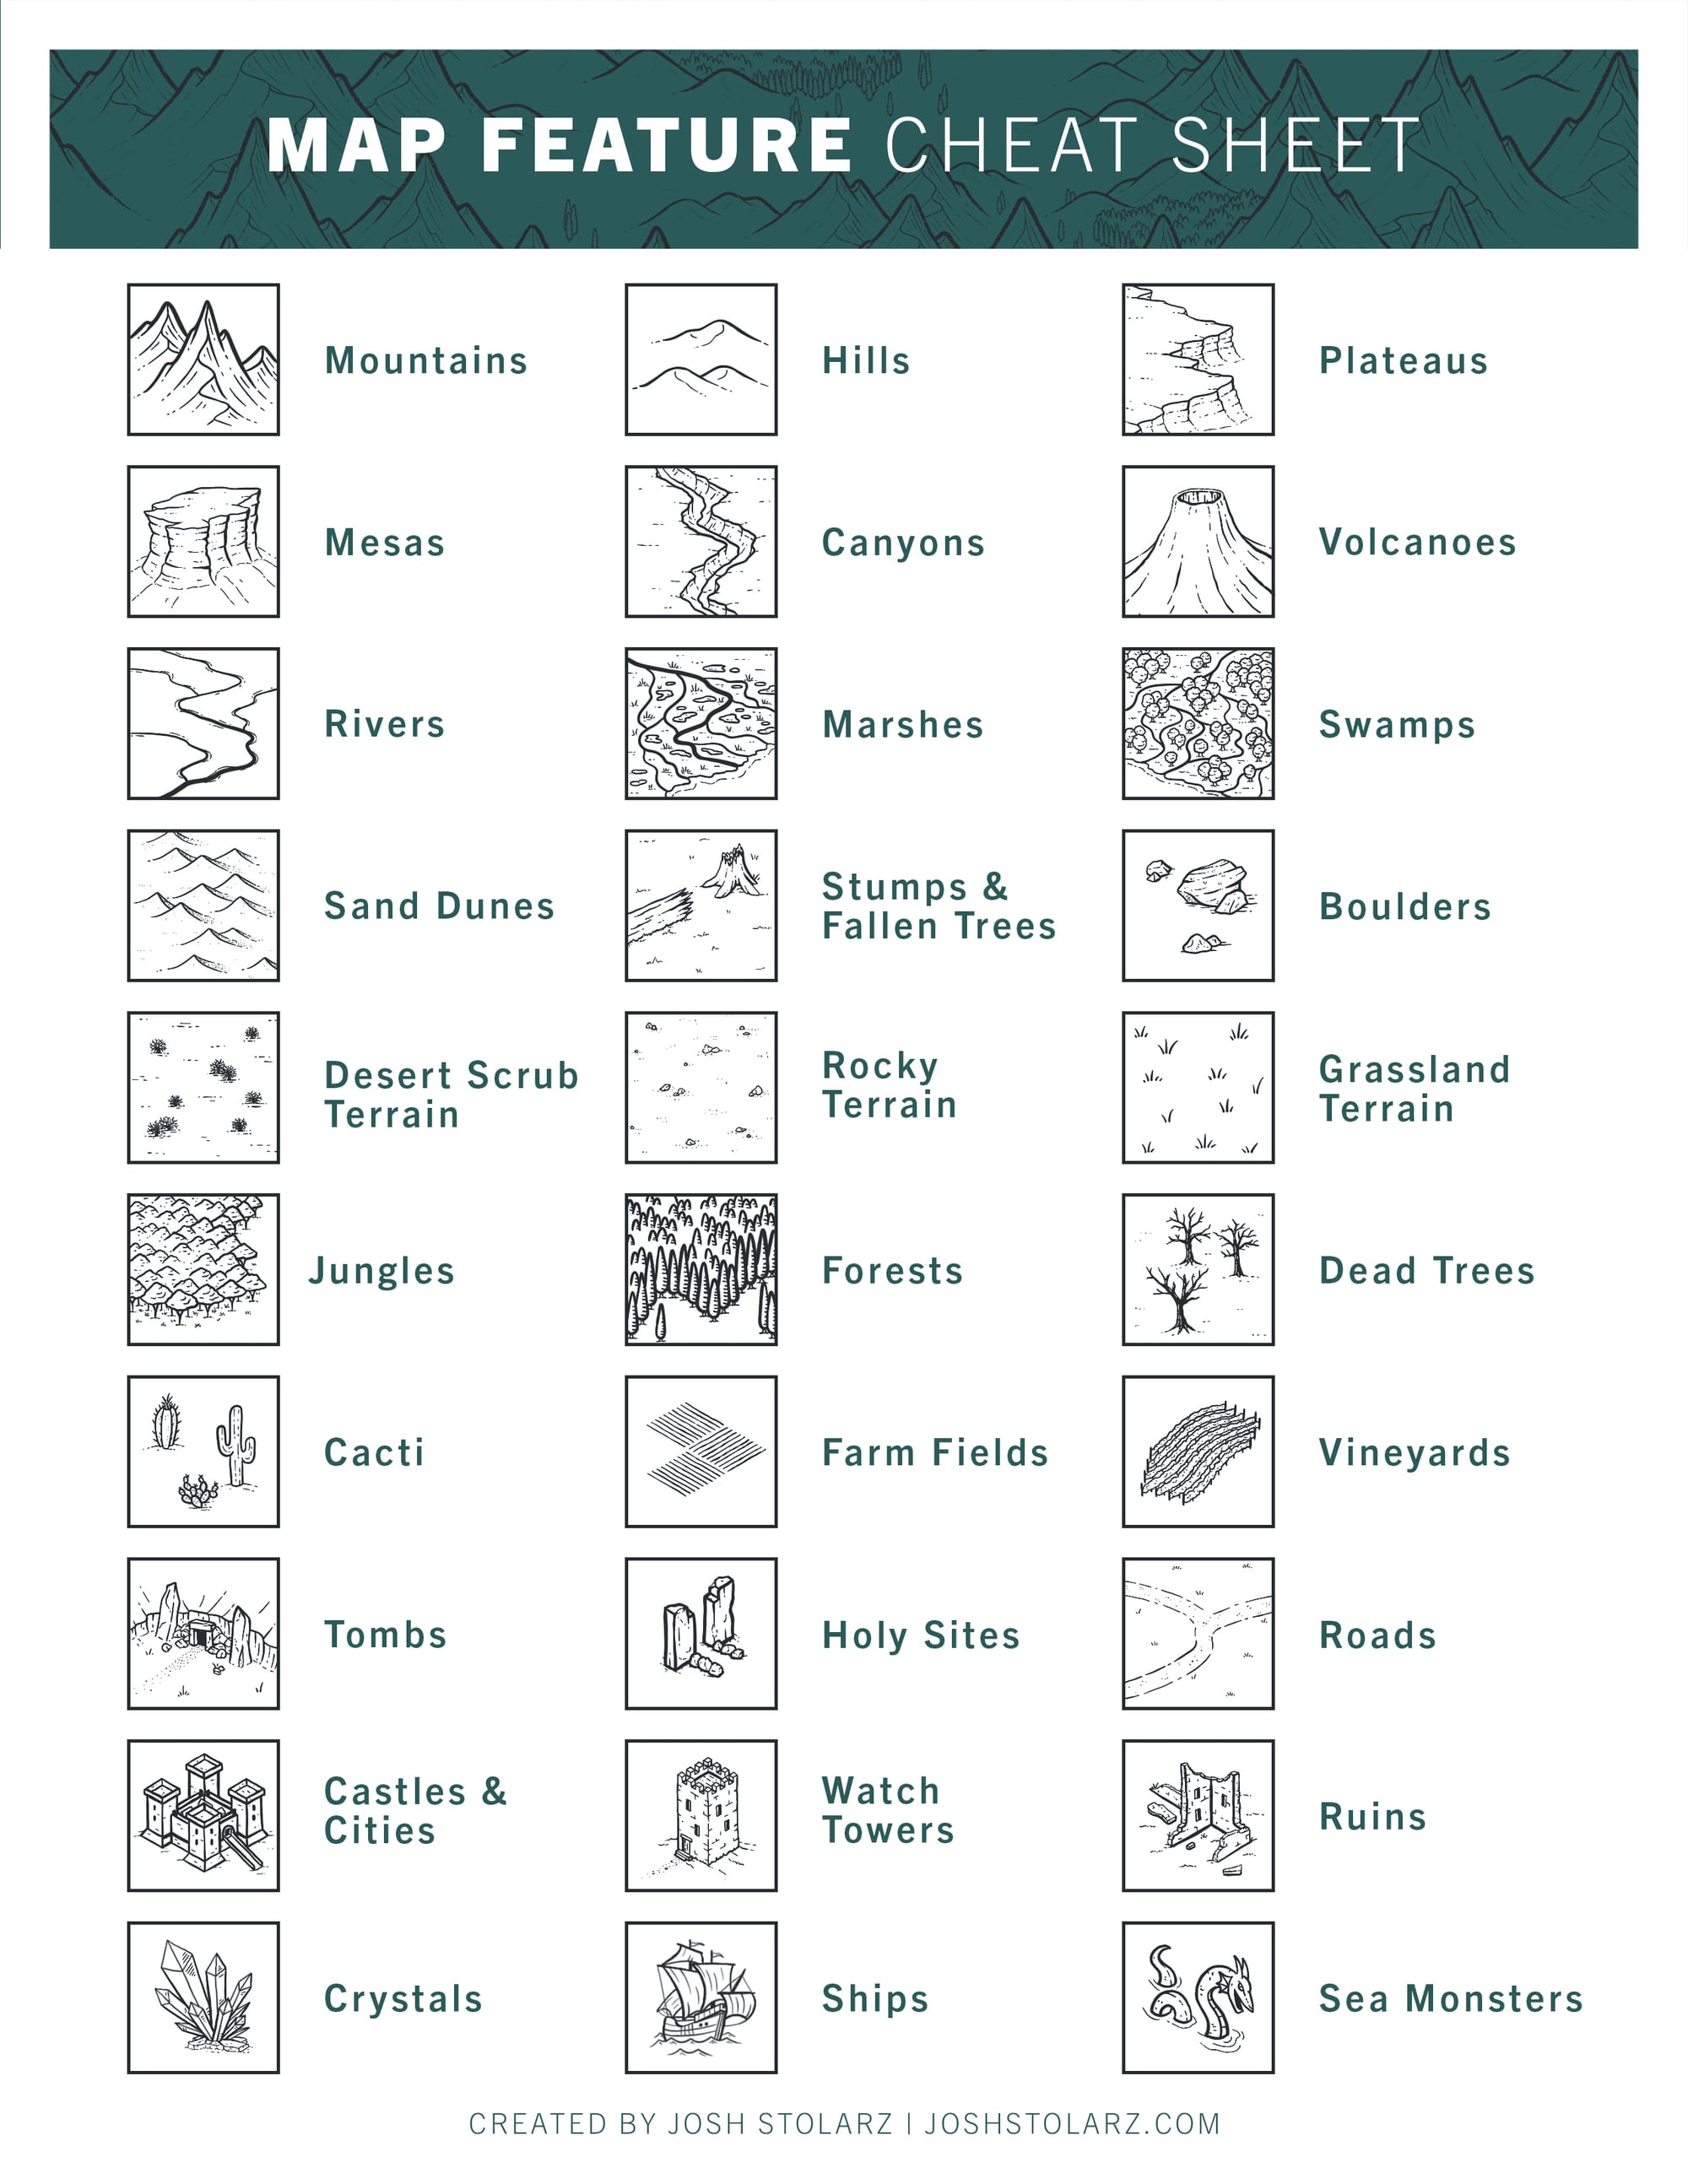
Examples of features you could add to your map.
A quick tip for integrating the various elements into your map:
Let's say that you would like to put a drawing/icon of for example a town in a dense area of the map such as a forest or a mountain range.
To avoid it looking too cluttered, you could just stencil out detail from the Noise mattes with a roto in that area to create a clearing for the drawing/icon on the map.
Text
To make the world that you have built feel more real, you can add names to the various locations and key elements on the map using Text nodes.
Download and install a pirate font (or a font relevant to your map style) and select it in the font dropdown menu in the properties of your Text nodes. You can also add further wear and tear to the text by masking it by a Noise node with a fine noise pattern.
Here is some inspiration for naming places of interest:
- Atoll Of No Return
- Black Water Enclave
- Bloodmoon Bay
- Broken Tooth Isle
- Buccaneer's Regret
- Buried Wreckage
- Charred Corpse Isle
- Coconut Sands
- Corsair’s Peril
- Crimson Plunder
- Crow's Nest
- Cutlass Coast
- Cutthroat Quay
- Dagger Tooth Atoll
- Deadman's Lagoon
- Dead Whale Shores
- Den Of Bones
- Fair Wind Strait
- Flintlock Falls
- Gulf Of The Sunken Fleet
- Gunpowder Port
- Hurricane Sands
- Isle Of Cries
- Isle Of The Abandoned Quartermaster
- Jagged Doubloon
- Keelhaul Coast
- Kraken's Lair
- Last Words Cavern
- Leviathan's Maw
- Lost Cove
- Macaw Island
- Marauder’s Hideout
- Maroon Island
- Monsoon Retreat
- Mutineers’ Trove
- No Tale Island
- Old Salt Inn
- Parley Island
- Pelican Graveyard
- Pirate's Grotto
- Raider's Refuge
- Red Coral Reef
- Ruby Sands Haven
- Rumrunner's Anchorage
- Salty Anchor
- Sanguine Reef
- Sea Of Sorrow
- Seaweed Bay
- Shark's Nest
- Shipwreck Cay
- Siren's Call
- Skull Cove
- Spider Cavern
- Stormweather Enclave
- Shore Of Sunken Ships
- Skeleton Of The Unknown Scallywag
- Smuggler's Tavern
- Swashbuckler’s Sanctuary
- The Beached Galleon
- The Broken Mast
- The Golden Pearl
- Thunder Island
- Tortoise Shell Port
- Treasure Of The Sunken Armada
Adding text also gives you an opportunity to further customise your map if you're making it as a gift for someone. You can use their name and local place names that they know, potentially with a pirate twist to them.
Physical Wear & Tear
If you decide to print out your map, you can add further wear and tear to make it even more realistic.
Tear and/or carefully burn the edges of your map, and sponge a mixture of coffee and tea on it (tutorial). You can even coat it with a thin layer of cooking oil and let it dry to make it feel more authentic.
Roll it up and put a ribbon on it, or frame it, and you’re good to go!
I hope you found this tutorial useful. For more Nuke tips & tricks, see Nuke.


