Creating A Thermal Imaging Effect In Nuke
How to emulate thermal imagery using gradient remapping…

How to emulate thermal imagery using gradient remapping…
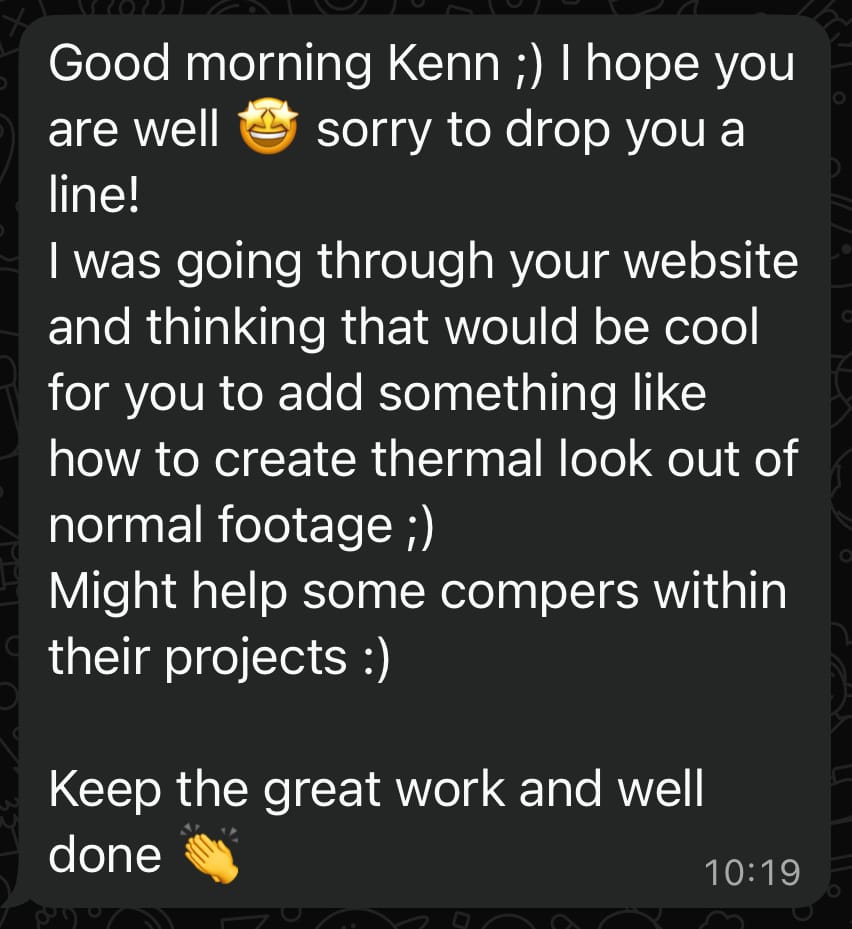
The topic of this tutorial was suggested by a Companion:
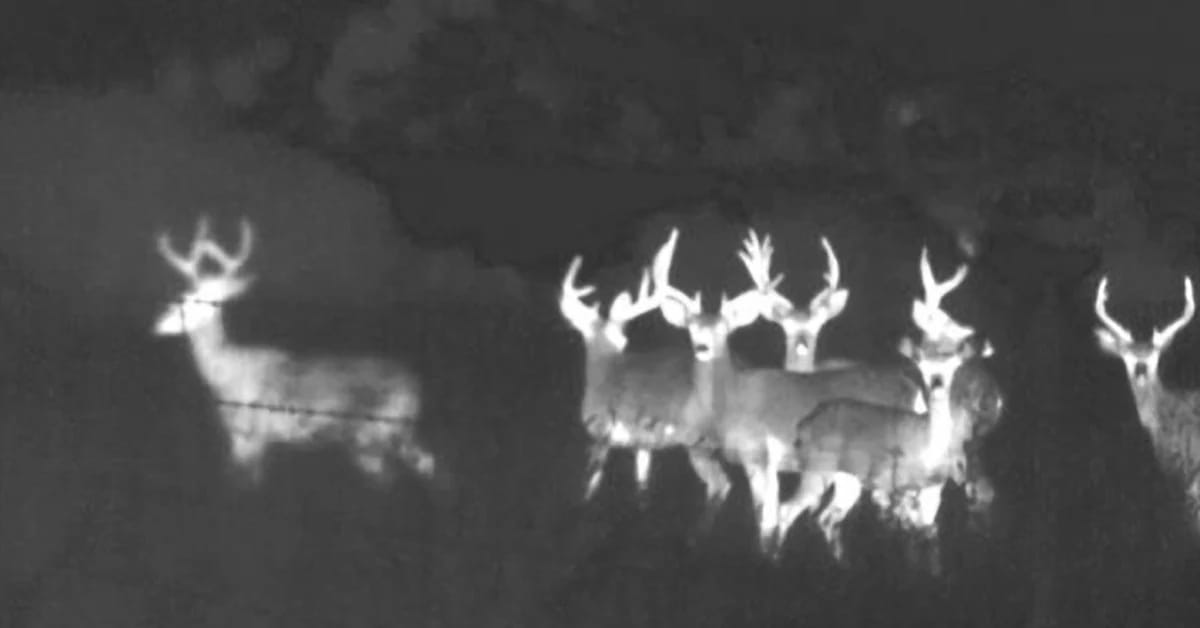
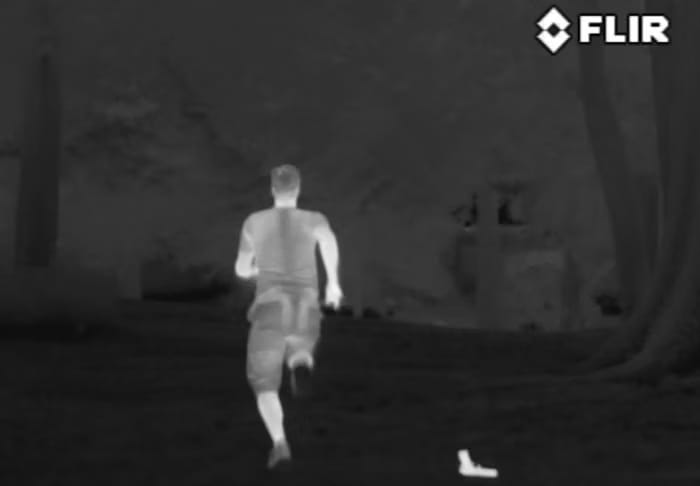
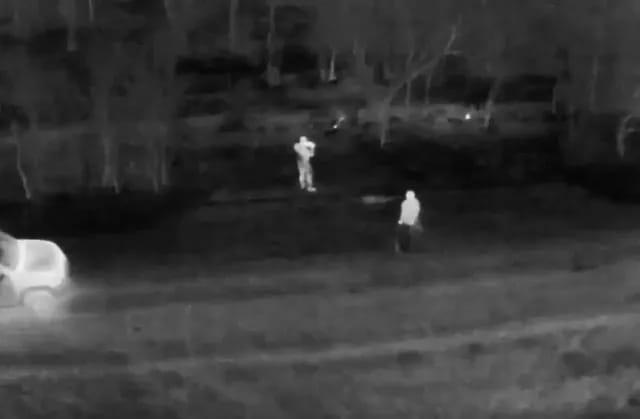
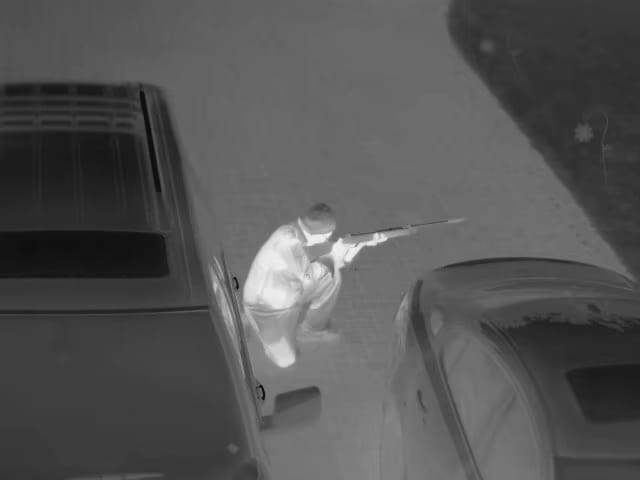
We’ll be creating three different styles of thermal imaging:
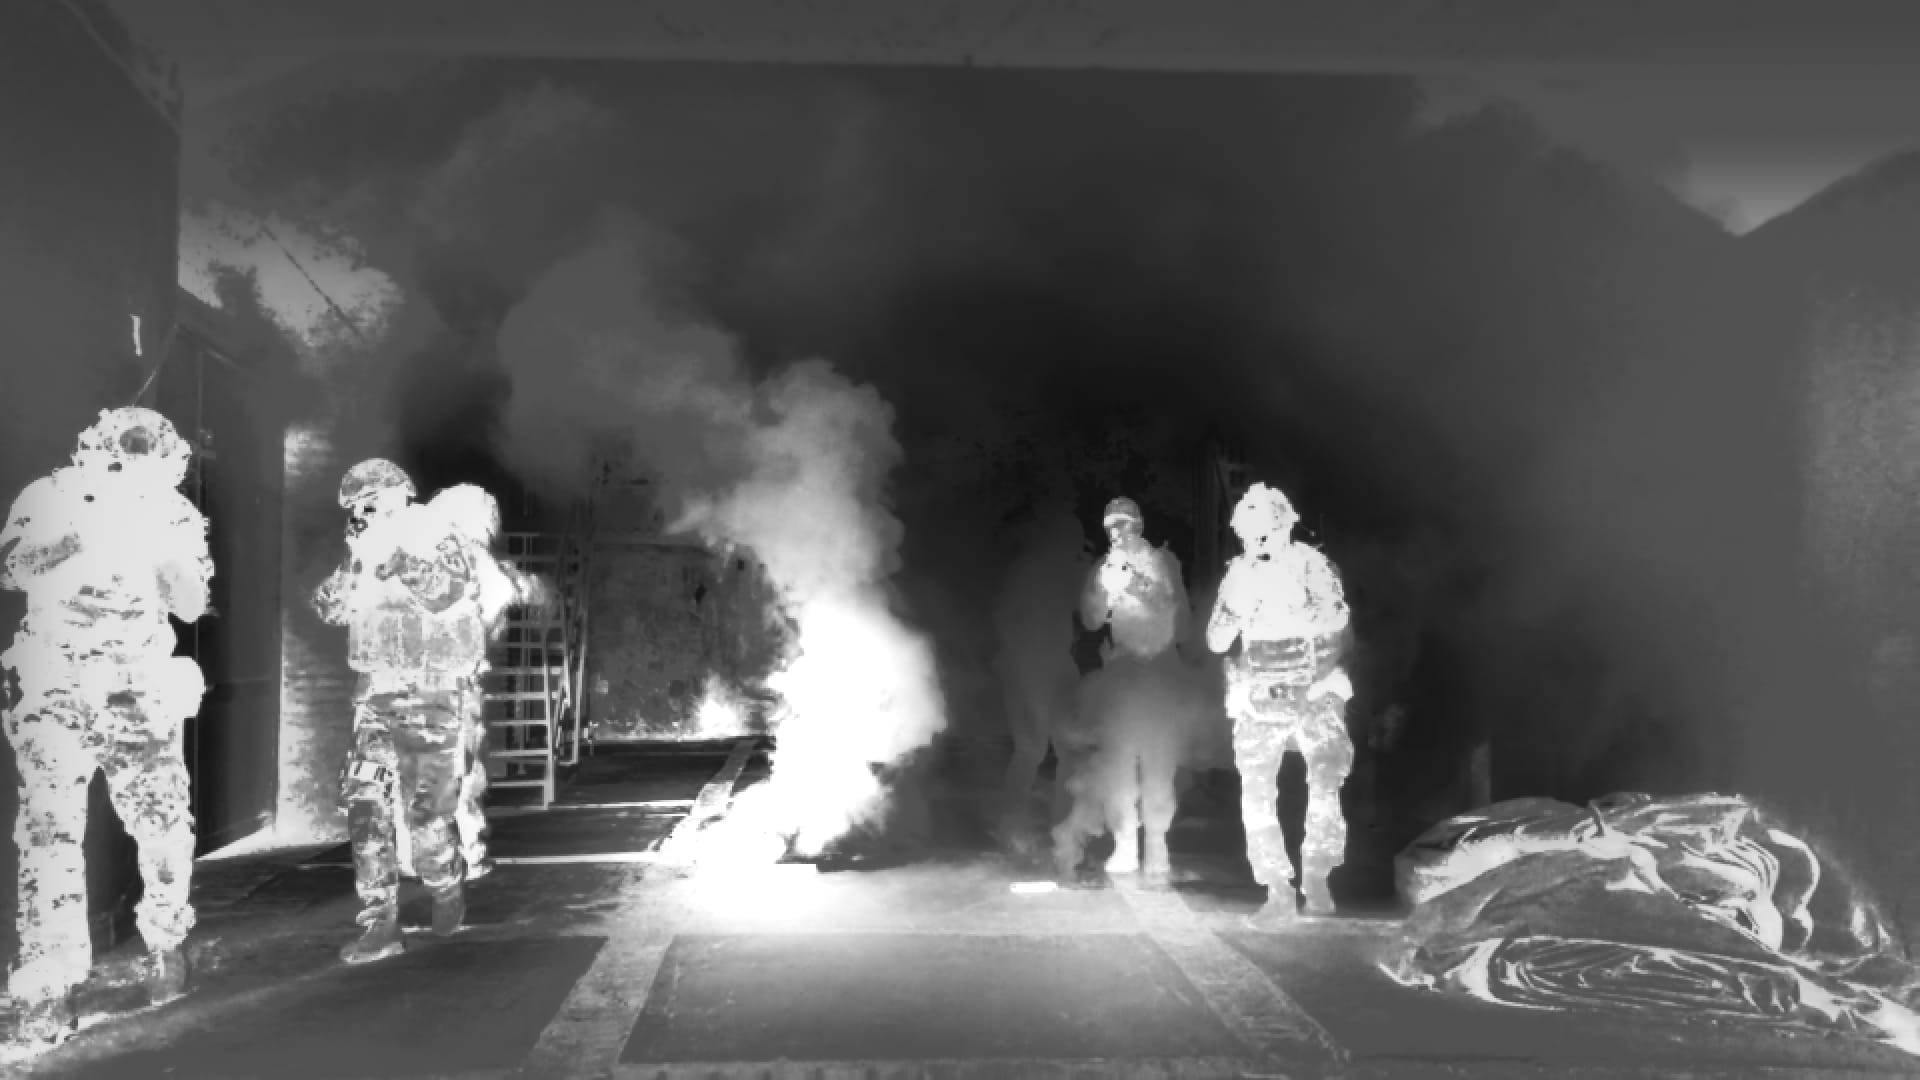
The three styles of thermal imaging that we’ll be creating.
Thermography
Thermal imaging, or infrared thermography, is a measurement and imaging technique in which a thermal camera detects infrared (IR) radiation – that is, heat – from the surfaces of objects.
This radiation has two main components: the thermal emission from the object’s surface, which depends on its temperature and emissivity, and the reflected radiation from surrounding sources.
The amount of radiation emitted by an object increases with temperature, and thermography allows us to capture and see the variations in this radiation. – Which means, we’re able to visualise the (relative) temperature of objects in the environment.
In the resulting image, a gradient of colours is mapped onto the various temperatures in order to separate them visually:
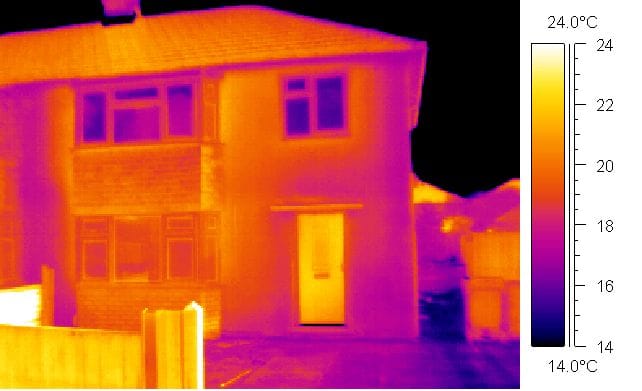
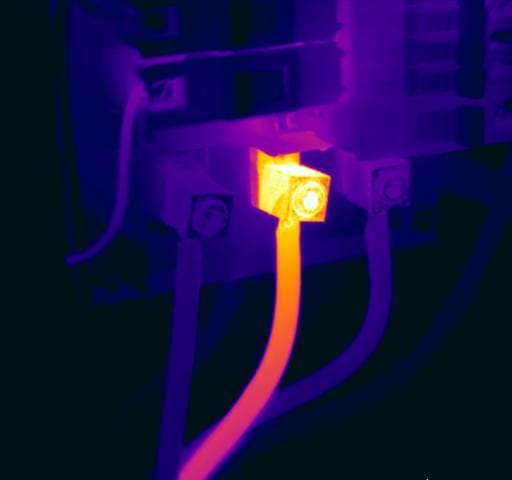
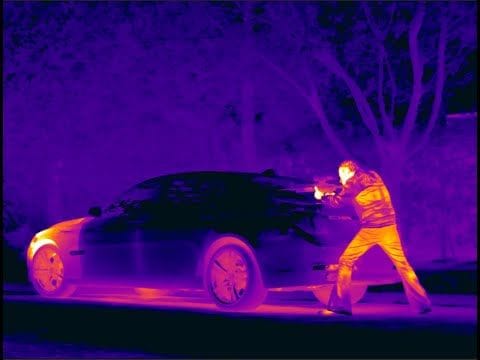
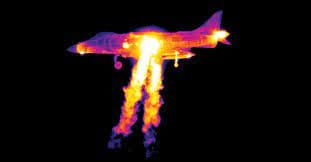
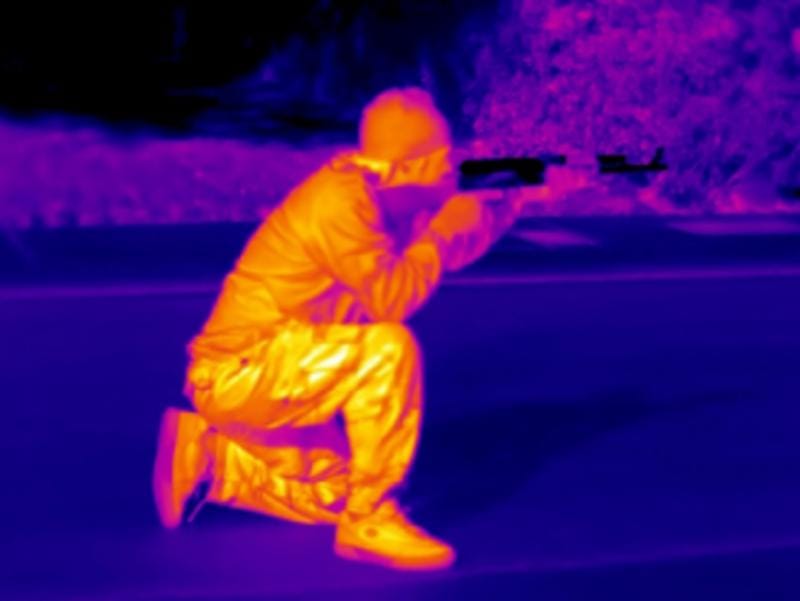
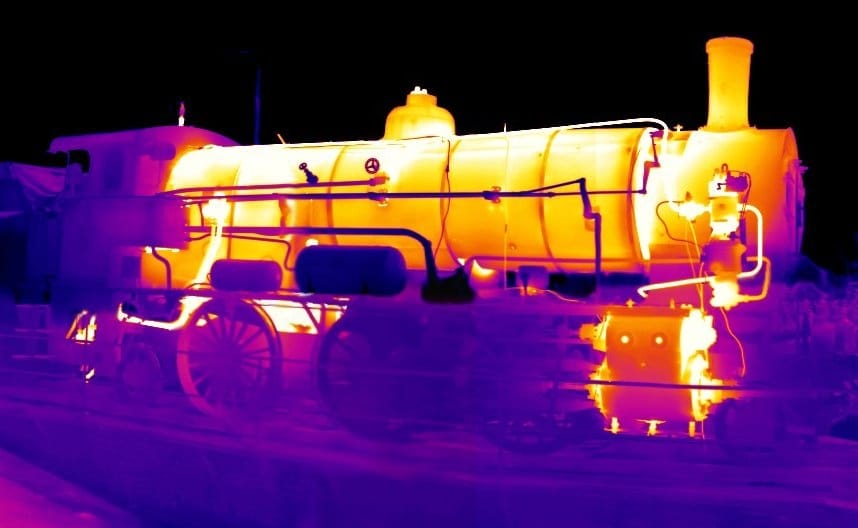
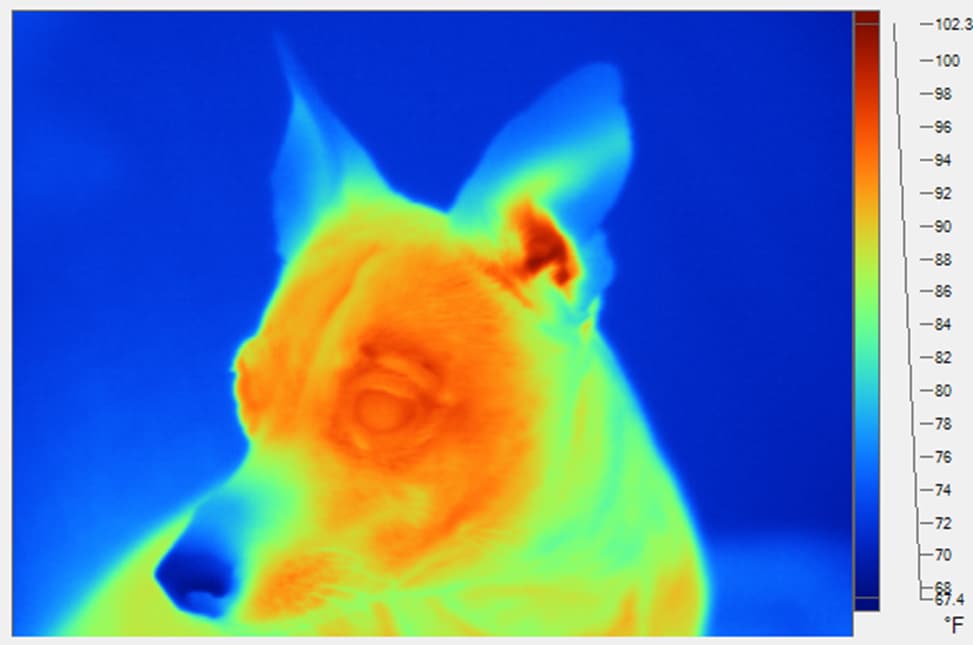
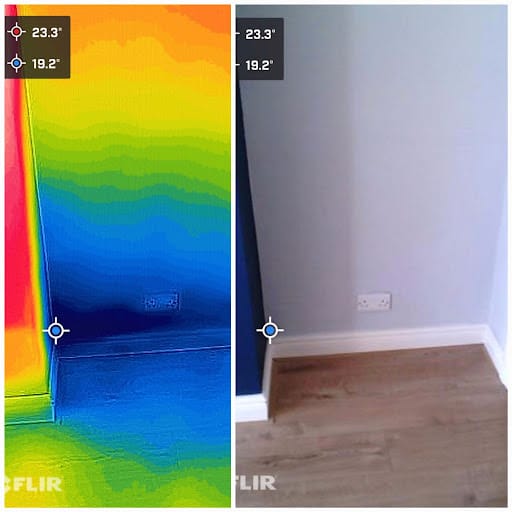
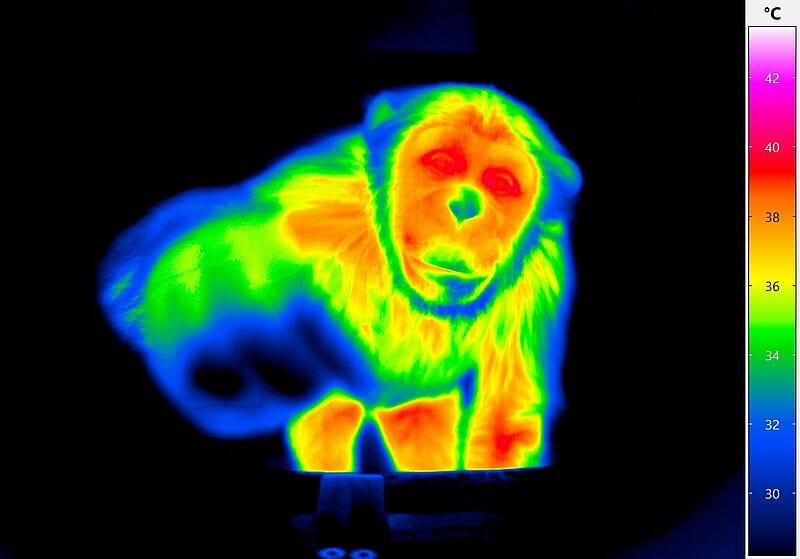
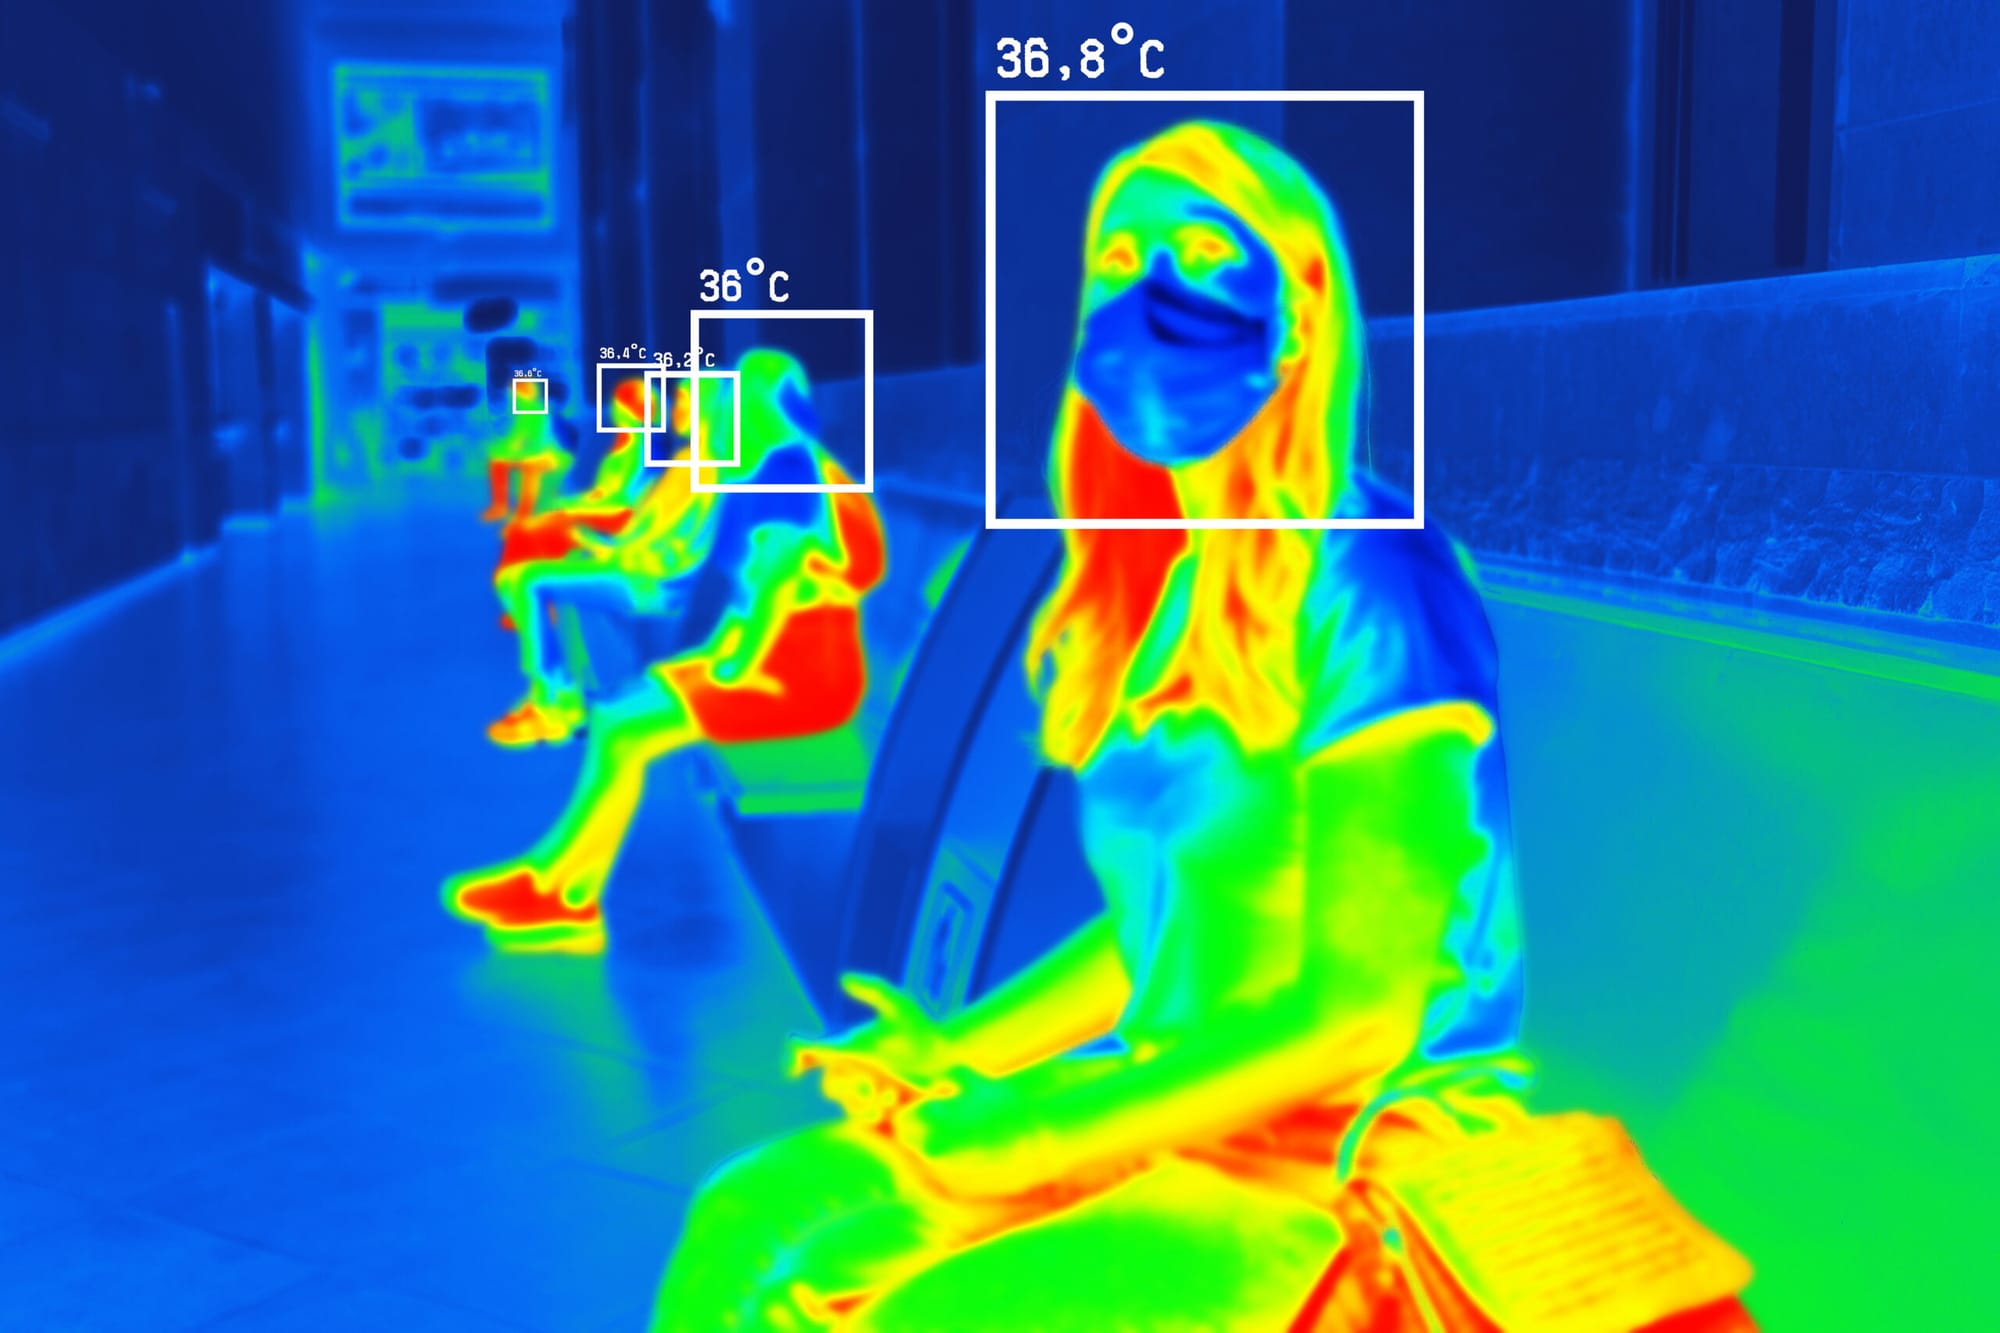

Examples of thermography: different colours are mapped onto the temperature values.
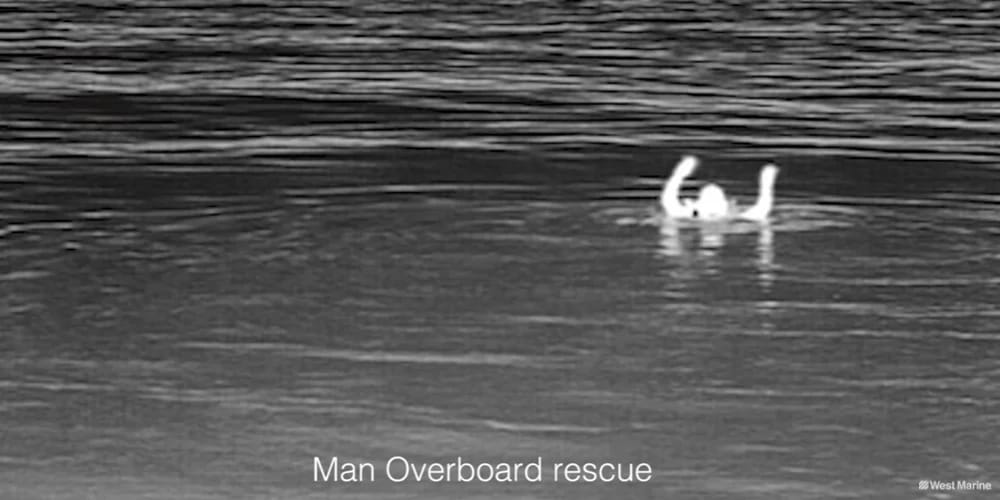
Thermography has a wide variety of use cases.
It’s for example used for search and rescue missions, building inspections, health scans, wildlife monitoring, and for space, law enforcement, and military applications.
For a variety of reasons, including high material and manufacturing costs, large sensor sizes, and strict military technology export restrictions, the resolution of thermal cameras is considerably lower than that of regular cameras.
So, both consumer and professional thermal cameras (even many high-end models) will usually have a fairly low resolution – well below 1 Megapixels, and often as low as 160×120 or 320×240 pixels.
However, very high-end thermal cameras, such as ones used for military purposes, can reach resolutions of 2.5K x 2K (5 Megapixels) and higher.
Consumer models will also typically capture images at a pretty low frame rate, often as low as 9 frames per second.
However, high-end models can capture 60 frames per second and higher.
So, while the different IR cameras essentially capture the same thing (heat differences), we’ve already got three variables to consider when creating the effect in comp, depending on which style you want to emulate:
- Colour map (gradient)
- Resolution
- Frame rate
The infrared spectrum also has some ‘quirks’ which you should know about, which affect IR cameras and the footage they can capture.
- Cannot see through certain barriers: IR cameras cannot penetrate most glass, water, or dense fog/smoke, and are limited in the penetration of hard materials like thick clothing or curtains. The infrared waves can be blocked, scattered, or reflected.
- Sensitive to the environment: High humidity, wind, rain, and heavy snow can also scatter or absorb IR radiation, affecting the image quality and accuracy.
- Reflective surfaces: Shiny or reflective surfaces, like mirrors, ceramic tile, or stainless steel and other polished metals, can reflect infrared radiation, leading to distorted or false readings.
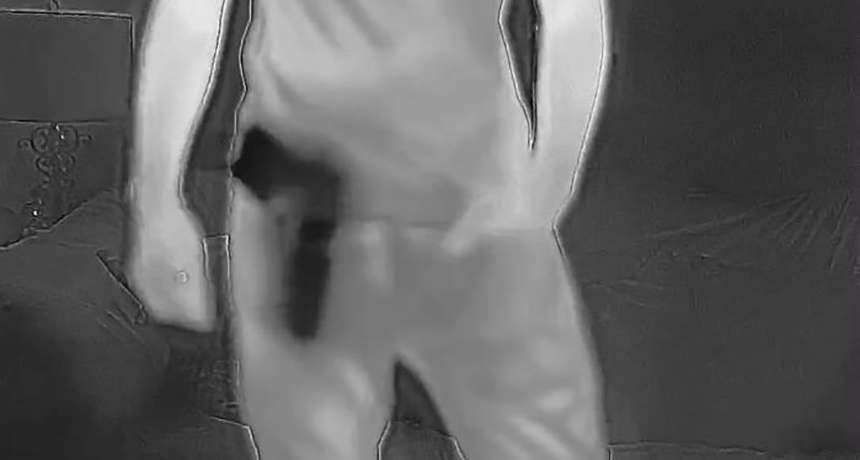
It’s worth watching the following YouTube video, as it sheds a lot of light on how IR cameras react to the environment:
Exploring the world in infrared with a thermal camera.
Even though it’s just a guy filming his house, we can see plenty of examples of the limitations listed above.
We can also see that warmer surfaces contacting cooler surfaces will often leave a heat imprint – like when he put his hand on the work bench.
And, we can see that IR cameras can dynamically scale/remap the output colours to the available range of temperatures in the frame. – Similar to the auto-exposure function in regular cameras.
Okay, let’s look at how we can emulate this effect in Nuke:
Creating The Effect In Nuke
While it’s possible to create this effect completely from scratch, it’s very useful to have some footage as a base for what will be the control matte.
This can be anything, but the effect will obviously look best if it’s footage of something that fits with the theme of thermal imaging. For example, soldiers on a battlefield, a person on a mountain side (search and rescue), or similar scenarios.
Footage
For my examples, I will be using this footage from Pexels:
https://www.pexels.com/video/soldiers-of-special-forces-13721791/
The footage is in slow motion, but I’ll be speeding it up by 5x (to real time) to simulate a live thermal camera.
In the footage, we can see soldiers entering and securing an area, with smoking flares on the ground. Which means, we already have two clear sources of heat: the soldiers, and the flares.
So, we definitely want those to light up hot in our thermal image – and likewise with the surrounding areas which are receiving heat from the flares. While the rest of the ground, walls, and especially the outside should stay cooler.
Technique Overview
To create the thermal imaging effect, we’ll be using a clever technique called gradient remapping.
Here’s a video which explains the technique in detail:
Essentially, we can use the STMap node in Nuke to map a horizontal gradient of colours onto a control matte.
Usually, the control matte will be based on your footage. Using a combination of luma keys and roto masks – and/or PMattes and Cryptomattes if you have CG renders – you’ll turn the coldest areas of the scene to pixel values near 0, and the hottest areas of the scene to pixel values near 1. And, naturally, medium temperatures turn to a pixel value of around 0.5.
The colours in the gradient will then be mapped, from left to right, onto the 0-1 range in the control matte by the STMap node.
So, for our effect, we’ll put cooler colours on the left side of the gradient. And, we'll make the right side of the gradient hotter.
Gradient
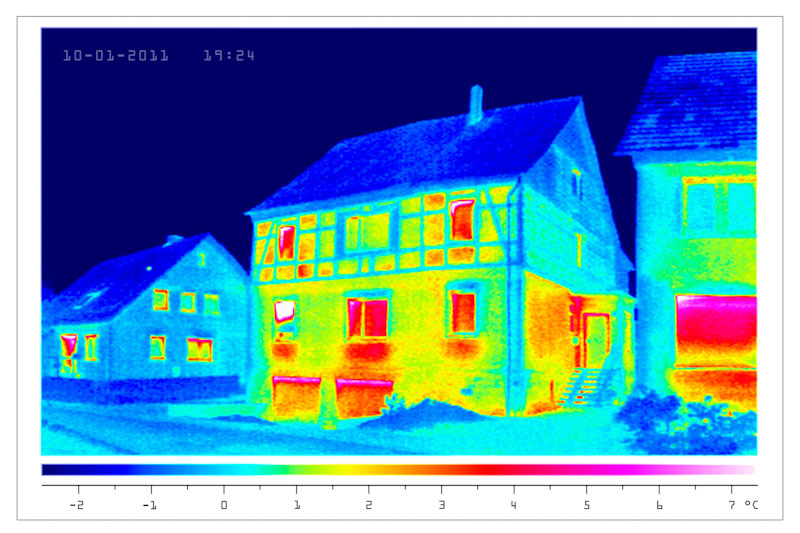
In some of the thermography example images that we saw earlier in the tutorial, they've (handily) included the colour gradients that were used for mapping the temperatures.
To recreate these gradients in Nuke, we can use the excellent Voronoi Gradient tool.
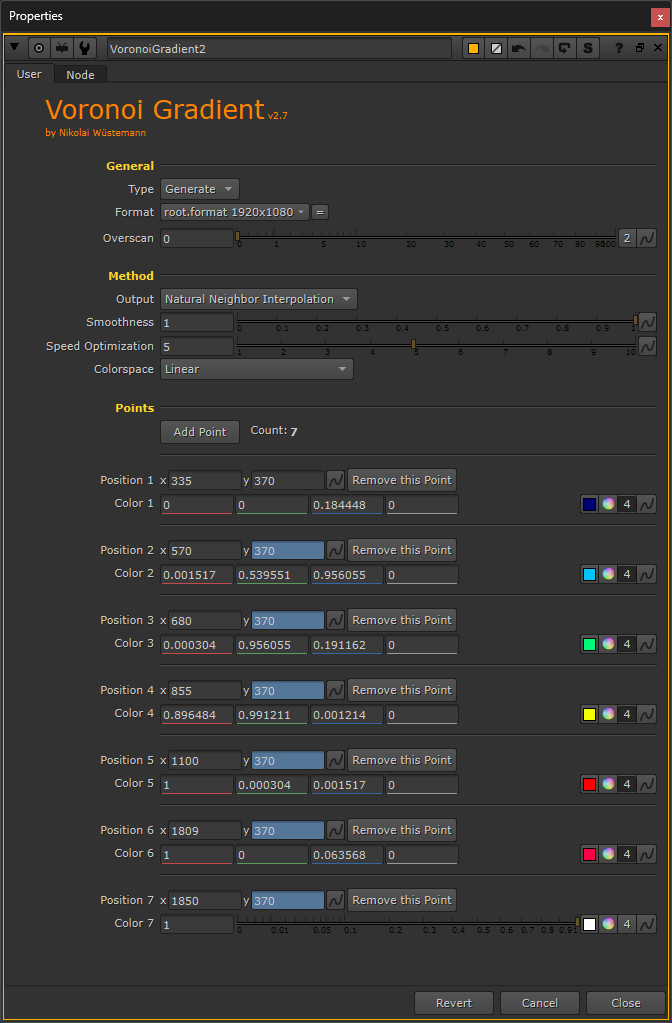
Below, I’ve created two gradients, each with 7 points, and coloured them to match the example gradients.
The first gradient is more magenta-yellow:
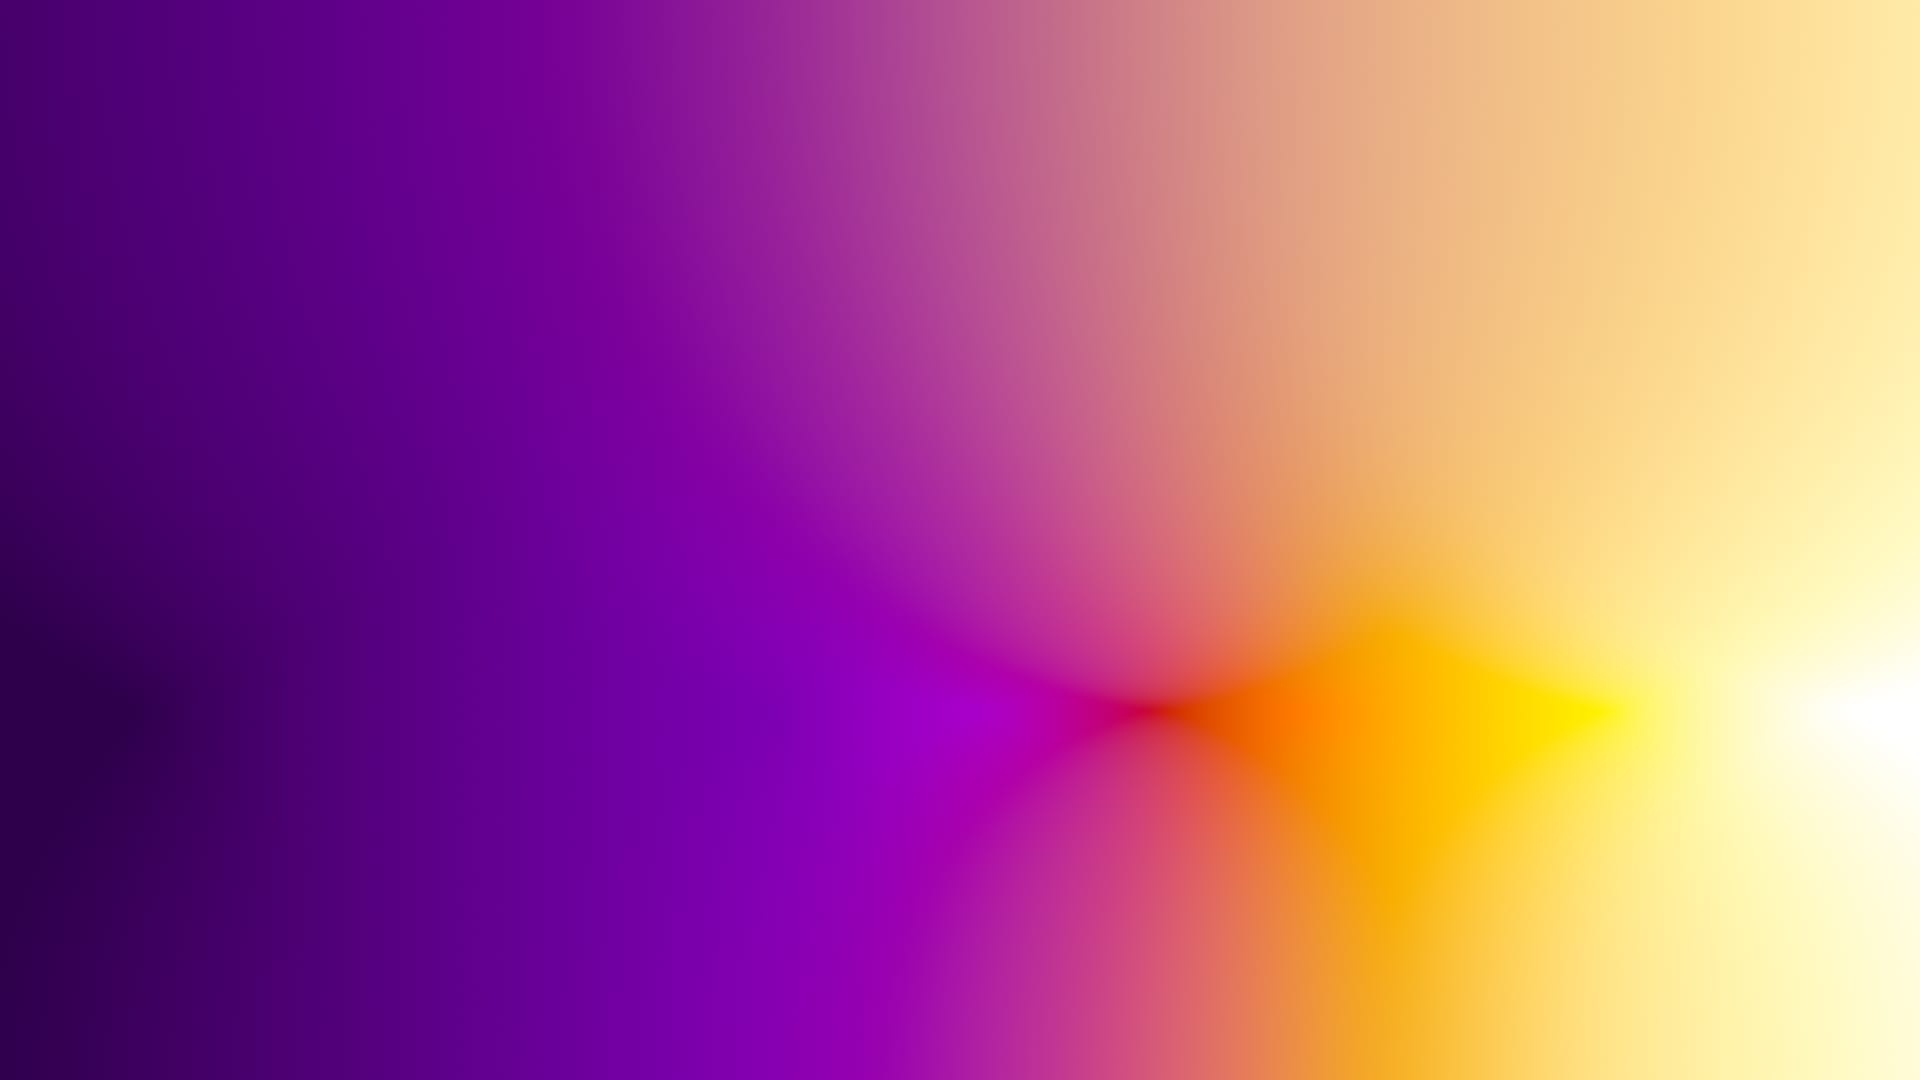
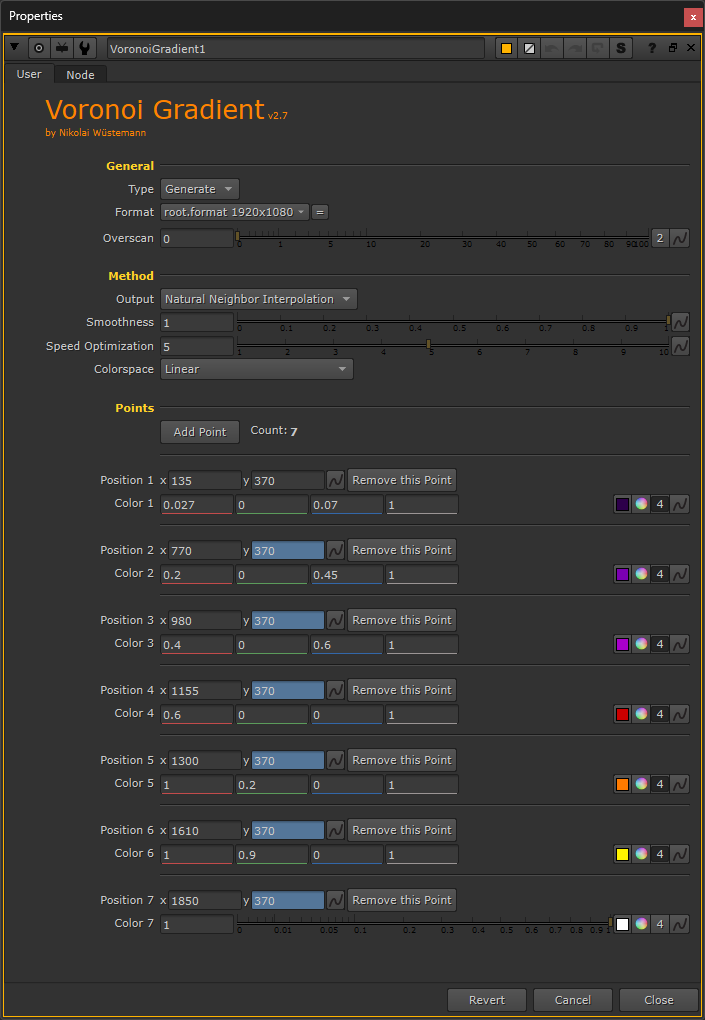
The first gradient and its properties. (The Y positions of points 2-7 are all linked to the Y position of point 1, for easily shifting the whole gradient up or down).
The second gradient is more rainbow-like:
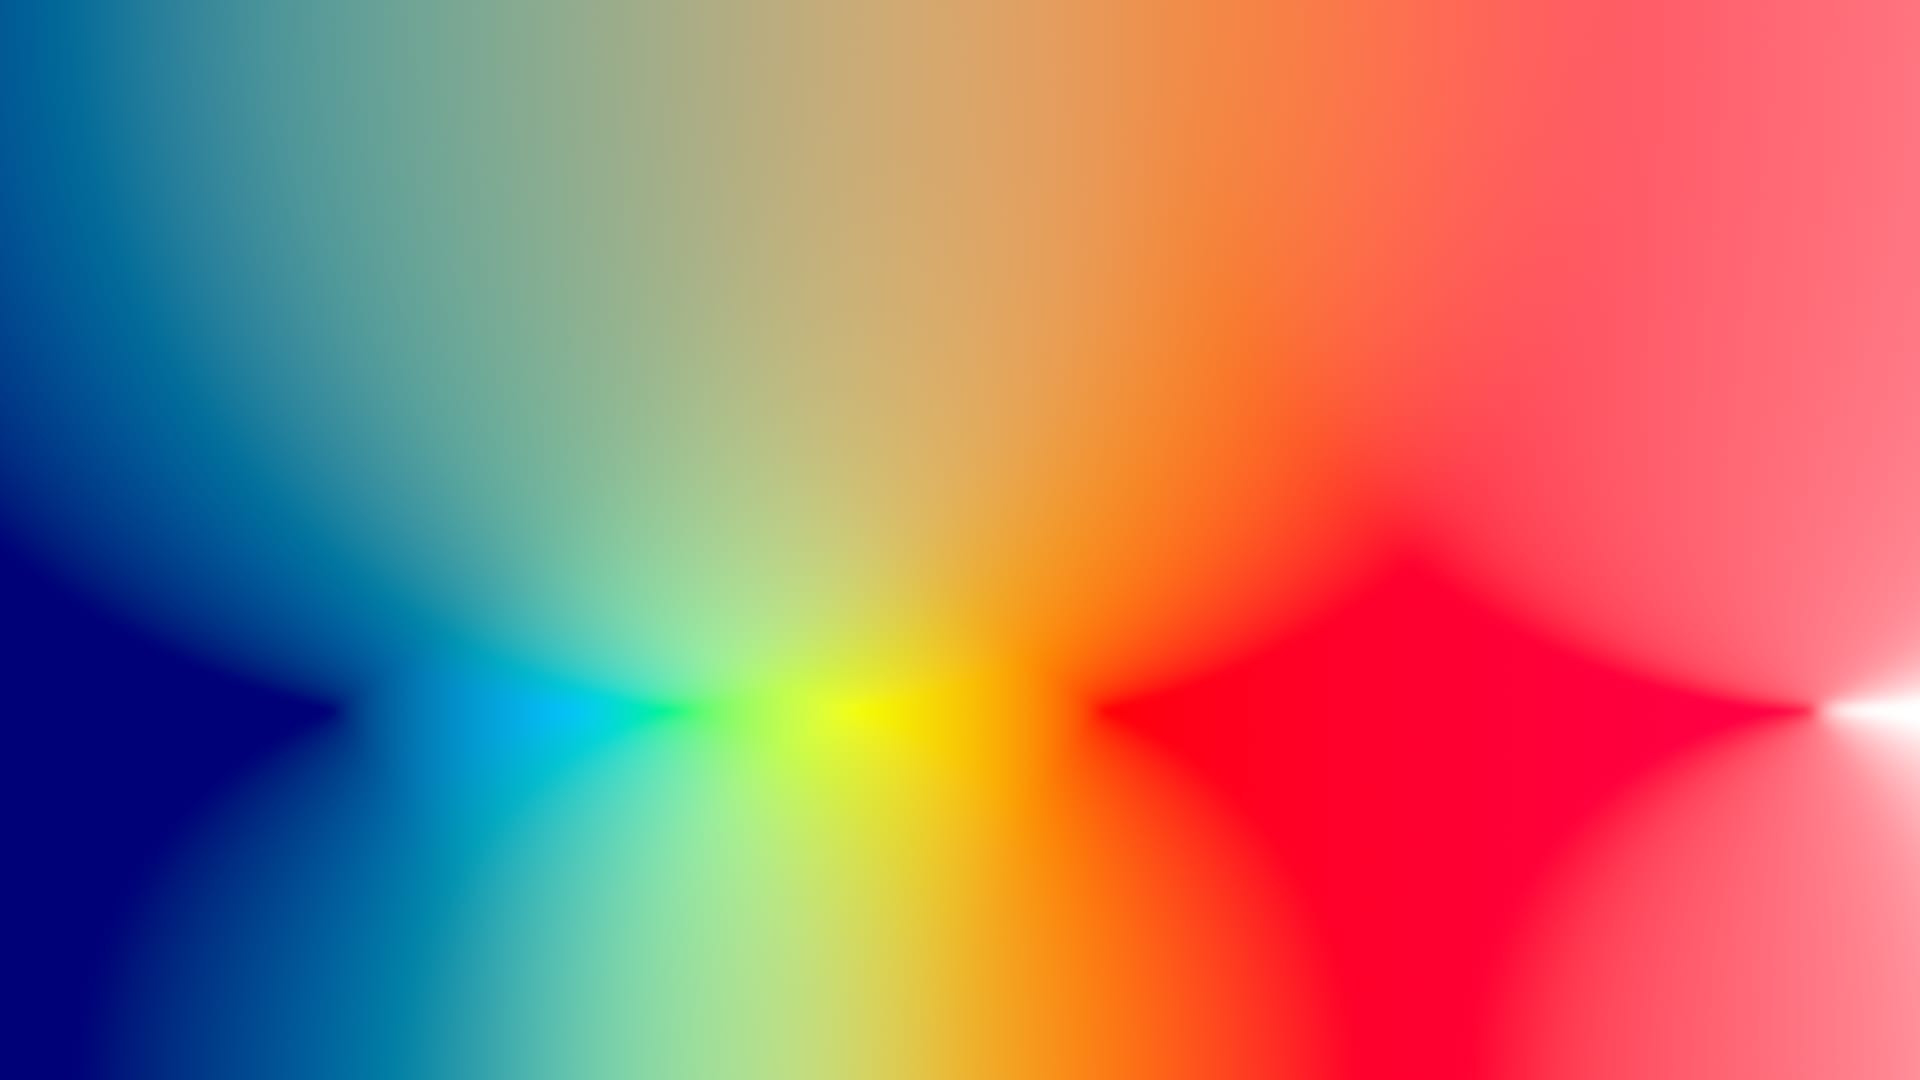
The second gradient and its properties. (The Y positions of points 2-7 are all linked to the Y position of point 1, for easily shifting the whole gradient up or down).
Next, let’s create the control matte:
Control Matte
Typically, you’ll want to give the viewer a good sense of what they’re looking at in the thermal image.
And so, it’s a good idea to retain detail from the footage that you’re using. You can do that by using a luma key, or several luma keys keymixed together, as a base for the control matte.
Using my example footage, I created inverted luma keys using Keyer nodes, and mixed them together using Keymix nodes. Each luma key created a hotspot (values near 1) for the soldiers and for the flares, while keeping the background and other cool areas at values closer to 0.
Next, I shuffled the alpha channel from these keys into RGB, as it’s easier to work with.
Then, I went in and graded each key with custom roto masks to create hotter and colder spots in the image.
For example, the flares and smoke weren’t getting hot enough (high enough grey values) from the luma keys, so I created some soft roto shapes for them and graded them brighter.
The walls and ceiling were also getting too hot from the luma keys, so I graded them darker.
The resulting control matte looks like this:
In a real production scenario, I would refine the control matte further and target specific areas which should be hotter or colder, but this is plenty good enough for demonstration purposes.
Next, let’s map the gradient onto the control matte.
Remapping
Create an STMap node, and connect the src input to the gradient, and the stmap input to your modified footage, i.e. the control matte.
Next, set the UV channels to rgb in the STMap node’s properties:
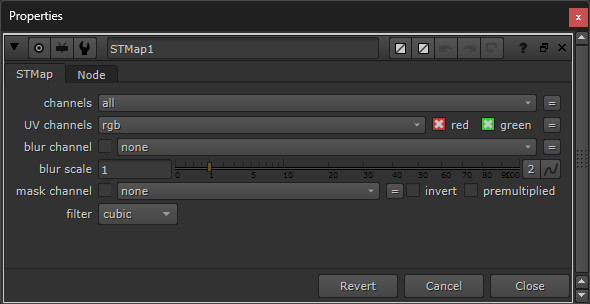
The STMap node’s properties.
Then, tweak the gradient and the control matte until you get the desired result.
It can help to add a faint exponential glow with a small size to the result, to give it a bit of an extra kick. And you may also want to grade the result to taste, for example by colour correcting the saturation and contrast, hue shifting the image, or hue correcting certain colours.
You can also emulate a lower resolution or frame rate:
Resolution
There are several ways of reducing the resolution of an image in Nuke.
A quick way is to use the hidden Blocky node, which you can access by typing X in the Node Graph, and then typing Blocky (case sensitive) in the command box:
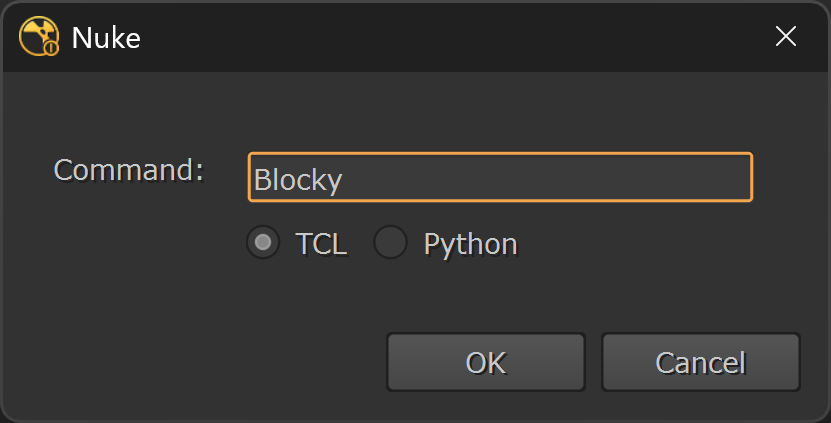
Creating the Blocky node.
In the properties of the Blocky node, adjust the size as needed to get the resolution that you want.
Frame Rate
To reduce the frame rate, you can use two Retime nodes in sequence, one speeding up the footage, and the other slowing the footage down, thereby dropping and duplicating frames.
My footage is real time and my project is set to 24 frames per second. To reduce the frame rate of the footage down to 9 frames per second, I set the speed value in the first Retime node to 24/9. Note that the filter is set to nearest.
Then, I set the speed value in the second Retime node to the inverse of that, with the following expression:
1/parent.Retime1.speed– Also with the filter set to nearest.
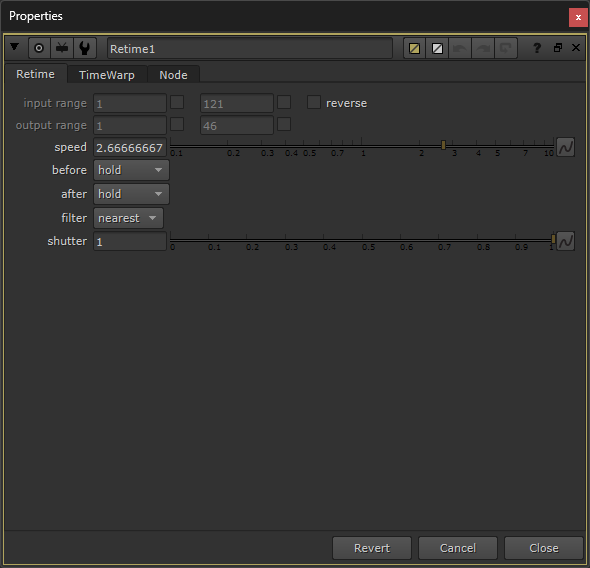

The properties of the two Retime nodes.
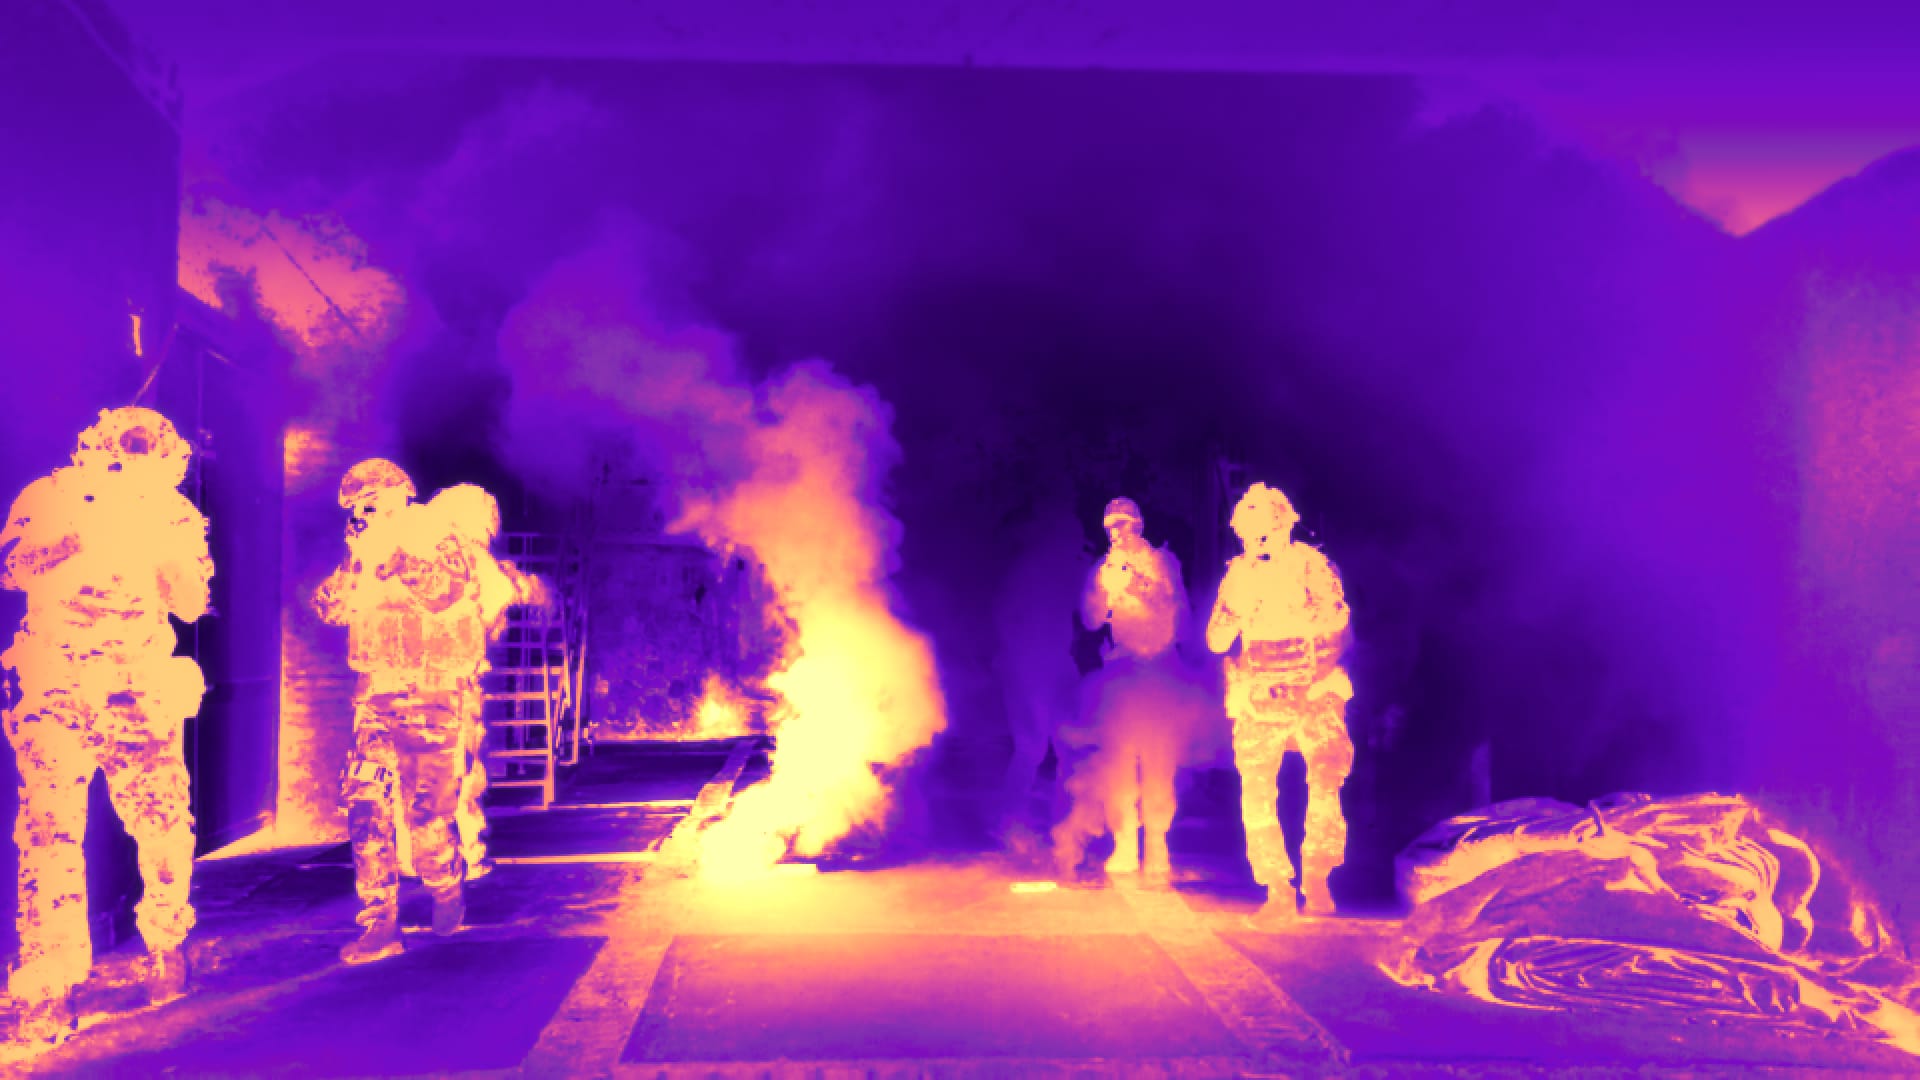
Using the first gradient, the result looks like this:
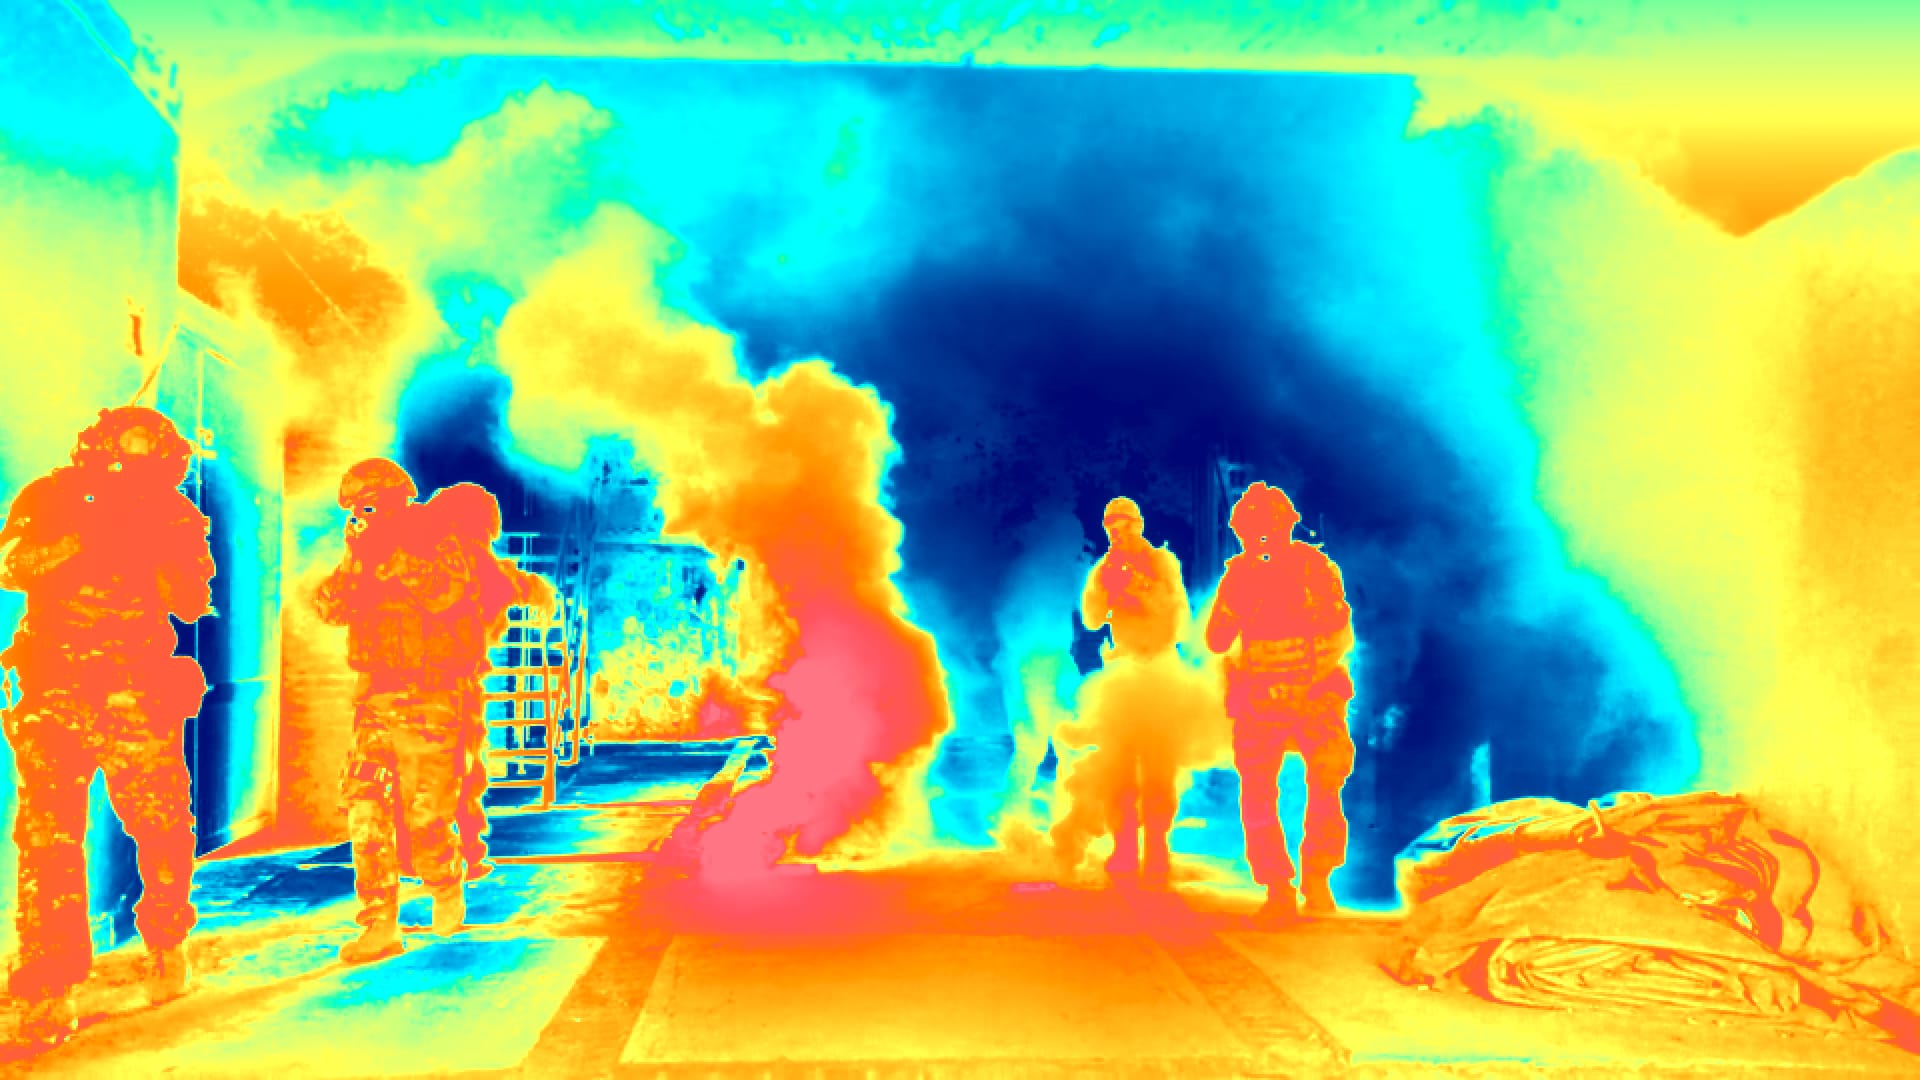
Using the second gradient, the result looks like this:
You can also create a black and white variant, simply by desaturating the first result:
I hope you found this tutorial useful. For more Nuke tips & tricks, see Nuke.